You can pull the best agent in Zenless Zone Zero and still hit a wall a few weeks later. Not because your team is wrong, but because a specific promotion material stopped dropping and your damage dealer is stuck one rank below where it needs to be. That material almost always comes from one place: Notorious Hunt. It is the least flashy mode in the game and the one your account genuinely cannot grow without.
What Notorious Hunt actually is
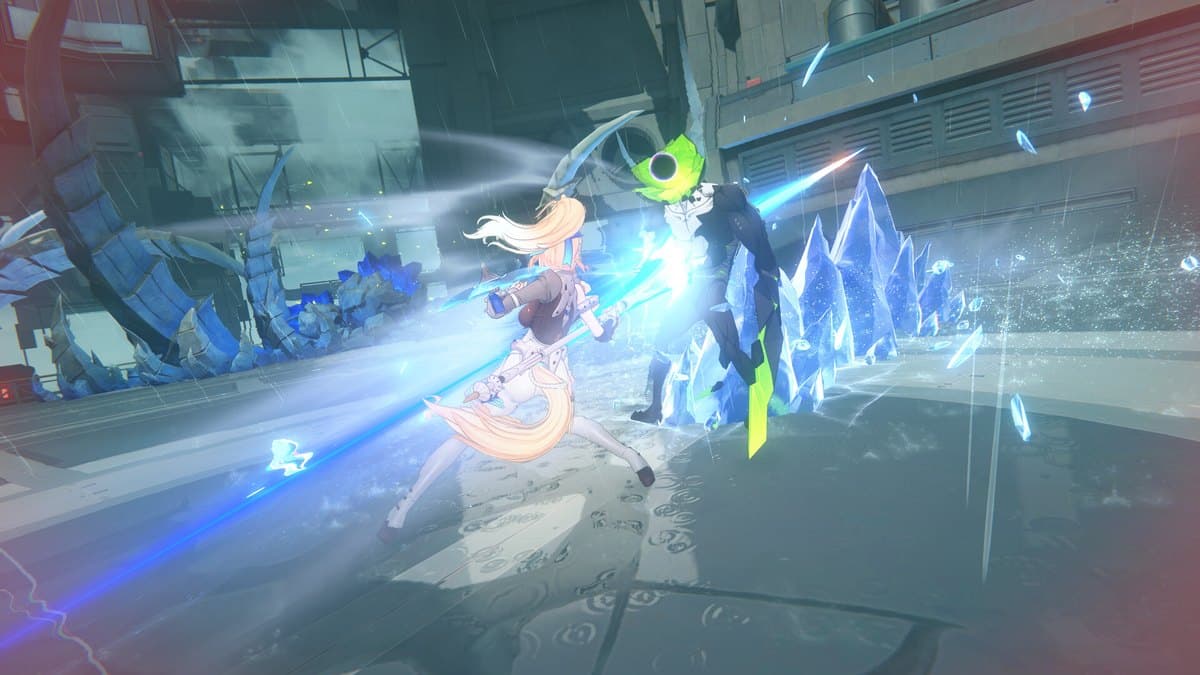
Notorious Hunt is New Eridu's bounty board for the game's tougher, named "Notorious" enemies, the elite bosses you meet in the story and Commissions turned into a repeatable challenge. You pick a boss, pick a difficulty, and fight a straight one-on-one (well, one team on one boss) with no exploration and no filler. It is a pure combat check.
The reason it matters is the loot table. Notorious Hunt is a primary weekly source of:
- Agent promotion materials, the boss-specific drops that gate your characters' level caps and skill upgrades.
- W-Engine power supplies and refinement materials, the stuff that actually turns a good weapon into a finished one (the Drive Discs and W-Engines guide covers what those feed).
- Dennies and EXP mats on the side.
If your agents feel stuck at a promotion gate, this mode is the fix. It is that direct.
The real rule: three bonus attempts, then the reset
Here is the mechanic that decides how you should treat the mode. Notorious Hunt gives you a limited number of bonus-reward attempts each week (three at the standard cadence), and those bonus runs pay out the full, rich loot table without spending your Battery Charge. Once you have used your bonus attempts, you can still fight the bosses, but the rewards drop sharply.
Two consequences fall out of that, and both are easy to get wrong:
- Spend all your bonus attempts every single week. Missed attempts do not roll over past the weekly reset. A skipped week is materials you will never get back, and those are exactly the materials that were slowing you down.
- Aim every bonus attempt at the boss you need right now. Do not spread your three runs across three bosses out of habit. If your priority carry needs one specific promotion drop, point your attempts at the boss that drops it until that agent is unstuck.
Think of the three attempts like the Trailblaze-style weekly economy it is: a small, precious budget you spend deliberately, not a thing you clear on autopilot.
Difficulty tiers and why you should push the highest you can clear
Notorious Hunt scales in difficulty, and higher tiers pay more and better materials per bonus attempt. This is the single biggest efficiency lever in the mode: the same three attempts at a higher tier can be worth a meaningfully larger haul.
The tradeoff is that higher tiers add real teeth: more boss HP, harsher damage, and mechanics that punish a sloppy rotation. The practical advice:
- Push to the highest difficulty you can clear comfortably, not the highest you can barely survive. A tier you clear cleanly every week beats a tier you fail half the time.
- Re-check your ceiling after every big investment. A new agent promotion, a leveled W-Engine, or a finished Drive Disc set often bumps you up a tier. Do not assume last month's cap is still your cap.
How to actually clear the harder bosses
Notorious bosses are stagger checks with a health bar. The clear almost always runs through the same core loop that defines ZZZ combat, so if you have internalized the combat mastery basics, you already know the shape of it.
Build around Daze, then cash it in. Most Notorious bosses have a hefty Daze bar, and the fight opens up completely once you Stun them. Bring a Stun agent who can fill that bar quickly, hold your biggest damage window for the Stun state, and unload your carry's chain and ultimate there. The full mechanic is in the Stun, Daze, and Stagger guide, and it is the difference between a two-minute clear and a timeout.
Use Assists as your defense, not just your offense. Notorious bosses telegraph big, punishable attacks. A clean Defensive or Evasive Assist turns their scariest swing into your counterattack and keeps your rotation alive. Reading the boss is more valuable here than raw stats.
Match your team to the boss, not to your favorites. Some Notorious enemies pressure you with Anomaly-friendly weaknesses; others reward raw Stun-and-burst. If a boss keeps timing you out, an Anomaly-focused team or a swap in your faction and team pairings can flip the fight without a single new pull.
Bring the right Bangboo. The right Bangboo adds free damage and, on some, extra Daze or energy, which shortens the fight and gets you inside your Stun window faster.
A clean weekly routine
Fold Notorious Hunt into a habit so you never eat a wasted reset:
- On reset day, check your three bonus attempts first, before dailies, before anything.
- Point all three at your current priority agent's boss unless two different agents are both wall-stuck, in which case split by urgency.
- Push one tier higher than feels safe and see if you still clear. If yes, that is your new home. If no, drop back and try again next week after an upgrade.
- Roll the rest of your Battery into your Drive Disc farming so your relics keep pace with the promotions you just unlocked.
For the wider weekly plan (dailies, Shiyu, and where Notorious Hunt fits against your other stamina sinks), the Inter-Knot progression roadmap and the leveling material priority guide lay out the full pecking order.
The short version
Notorious Hunt is the weekly boss run that keeps your agents growing, its real currency is the three bonus attempts you must spend before every reset, and you get the most out of them by pushing the highest tier you can cleanly clear and aiming every attempt at the agent that is actually wall-stuck. Treat it as a chore and you will always be one promotion behind. Treat it as a weekly appointment and your account never stalls.
Sitting on a stuck carry? Grab this month's free codes and rewards for a Polychrome and material top-up, and if you are weighing where to spend those pulls next, the who-to-pull guide sorts the current banners.