Most new agents in Zenless Zone Zero fall into one of two damage languages. Attack is the one everybody learns first: dodge, counter, chain into a big burst window, delete the boss. Anomaly is the other one, and it plays almost backwards. You are not chasing a perfect-dodge burst. You are stacking a status effect until it detonates, then swapping to stack the next one. Done right, an Anomaly team melts enemies that never gave you a clean opening, which is exactly why it clears the modes that punish greedy Attack play.
If Anomaly has never clicked for you, the problem is almost always that you are gearing it like an Attack agent. Let us fix that from the ground up.
What "Anomaly" actually is
Every attribute in ZZZ has an anomaly, a status effect you build up by landing hits of that element. Fill the hidden buildup bar and the anomaly procs, dealing damage that scales off your Anomaly Proficiency and the enemy's level, completely independent of your normal hit damage.
| Attribute | Anomaly | What it does |
|---|---|---|
| Physical | Assault | A single big burst of damage plus heavy Daze |
| Fire | Burn | Damage over time |
| Electric | Shock | Damage over time with extra bonus hits |
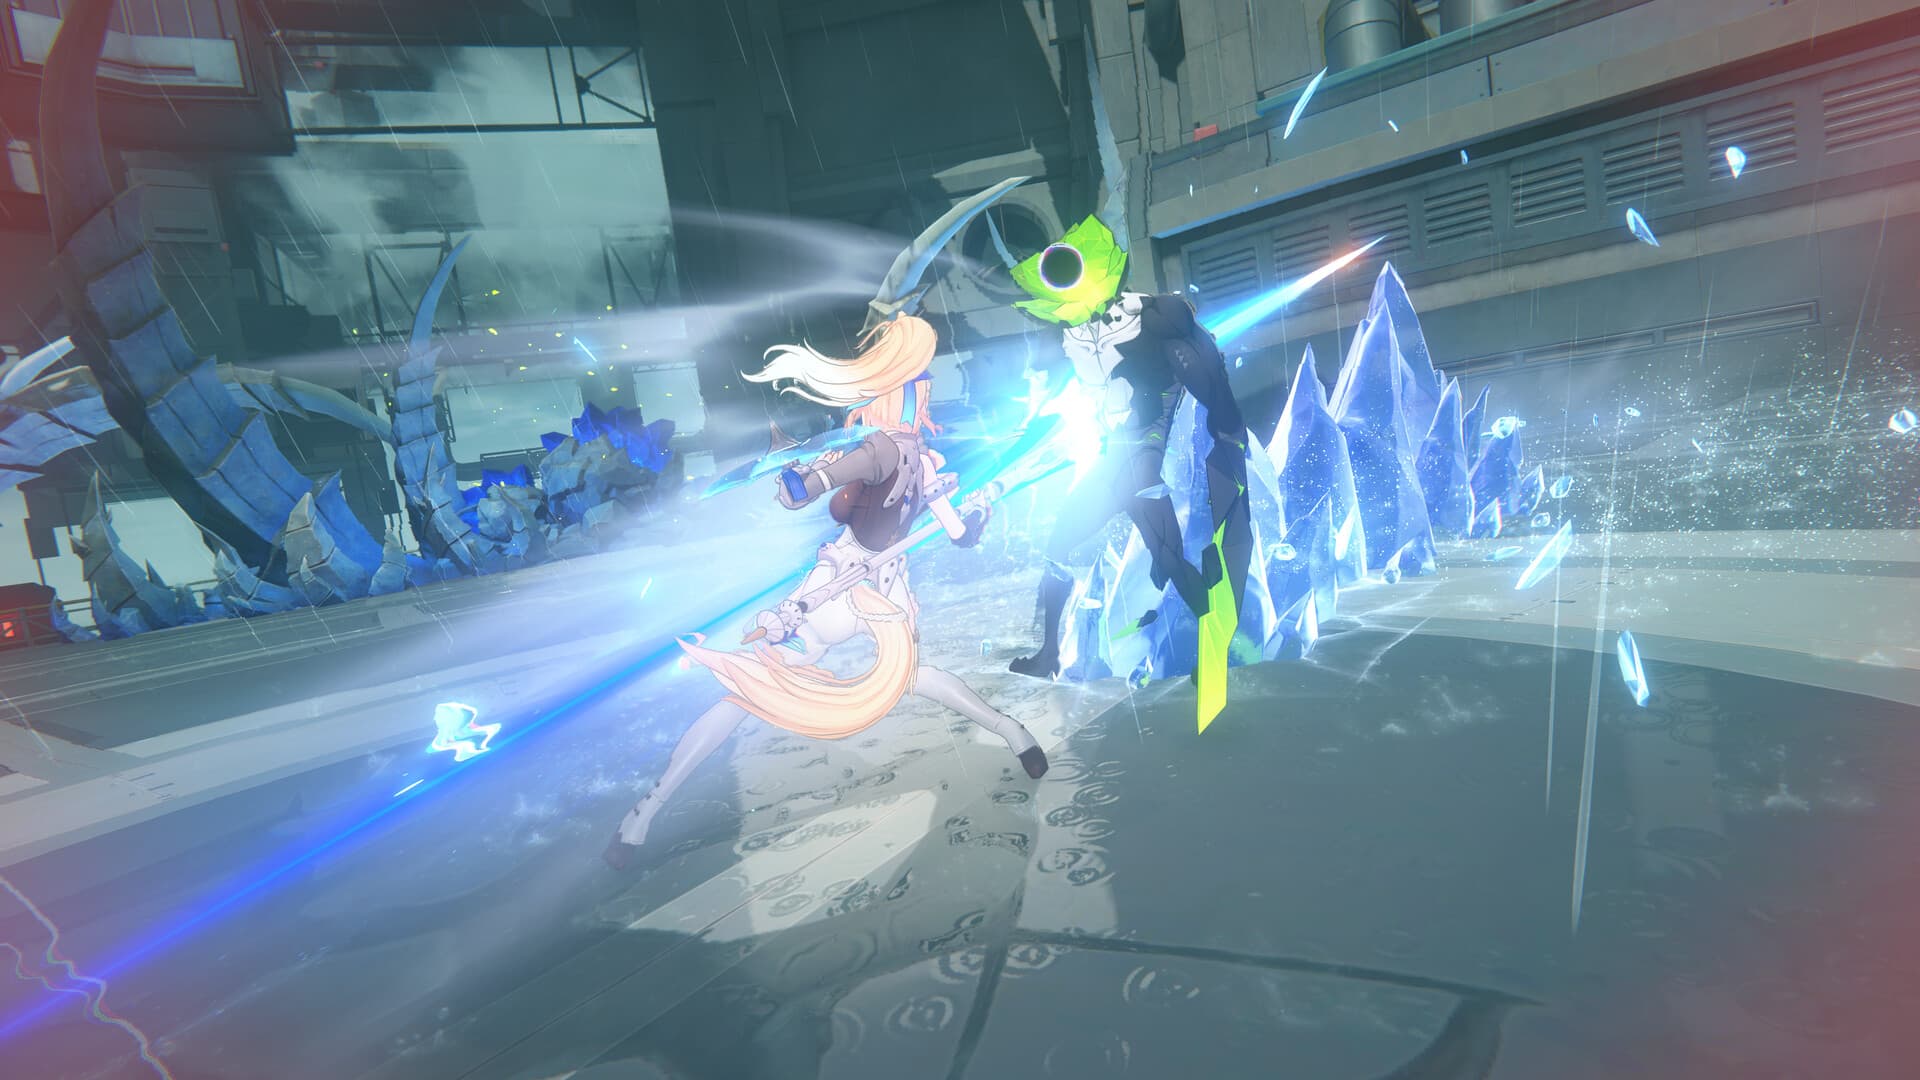
| Ice | Freeze then Shatter | Locks the target, then a burst when it breaks |
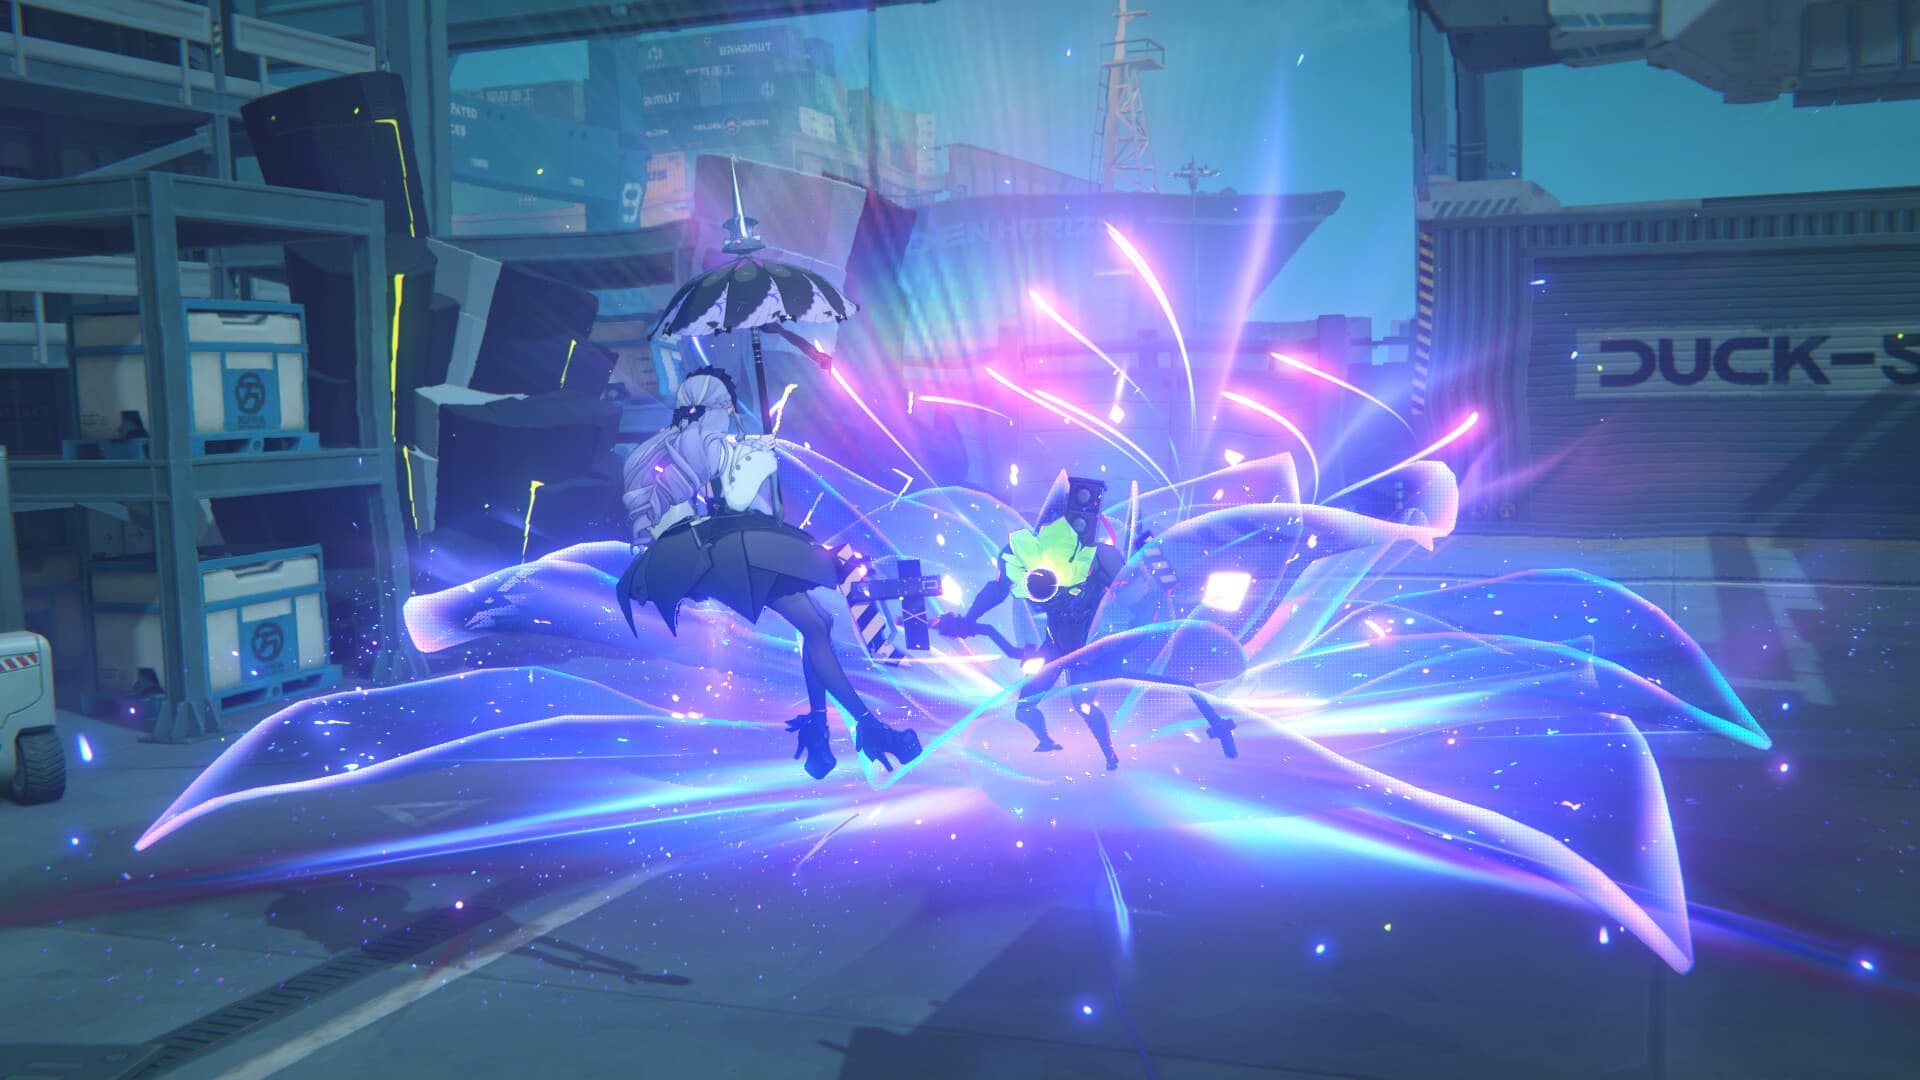
| Ether | Corruption | Damage over time plus a damage-taken debuff |
The key mental shift: anomaly damage does not care about your dodge or your burst timing. It ticks on its own once applied. Your job as an Anomaly player is to keep buildup flowing and let the status do the killing.
Disorder: the payoff that separates good Anomaly teams from great ones
Here is the mechanic that makes the archetype hit like a truck instead of a wet towel. Disorder triggers when you apply a new anomaly to a target that already has a different one active. The old anomaly is consumed, and in exchange you get a burst of Disorder damage scaled partly on the remaining duration of the anomaly you just overwrote.
That is why Anomaly teams love two different attributes, not one. A mono-element Anomaly team can only refresh the same status. A dual-attribute team can apply anomaly A, then anomaly B, popping Disorder, then A again, popping Disorder the other way, chaining burst after burst. Disorder is the engine. Two elements are the fuel.
The two stats that matter (and the one that does not)
This is where most failed Anomaly builds go wrong. On an Attack agent you stack CRIT Rate, CRIT DMG, and ATK. Anomaly agents largely ignore CRIT, because anomaly and Disorder damage cannot crit. Instead you build:
- Anomaly Proficiency (AP): speeds up how fast you build the anomaly bar. More AP means anomalies proc more often, which means more Disorder. This is your buildup stat.
- Anomaly Mastery (AM): scales the damage of the anomaly and Disorder once it procs, along with ATK. This is your damage stat.
You want both, weighted by role. A dedicated Anomaly carry wants a healthy pile of AP to keep procs flowing, with AM and ATK behind it. Do not sink substats into CRIT on these units. It is dead weight. Our Drive Discs and W-Engines guide covers which sets and main stats to target slot by slot, but the one-line version is: AP-boosting sets, and main stats that push AP, AM, and ATK, never CRIT.
The team skeleton
Every Anomaly comp fills the same three jobs. Get the roles right and the roster sorts itself.
| Role | Job | Notes |
|---|---|---|
| Anomaly carry | The main buildup engine, on-field most of the fight | Your highest-AP agent, primary attribute |
| Second Anomaly / Disorder enabler | Applies a different anomaly to trigger Disorder | Different attribute from the carry, this is non-negotiable |
| Support or Stun | Buffs AP/AM, or provides Daze and energy | Anomaly-flavored supports amplify the whole team |
The load-bearing slot is the second anomaly applier of a different attribute. Skip it and you have no Disorder, and an Anomaly team without Disorder is doing a fraction of its potential damage. If you take one thing from this guide, take that.
Three ways to build the core
You do not need a specific banner unit to run Anomaly. You need the shape. Three reliable patterns, from most to least demand on your roster:
- Dual-anomaly Disorder core. Two strong Anomaly agents of different attributes plus a support. This is the ceiling: constant Disorder procs, both agents feeding each other. It asks the most of your account but pays the most back.
- Anomaly carry plus off-field applier. One primary Anomaly carry does the heavy buildup on-field, while a lower-investment off-field agent of a second attribute pokes just enough to keep Disorder triggering. The budget-friendly version of the ceiling.
- Anomaly plus Stun hybrid. Pair an Anomaly carry with a Stun agent to blend both damage languages: Daze the target into the stun window, and let anomalies tick through it. Flexible and forgiving, good for players still building a second Anomaly unit.
For who currently slots best into each role, cross-reference the ZZZ tier list rather than memorizing a fixed roster, because the Anomaly meta shifts every time a new agent drops. The archetype, though, does not change. Buildup, two attributes, Disorder.
Where to test it
Anomaly's strengths show up hardest in sustained, multi-wave content where Attack burst windows get awkward. Take a freshly built Anomaly core into Shiyu Defense and Deadly Assault, the two endgame modes that reward it best, and you will feel the difference immediately: enemies you used to fight for a clean opening now just erode while you reposition.
Grab the current redemption codes for free Polychrome before you start rolling for AP substats, and if you are still assembling your first roster, the who to pull guide flags which Anomaly agents are worth prioritizing. Once the archetype clicks, it is hard to go back. Anomaly does not ask for perfect play. It asks for the right two elements and a room full of enemies.