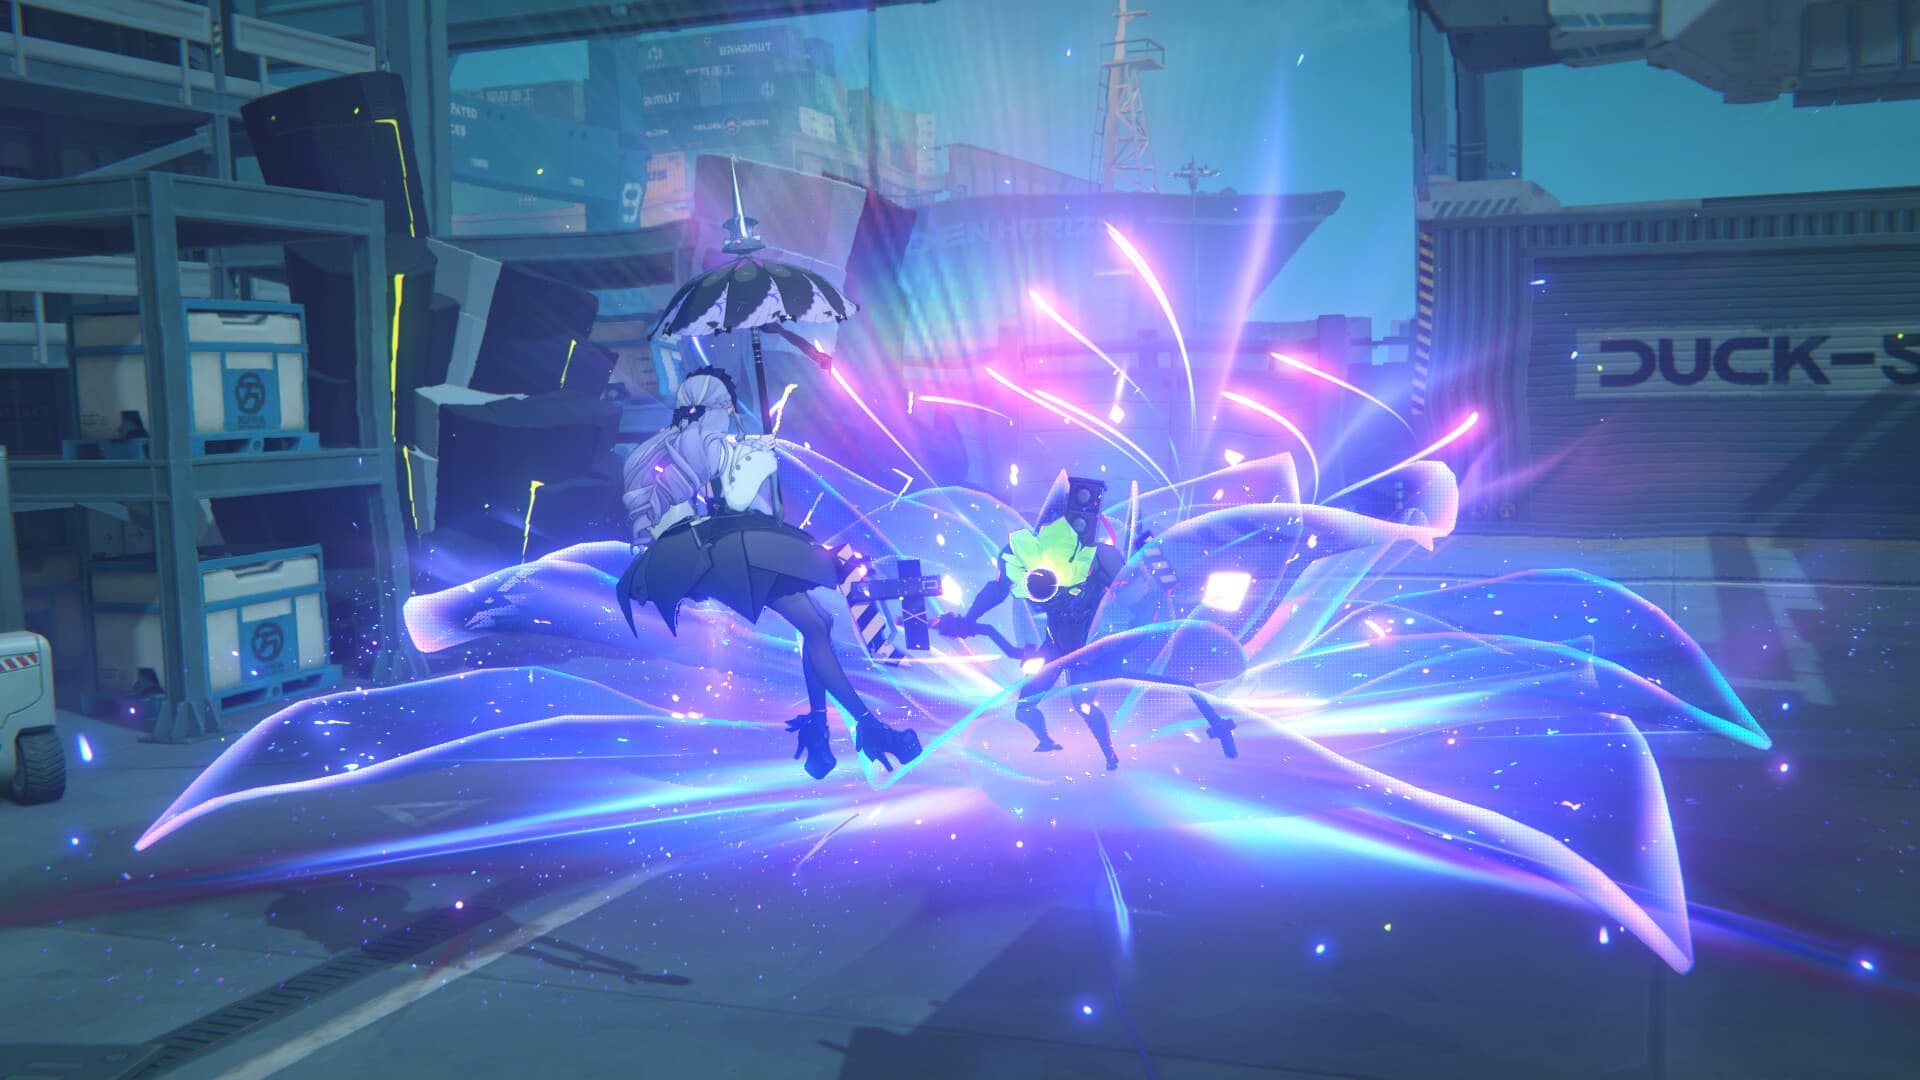
There are two ways to kill things in Zenless Zone Zero. One is the direct route: hit the enemy, stack Daze, stun it, and let a DPS carry dump a burst window. The other is quieter and, once it clicks, borderline addictive: you paint status effects onto the enemy and let those effects do the killing while you keep moving. That second route is Anomaly, and it runs on a stat page that looks almost identical to the crit-based one but rewards the exact opposite build.
Get the difference wrong and your Anomaly Agent hits like wet paper. Get it right and you have a team that clears the endgame on autopilot, ticking damage the whole time your on-field agent is dodging. Here is the entire system, from what a single hit does to the enemy's hidden buildup bar all the way up to Disorder, the payoff that only Anomaly teams can trigger.
Two damage tracks, not one
Every enemy in ZZZ quietly tracks two separate meters, and confusing them is the root of most bad Anomaly builds.
- Daze is the stun track. You fill it with impact, it caps, the enemy staggers, and you get a Stun window where damage is multiplied. This is the Daze, Stun, and Stagger loop that Stun Agents live on.
- Anomaly Buildup is a completely different bar, one per Attribute. Every attack you land contributes buildup of your Agent's Attribute, and when that hidden bar fills, the matching Attribute Anomaly triggers.
The two tracks interact (a stunned enemy takes more of everything), but they are filled by different stats and cashed out in different ways. Anomaly does not care about your Stun window the way a direct DPS does. It cares about how fast you fill the buildup bar and how hard the resulting status effect ticks.
What each Attribute does when the bar fills
When an enemy's Anomaly Buildup for an Attribute maxes out, it suffers that Attribute's signature status. The core five:
- Physical becomes Assault. A single heavy burst of Physical damage on trigger, and it feeds the enemy's Daze, which is why Physical Anomaly Agents double as stun pressure.
- Fire becomes Burn. A straightforward damage-over-time, the enemy cooking for the duration.
- Electric becomes Shock. Damage over time that also fires an extra hit whenever the enemy is struck again, so it scales with how often you are hitting.
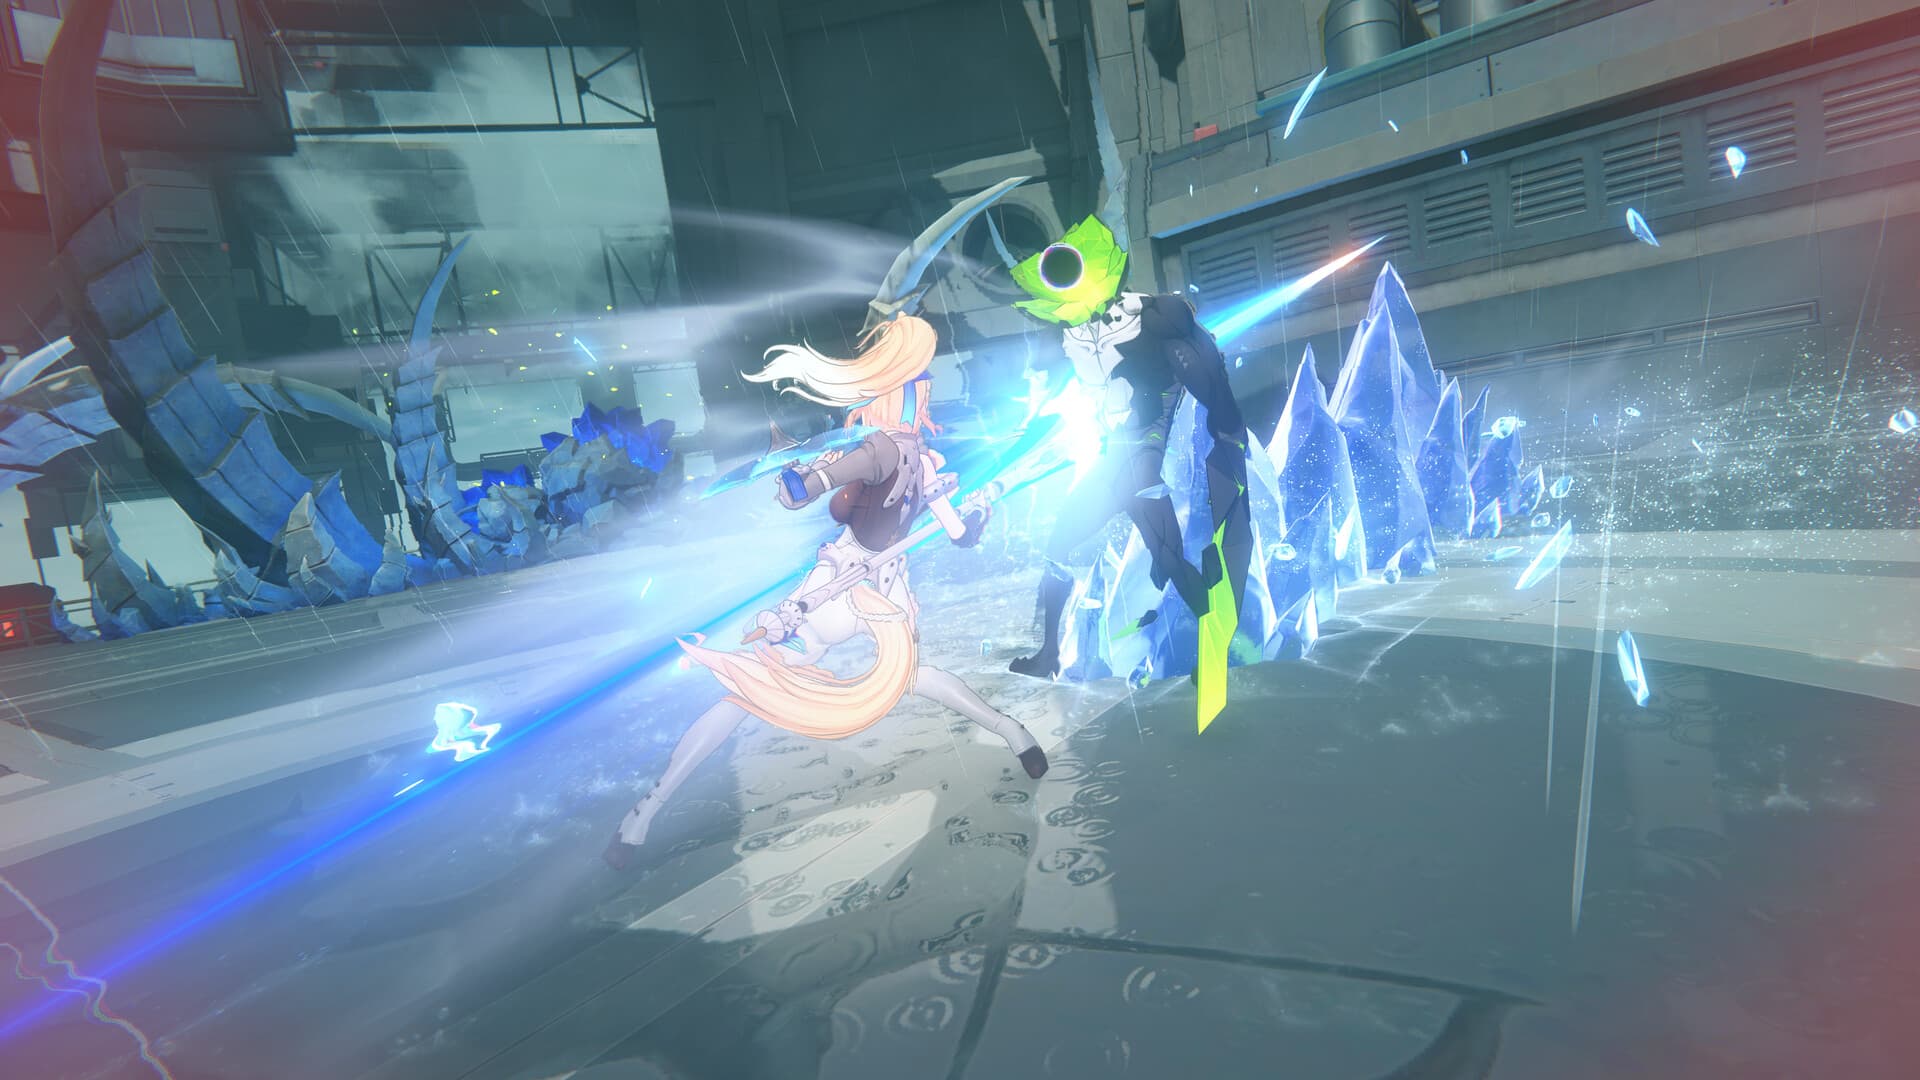
- Ice becomes Freeze. The enemy is frozen solid, and when the freeze breaks (or you hit it hard) it takes Shatter damage. Freeze is control and damage at once.
- Ether becomes Corruption. A stacking damage-over-time that also opens the enemy up to more punishment as it builds.
ZZZ has since added Attributes beyond these five, and each brings its own flavor of Anomaly rather than reusing an old one. The Frost variant leans on a Frostbite effect that pairs freeze-style control with a damage bloom, and the newest Lumiflux Attribute that debuts with Remielle runs its own reaction rather than slotting into the classic list. The takeaway is not to memorize every one: it is that the system is identical no matter the Attribute. Fill a bar, trigger a status, and the status damage is governed by the two stats below.
The stat that trips everyone up: Proficiency vs Mastery
Both stats have "Anomaly" in the name and both live on the same character sheet, so players stack them interchangeably. They are not interchangeable. They do different jobs, and knowing which is which is the single most important thing on this page.
Anomaly Proficiency is your damage stat. The damage a triggered Anomaly deals scales with the Anomaly Proficiency of the Agent who applied it. Higher Proficiency, harder-hitting Burn, Shock, Assault, and so on. This is the number an Anomaly carry lives and dies on, the way an Attack DPS lives on ATK and CRIT. When you see an Anomaly build stacking a stat hard, it is almost always this one.
Anomaly Mastery is your buildup-rate stat. Every Agent starts at a base Anomaly Mastery of 100, and raising it makes your attacks fill the buildup bar faster, so Anomalies trigger more often. Mastery also governs how hard Disorder hits, which we get to below. It does not, on its own, raise the damage of a normal Burn or Shock the way Proficiency does.
Put simply: Proficiency is how hard the Anomaly hits. Mastery is how quickly and how often you get to trigger it (and how big your Disorder detonations are). A dedicated Anomaly carry pours investment into Proficiency for raw ceiling; Mastery tends to come from the Agent's own kit and from supports, and it is what makes a rapid-fire Anomaly or Disorder team feel smooth rather than sluggish. If your Anomalies feel weak, you want Proficiency. If they trigger too slowly to matter, you want Mastery or faster hits.
Why Anomaly damage never crits (and what that means for your gear)
Here is the rule that rewrites the whole build sheet: Anomaly damage cannot crit. CRIT Rate and CRIT DMG do nothing for the status-effect portion of an Anomaly Agent's output. That single fact is why Anomaly builds look so different from Attack builds, and why copying a crit DPS gear template onto an Anomaly Agent quietly throws away half their damage.
Instead of the CRIT Rate and CRIT DMG an Attack carry chases, an Anomaly carry's damage multipliers are:
- Anomaly Proficiency, the direct scaling stat for Anomaly damage.
- ATK, because Anomaly damage still scales off the Agent's total ATK under the hood.
- Attribute DMG % matching the Agent's element, which buffs the whole package.
- Anomaly Mastery, for application speed and Disorder.
So on Drive Discs you steer main stats toward Anomaly Proficiency, ATK%, and the matching Attribute DMG bonus, and you value ATK and Proficiency substats rather than CRIT lines. The full slot-by-slot logic, including which partition wants which main stat, is in the Drive Disc and W-Engine guide and the deeper substat priority guide. The one-line version: if you find yourself putting CRIT DMG on an Anomaly carry, stop. It is a dead stat there.
There is one honest caveat. Some newer Agents blend direct hits with Anomaly, and a few kits convert or benefit from stats in ways that reward a small crit consideration on their non-anomaly damage. Those are exceptions with kit text that tells you so. The default, for a pure Anomaly carry, holds: build Proficiency and ATK, ignore crit.
Disorder: the payoff only Anomaly teams get
Everything above is the setup. Disorder is the reward, and it is the reason Anomaly teams are built the way they are.
Disorder triggers when you apply a new Attribute Anomaly to an enemy that is already suffering a different one. Say a Shock is ticking away and you now build up enough Fire to trigger Burn. The moment Burn lands, the game clears the existing Shock, converts its remaining duration into an instant burst of damage, and applies the new Burn on top. That burst is Disorder, and it scales with Anomaly Mastery. The more of the old Anomaly's duration was left, the bigger the detonation.
This is why the strongest Anomaly comps are not mono-element. A team running two different Attributes can keep cycling anomalies into each other, and every swap that overwrites a fresh status pays out a Disorder hit on top of the normal ticks. That loop is the entire basis of the Disorder team archetype, and it is why an off-element second Agent (someone who applies a different Anomaly) is often worth more than a second same-element hitter. Two elements means Disorder; one element just means the same bar filling faster.
A practical rule falls out of this: do not overwrite your own fresh Anomaly with the same Attribute if you can help it, and do time an off-Attribute trigger to land while the first status still has duration left, because that leftover duration is exactly what Disorder cashes in.
Buildup, decay, and enemy resistance
A few mechanics around the buildup bar itself decide whether your Anomalies come online in one rotation or three.
- Buildup accumulates from hits, scaled by your application speed. Faster, more frequent attacks and higher Anomaly Mastery both fill the bar quicker. This is why some Anomaly Agents feel great with a rapid multi-hit kit and why field time matters.
- Buildup decays if you stop applying it. Leave an enemy alone and the bar bleeds down, so Anomaly wants sustained pressure, not a single big hit and a long gap.
- Tougher enemies resist harder. Bosses and higher-level enemies have a larger maximum buildup and often shrug off accumulation faster, so the same Agent triggers Anomalies noticeably slower on a Deadly Assault boss than on a pack of trash mobs. Plan your Proficiency and application accordingly: against a single elite, application speed (and a partner to keep the bar topped) is what stops the whole engine from stalling.
Stacking same-Attribute Agents is the direct answer to a stubborn bar: two Fire Agents fill the Burn bar roughly twice as fast, getting Burn online sooner. The trade, again, is that you give up the cross-Attribute Disorder loop to do it. Fast mono-anomaly versus rich two-element Disorder is the central team-building choice of the whole archetype.
How to actually build and play an Anomaly Agent
Pulling it together into a checklist you can act on:
- Identify the Agent's Attribute and lean into it. Match your Attribute DMG main stat and, ideally, your Drive Disc set bonus to that element.
- Main-stat for Anomaly Proficiency, ATK%, and Attribute DMG. Skip CRIT main stats entirely on a pure Anomaly carry.
- Value ATK and Anomaly Proficiency substats, not CRIT lines. Anomaly Mastery from the kit and supports handles application speed.
- Pair a second Attribute for Disorder, or a second same-Attribute Agent for faster single anomalies, depending on whether you want burst detonations or quick, reliable triggers.
- Keep applying. Anomaly rewards field presence and sustained hits; a stop-start rotation lets the buildup bar decay and kills your uptime.
For the roster side of this (which Agents apply which Anomaly, and who pairs into whom), the Anomaly Agent tier list and teams ranks the carries and enablers, and the broader Anomaly teams guide walks through building a squad around one. If you are still deciding between an Anomaly carry and a Stun-and-Attack core for your account, the Specialties and team roles guide lays out what each role actually contributes.
The short of it
Anomaly is a second, parallel way to deal damage in ZZZ: fill a hidden per-Attribute buildup bar with your hits, trigger a status effect when it caps, and let that effect tick. Its damage scales with Anomaly Proficiency, not crit, which is why you build ATK and Proficiency and treat CRIT as a dead stat. Anomaly Mastery is the other half, governing how fast you fill the bar and how hard Disorder detonates when a new Attribute overwrites an old one. Learn to keep two Attributes cycling into each other and you unlock the burst that direct-damage teams simply cannot access. Once that loop clicks, Anomaly stops feeling like the weird alternate build and starts feeling like the smoothest way to clear the game.
To turn the theory into pulls, the current Signal Search schedule shows which Anomaly Agents are reachable right now, the free redeem codes help fund the pulls, and the full ZZZ tier list puts every Anomaly carry in context against the Stun and Attack rosters.