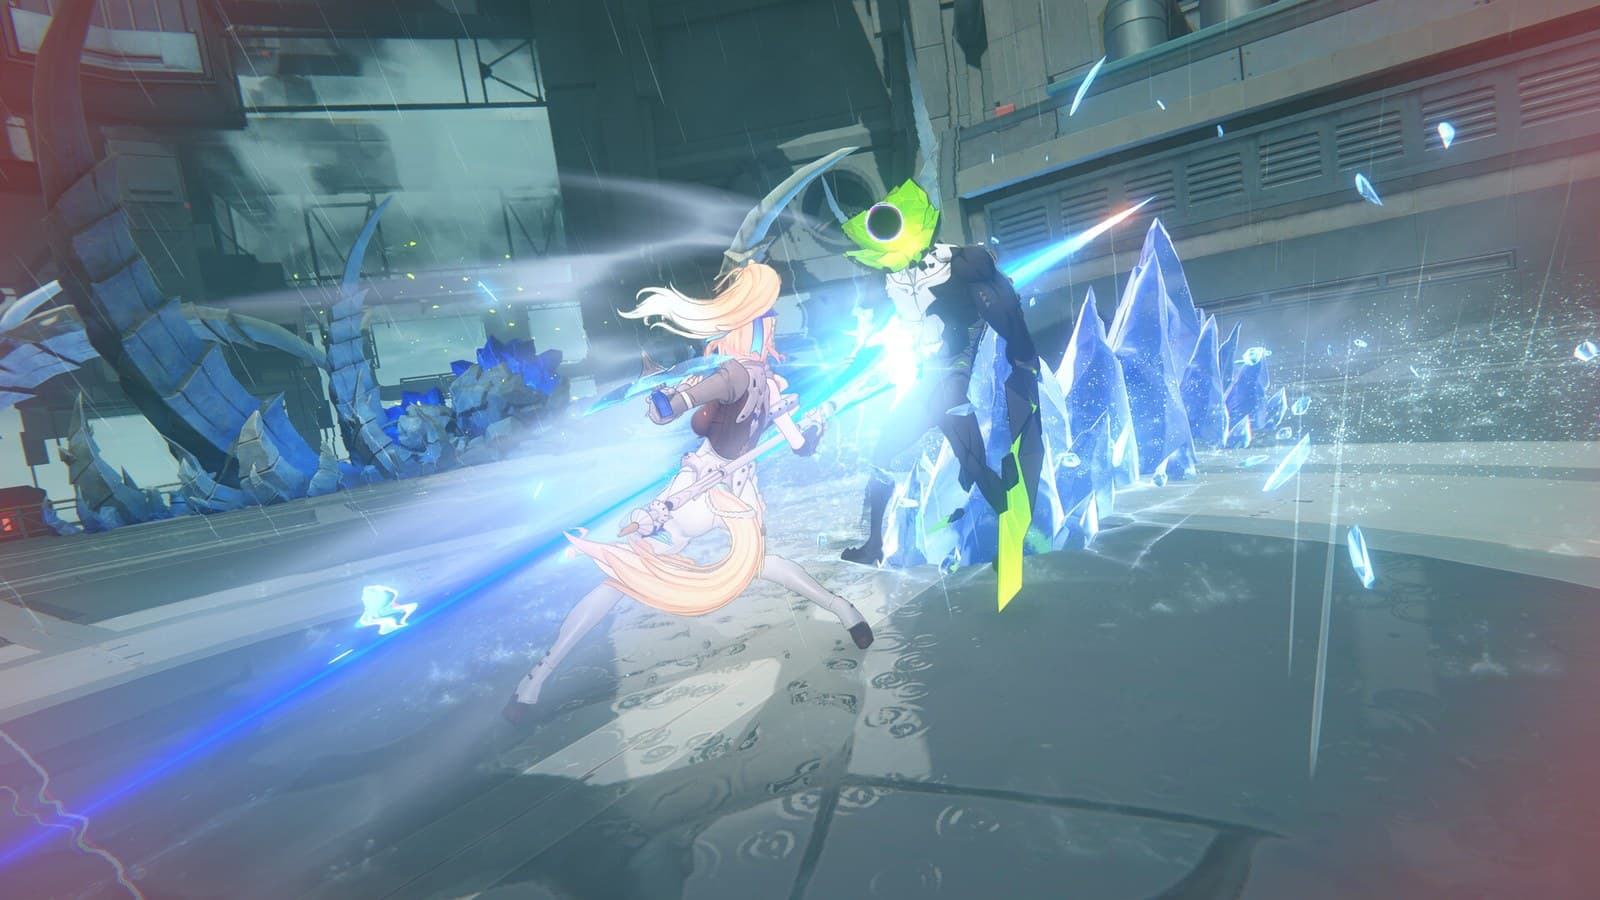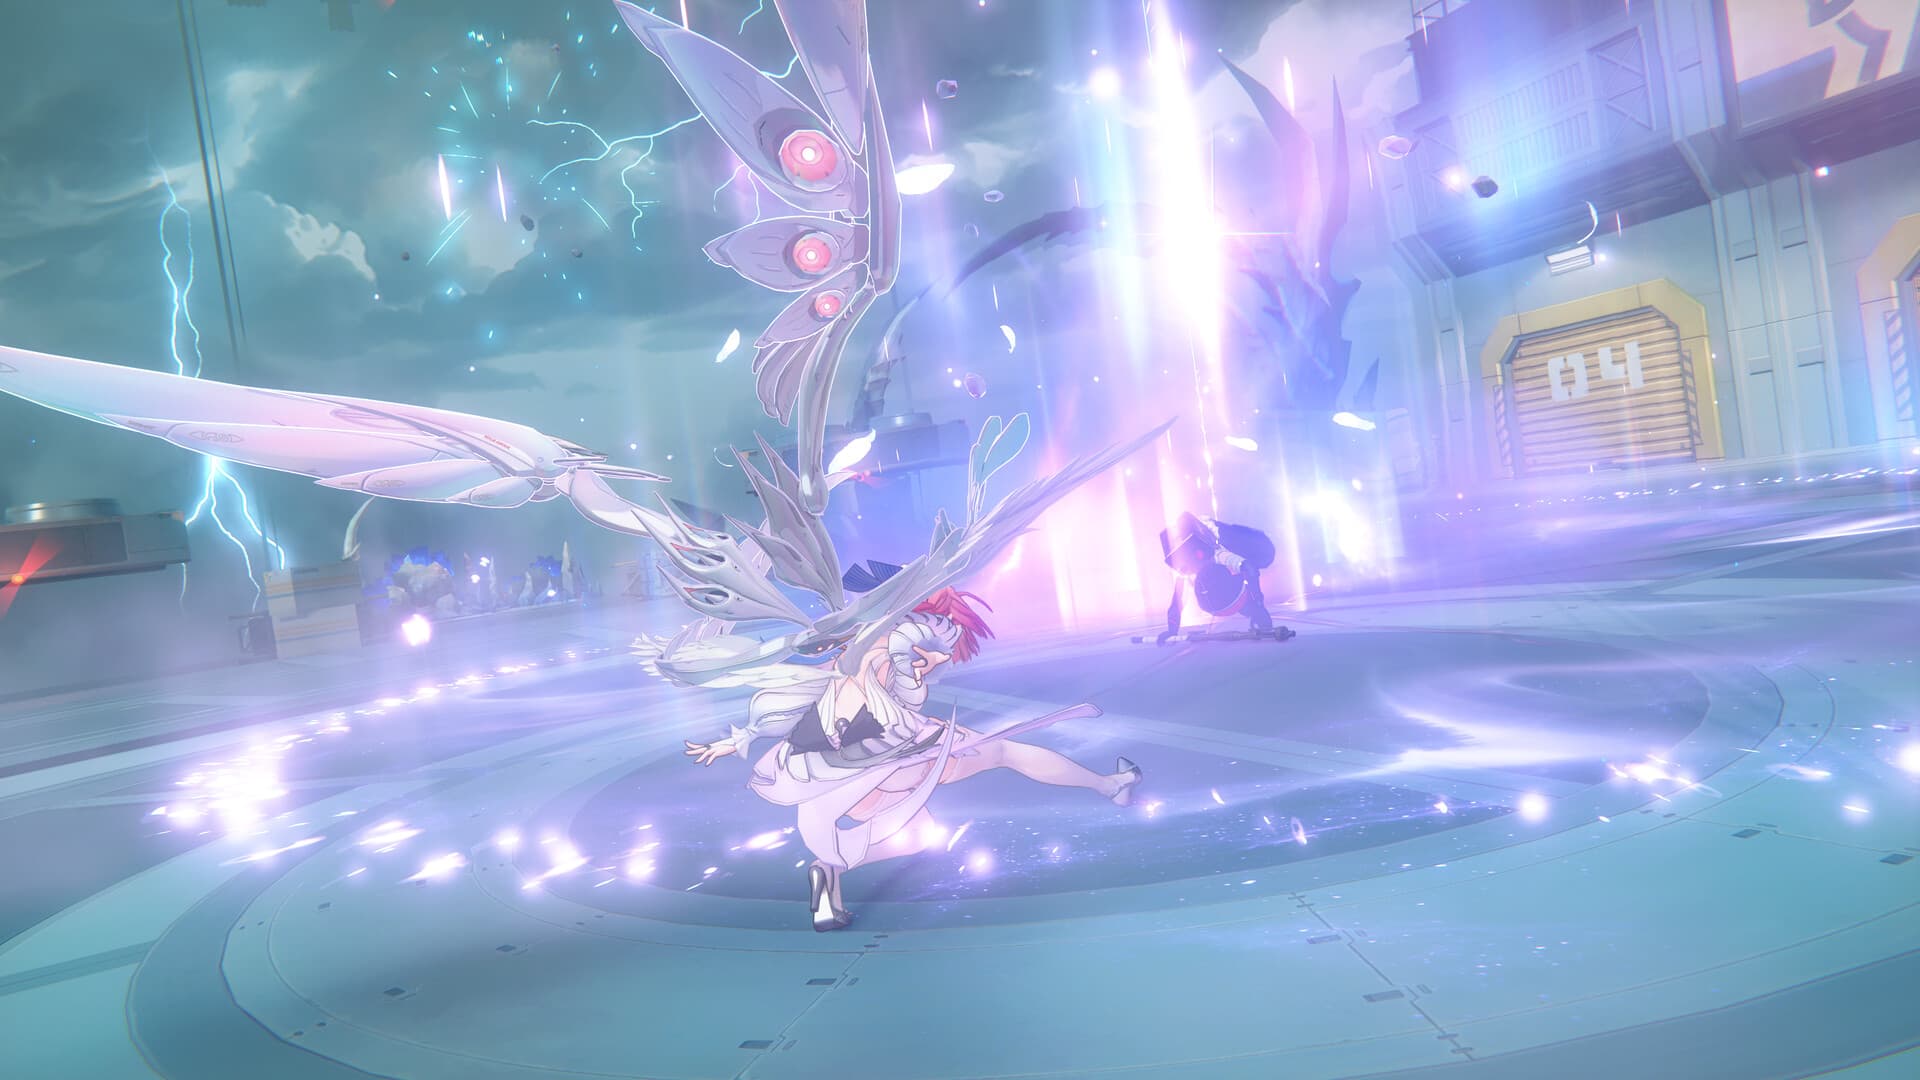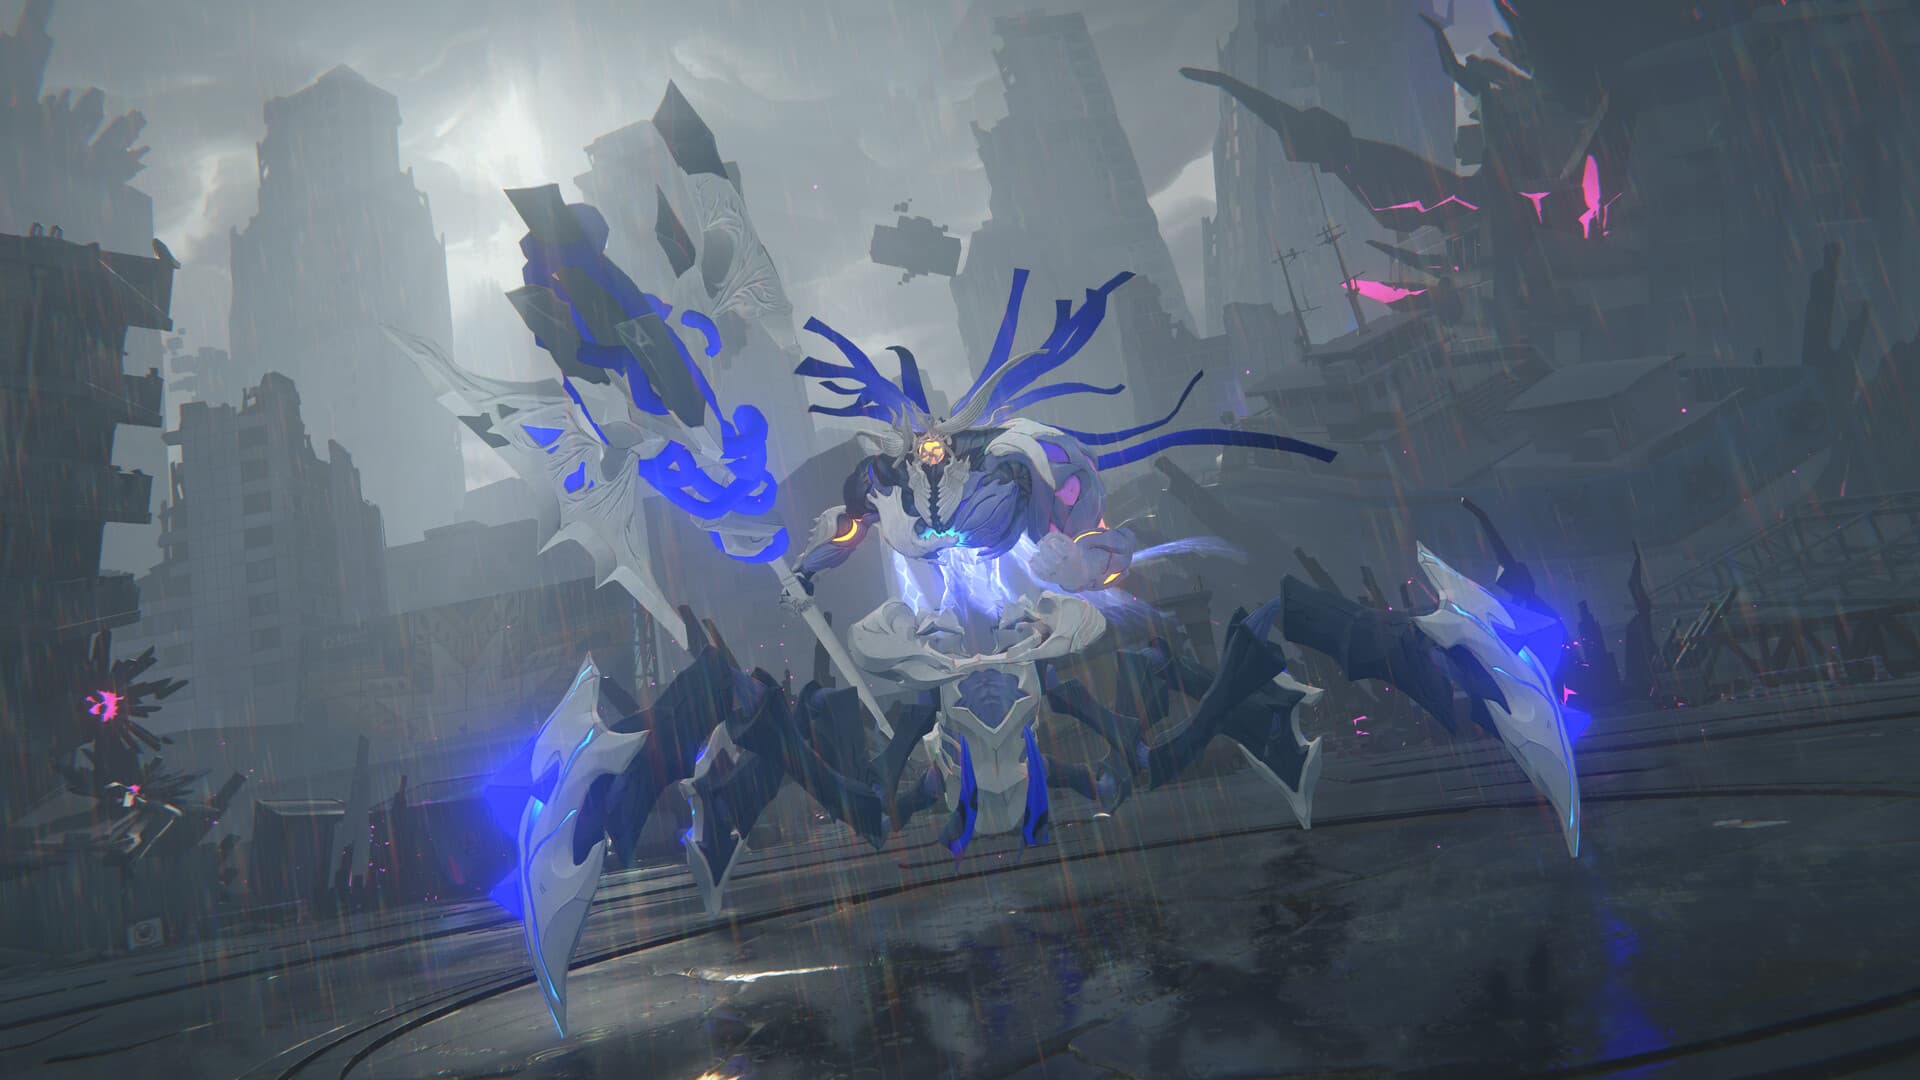
Most Zenless Zone Zero players trigger Disorder by accident and never notice they did it. That is the tragedy of the mechanic. Disorder is one of the highest single bursts of damage the Anomaly system can produce, and the game barely explains it, so the vast majority of Anomaly teams leave it on the floor while running a single attribute into the ground. Build for it on purpose and you unlock a second damage source that a mono-anomaly team simply does not have.
This is a ranking of the teams that trigger Disorder deliberately and repeatedly, not the ones that stumble into it once a fight. If you are new to the whole system, start with the Anomaly teams guide for the fundamentals, then come back here for the Disorder-specific overlay.
What Disorder actually is, in one paragraph
Every attribute in ZZZ has its own Anomaly: Physical has Assault, Fire has Burn, Electric has Shock, Ice has Frostbite, Ether has Corruption, and the newer attributes carry their own. Build enough Anomaly Buildup of one attribute and you inflict that status. Here is the part that matters: if you then inflict a different attribute's Anomaly on an enemy that already has one active, the new Anomaly consumes the old one and triggers Disorder, a burst of damage that scales up with the remaining duration of the Anomaly you just overwrote. In plain terms, two different anomalies on one enemy is worth far more than twice one anomaly, because the swap itself pays out.
So a Disorder team is built around a single question: how fast can two agents of different attributes each land their Anomaly, over and over, so the detonations never stop. The answer is what separates the tiers below.
What a Disorder team is scored on
Every placement here is a judgement against four things, which is worth internalizing before the list:
- Two-attribute buildup speed. You need two different anomalies going up fast enough to keep swapping. One agent that builds like a monster and a partner who barely contributes is not a Disorder team; it is a mono-anomaly team with a passenger.
- Rotation that alternates cleanly. The best Disorder comps let you cycle agent A, then agent B, then back, so each swap re-triggers the detonation. Clunky rotations that front-load one attribute waste the mechanic.
- Anomaly Proficiency and buildup support. A third slot that accelerates buildup, shreds resistance, or extends anomaly duration multiplies every Disorder trigger.
- A window-opener. As with any ZZZ team, a Stunner who cracks the Daze bar turns the whole rotation into a damage window. Our Stun agent tier list covers who does this best.
S tier: the Disorder specialists
These comps are built for Disorder from the ground up, with two fast, independent anomaly sources that trade detonations on a tight loop. They are the reason to build the archetype at all.
Electric-and-Fire double anomaly. The textbook Disorder core, and still the strongest expression of the idea. An Electric agent stacking Shock alongside a Fire agent stacking Burn gives you two of the fastest-building, highest-uptime anomalies in the game, and the two attributes cover each other's downtime perfectly. You alternate the two carries, each swap detonates the other's status, and a proficiency support underneath keeps both bars climbing. When people say "Disorder team" without qualifying it, this is what they mean, and it clears the hardest content the game has.
Fast-swap dual-anomaly with a dedicated buildup support. Any two agents whose attributes differ, whose kits both apply their Anomaly off-field or on quick swaps, and who share a support built to accelerate Anomaly buildup. The specific attributes matter less than the tempo: if you can land both statuses inside one rotation and keep them alternating, you are in S tier. This is the flexible version of the core above for accounts that own a different pair.
A tier: strong Disorder, with a caveat
These trigger Disorder well but ask for a favorable target, a specific agent, or slightly tighter play than the S-tier cores.
Anomaly hypercarry plus a secondary applicator. A dominant single-attribute Anomaly carry, the kind that anchors a mono-anomaly team, paired with a second agent whose only job is to land a different Anomaly so the hypercarry's status detonates on swap. This leans more on the hypercarry's raw output than on balanced Disorder trading, so it is really a hybrid: mono-anomaly damage with Disorder as a bonus layer. Excellent, and often the highest total damage, but it is not a pure Disorder team and it wants the hypercarry's ideal support to stay online. The newer Anomaly headliners like Remielle slot into this shape naturally when paired with an off-attribute partner.
Three-attribute chaos comps. Teams that run three different anomaly sources and let Disorder fire off whichever two collide. Chaotic, genuinely fun, and strong against single tough targets, but the buildup gets spread thin across three attributes, so no single anomaly climbs as fast. It rewards a target that stands still long enough for everything to stack. A tier against bosses, shakier against fast-moving packs.
Ice-paired Disorder cores. An Ice agent building Frostbite alongside an off-attribute partner produces strong Disorder detonations and brings the incidental value of Shatter and freeze-adjacent control against enemies that allow it. It lands a notch below the Electric-Fire core purely because Ice buildup pacing can be less forgiving, but against the right boss it is right there with the best.
B tier: it triggers, but you are not building for it
These comps produce Disorder occasionally rather than as a plan. They clear content, but the detonations are a side effect, not the engine.
Single-anomaly teams that dip a second attribute. A committed mono-anomaly team that happens to carry one agent of a different attribute will trigger Disorder now and then. It is a nice bonus, but the team is optimized for one status, so the swaps are infrequent and the second attribute never builds enough to detonate a full-duration anomaly. Run it for the mono-anomaly damage and treat Disorder as gravy.
Disorder-in-name-only pairings. Two off-attribute agents whose buildup is too slow, or whose rotations do not alternate, technically satisfy the "two attributes" requirement without ever landing the fast, repeated swaps Disorder wants. This is the most common mistake: assuming any two different colors makes a Disorder team. Buildup speed and rotation are the mechanic; the color wheel is just the entry ticket.
Building the third and fourth slots
A Disorder core is really the two anomaly agents; the other two slots decide whether it hums or sputters.
- Anomaly Proficiency support. The single most valuable addition. A support that raises Anomaly Proficiency, accelerates buildup, or shreds the enemy's resistance multiplies every detonation. Do not run a Disorder core without one if you own one.
- The Stunner question. A Daze-focused Stunner opens the damage window that makes the whole rotation land inside a vulnerability, exactly as it does for any ZZZ comp. In some fast Disorder cores you can go without and lean fully into buildup, but a Stunner is the safer, higher-ceiling choice against tanky targets.
- Drive Discs matter more here. Disorder scales with Anomaly output, so the Drive Disc and substat priorities for your anomaly agents are not optional; Anomaly Proficiency and attribute damage on the right slots are what turn a mediocre detonation into a big one.
Where Disorder earns its slot
Disorder shines brightest in sustained fights against one or two durable targets, which is exactly what the game's hardest modes throw at you. It is a real contender in Deadly Assault and holds up across Shiyu Defense, because both reward a team that keeps a second damage source firing while the primary one ramps. Against swarms of fragile enemies it is less special, since things die before two anomalies can stack and swap; there, a straight Anomaly or DPS team often clears faster.
The top of the board
Disorder detonates one anomaly by overwriting it with a different one, and it is worth building for on purpose because two attributes on a single enemy pay out far more than one. The Electric-and-Fire core is the gold standard; any fast, clean-alternating dual-anomaly pair with a proficiency support is S tier alongside it. Anomaly hypercarries with a second applicator and three-attribute chaos comps are strong A-tier options, while mono-anomaly teams that merely dip a second color trigger Disorder by accident rather than design. Feed the core a buildup support and the right Drive Discs, and it becomes one of the most satisfying damage engines ZZZ has. For the individual agents behind these comps, the Anomaly agent tier list ranks who builds fastest, the full ZZZ tier list covers the whole roster, and the current Signal Search banners show which anomaly agents you can pull right now.