Two nodes. Two teams. One timer that decides your stars. Shiyu Defense is the most honest tier list in Zenless Zone Zero because it does not care how strong your account looks on paper. It cares whether your two best teams both delete their side before the clock runs down. That is the whole test, and it is why a roster with one monster carry and a threadbare second team scores worse than an account with two clean, well-matched fives.
So read this ranking as a set of pairs, not a leaderboard of single Agents. The Shiyu Defense guide has the reset schedule and reward tiers; the full ZZZ tier list rates each Agent on their own. This page is about which two teams you send, and why one of them wants a different shape than the other.
Why the two nodes are not the same job
Shiyu Defense splits into two combat zones that you clear with separate squads, and no Agent carries over between them. The catch that trips people up: the two sides usually reward slightly different things.
- The first node tends to throw a pack of smaller enemies and adds at you. Clear speed here is about wave-clearing and getting your carry's damage rolling before the timer bleeds away, so Agents who ramp fast or hit groups pull ahead.
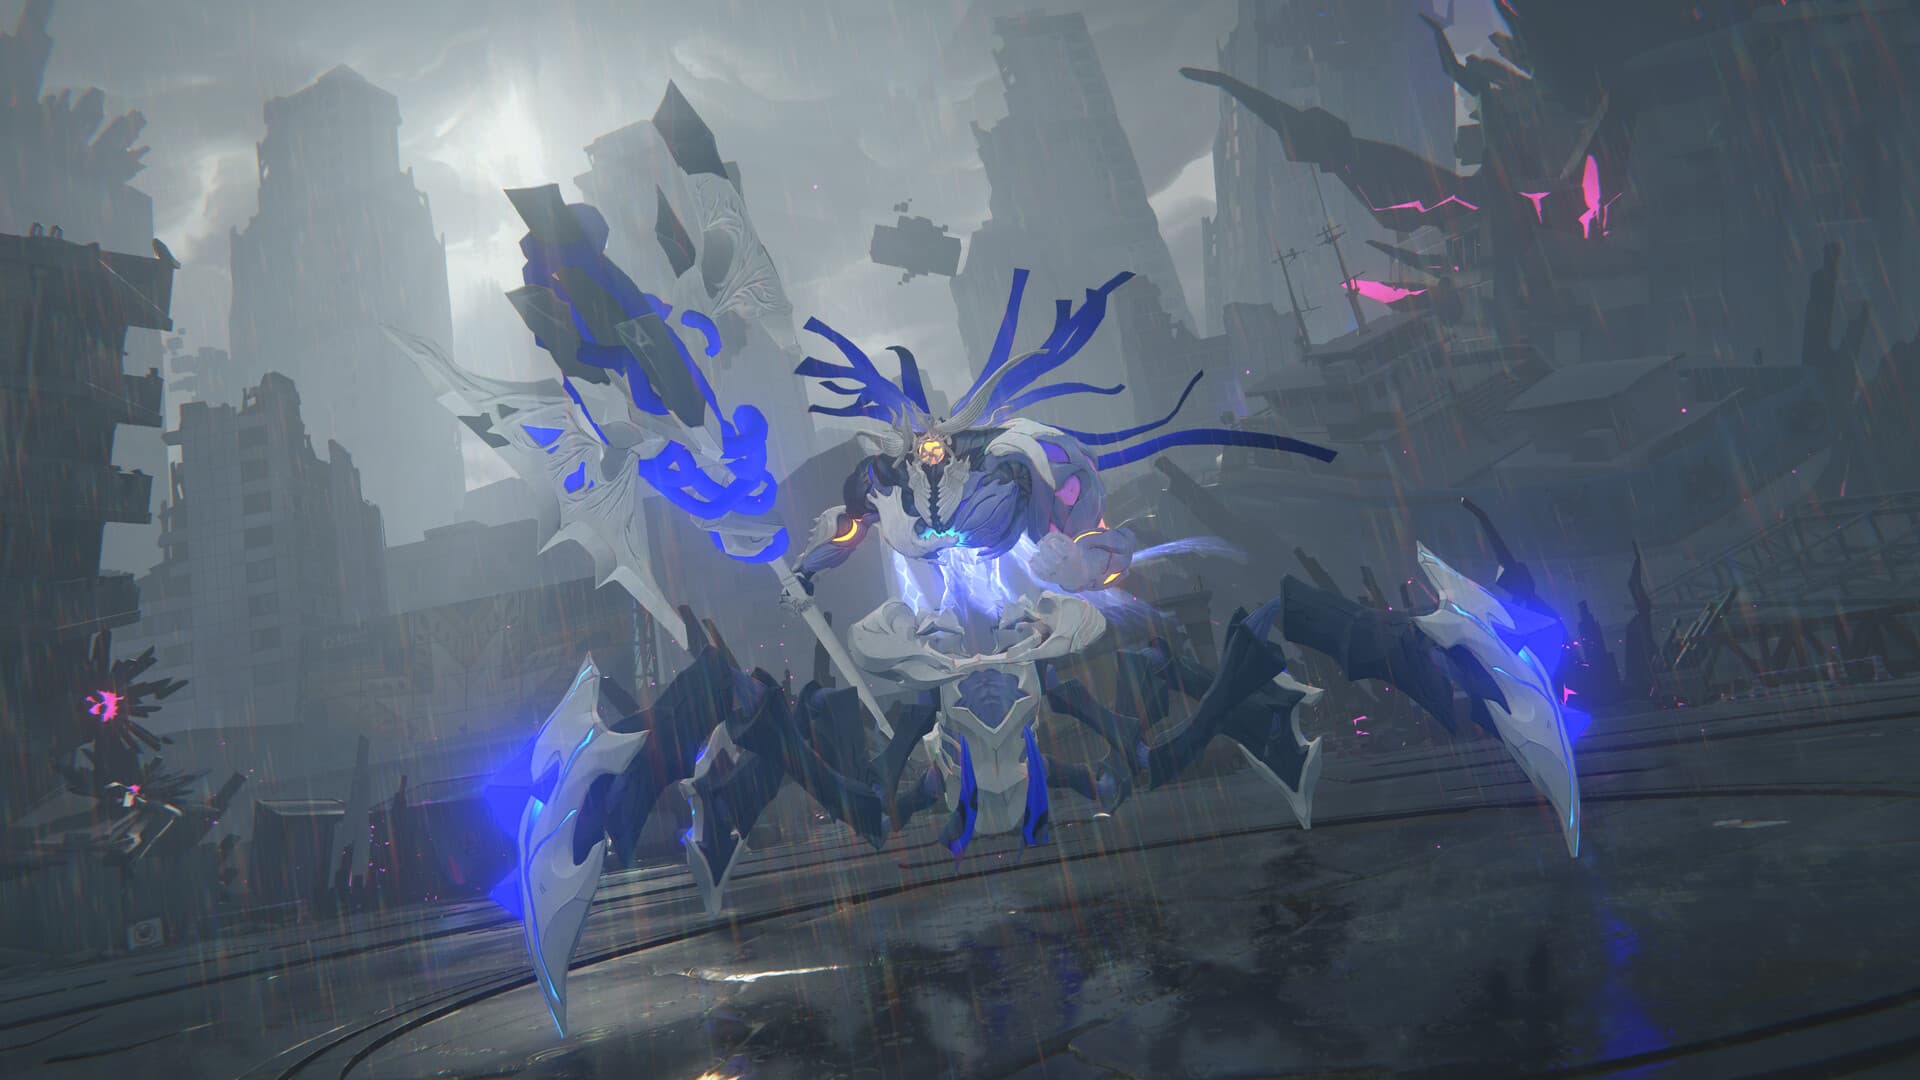
- The critical node (the deeper side) is the one built around a boss or an elite with a real health pool. This is where single-target burst, a clean stun window, and sustained anomaly pressure decide the score. Your hardest-hitting pair belongs here.
Everything below is ranked on how reliably a comp posts a top-tier clear on the side it is built for, on realistic investment. When a team is elite on one side and mediocre on the other, that is noted, because the whole game is assigning the right team to the right node.
S tier: send these and stop worrying
These are the comps that three-star their side across almost any rotation, as long as you respect the enemy's weakness.
Ice burst: Ellen or Sigrid, a stunner, a support
Ellen Joe / Sigrid de L'Azur + Qingyi (or another stunner) + Astra Yao / Soukaku.
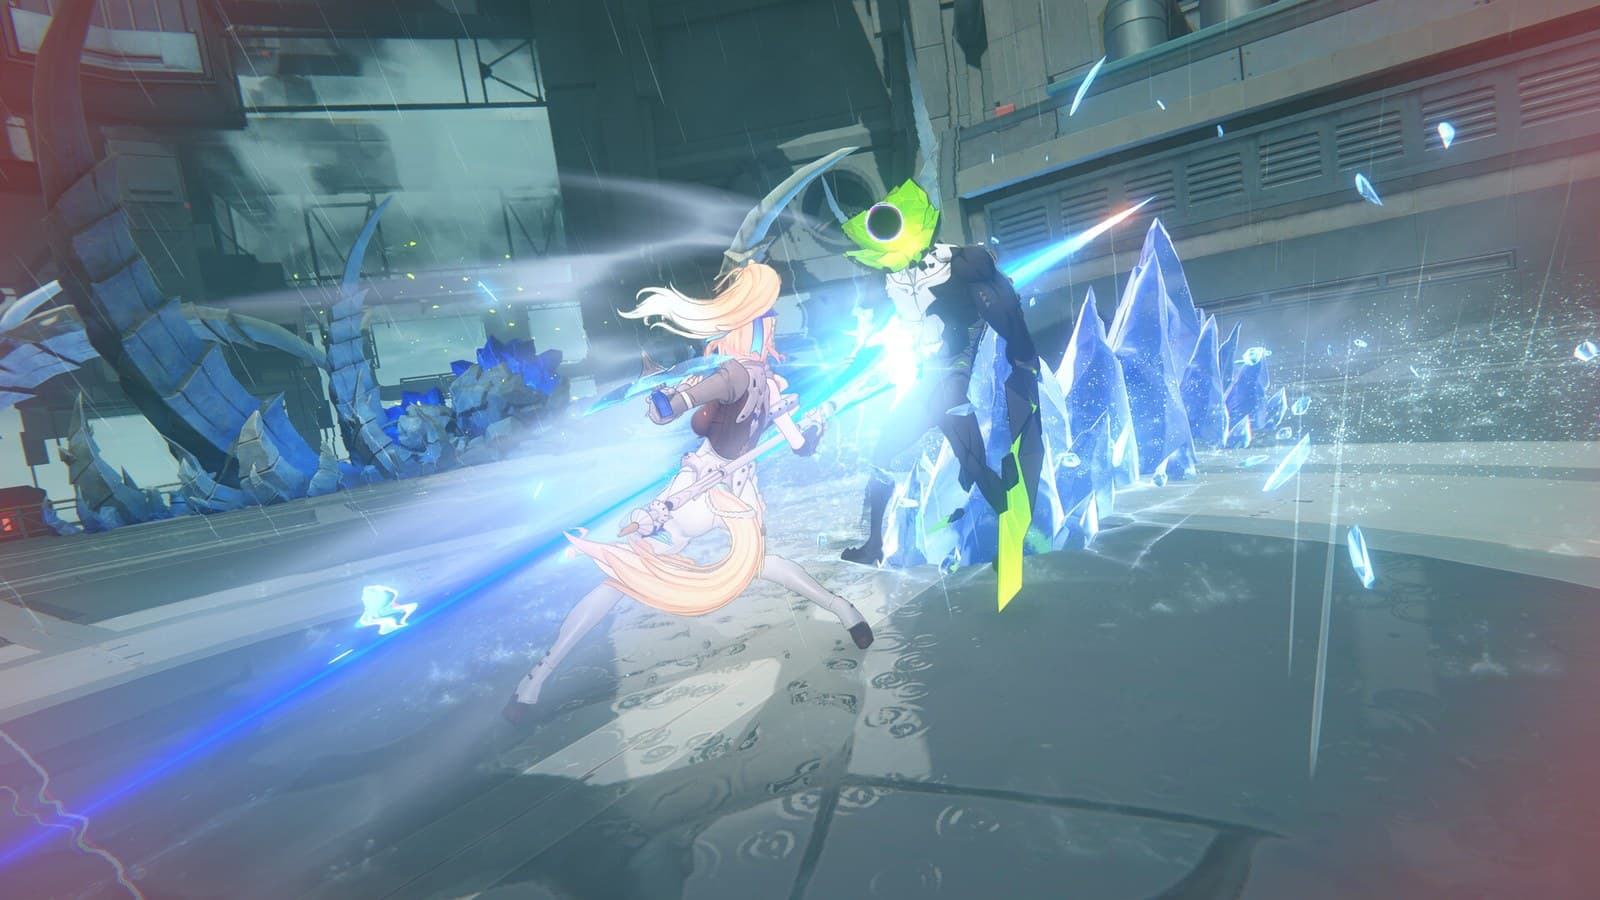
The cleanest single-target delete in the game and the default pick for the critical node whenever the boss leans Ice-weak. The stunner opens the window, the buffer stacks the multipliers, and the Ice carry unloads a burst that ends the fight before the timer becomes a variable. Sigrid plays a rhythm around her Knight's Focus mechanic and Ellen plays around her charged bites, but the team shape is identical: enable, buff, burst. If your Ice core is your best-built team, it goes on the harder node.
Anomaly detonation: Miyabi or Remielle, an anomaly partner, a support
Hoshimi Miyabi / Remielle + Burnice / Yanagi + Caesar or Astra Yao.
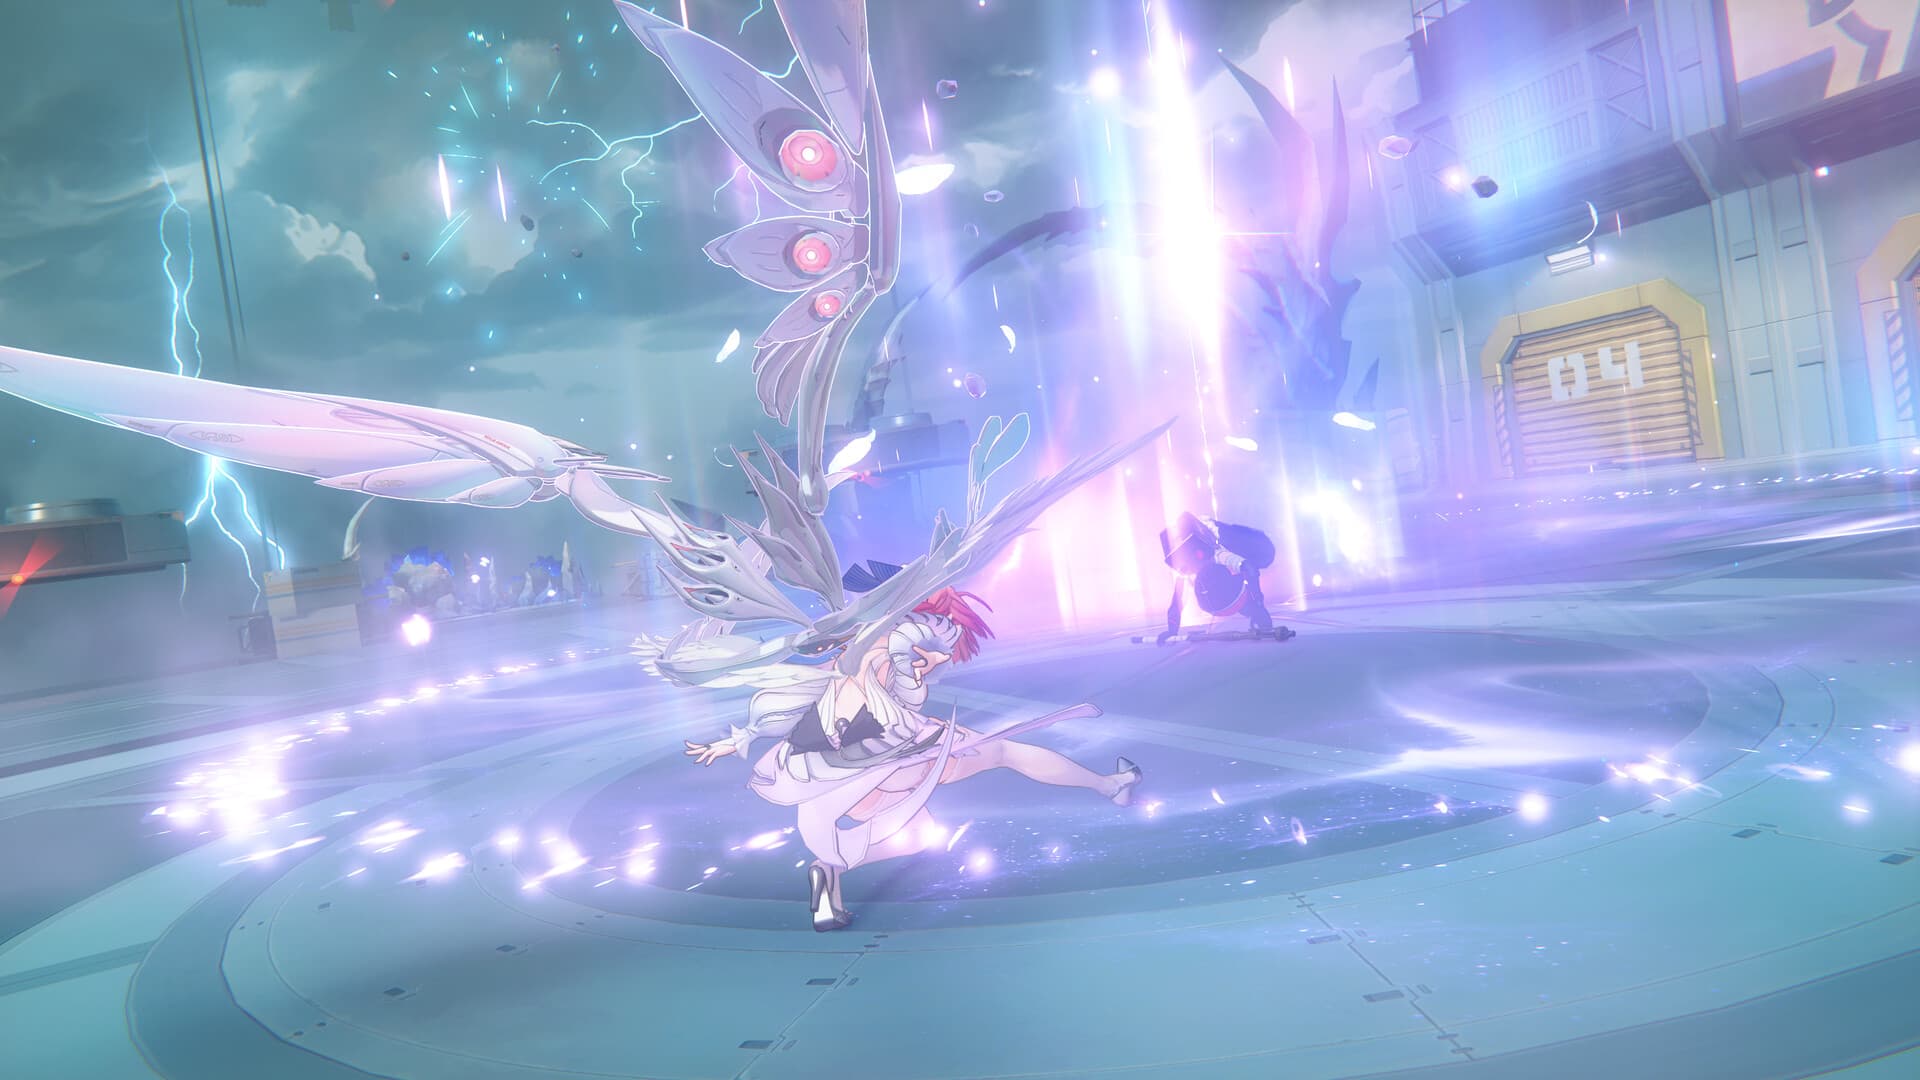
Anomaly teams win Shiyu Defense on the sides where the enemy simply has too much health to burst. Where a burst window ends, a Disorder or anomaly loop keeps ticking, and against the tanky critical-node elites that consistency is worth more than a bigger single number. Remielle anchors a Lumiflux core that pairs with an off-field anomaly partner; the older Miyabi Ice-anomaly build does the same job through frost. The anomaly teams guide covers the build side, and our anomaly agent tier list ranks the carries head to head.
Stun-and-crit: Zhu Yuan or Harumasa, a dedicated stunner, a shredder
Zhu Yuan / Harumasa + Qingyi / Anby (a dedicated stunner) + Nicole.
The archetype built for the first node. A stunner front-loads a daze, the crit carry dumps into the stagger, and a defense-shred support like Nicole squeezes out the rest. It ramps fast, clears adds cleanly, and does not need a boss-sized health bar to look good, which is exactly the profile the shallower node rewards.
A tier: excellent when the rotation lines up
- Fire pressure (Burnice / Lighter / Lucy cores). Superb into a Fire-weak side and a strong "cover the gap" team when your Ice or Electric carry is busy on the other node. Fire anomaly in particular scales beautifully against high-health targets.
- Electric frequency (Harumasa / Yanagi / Rina). A hit-dense identity that punishes uptime checks and gives you a third element that does not fight your Ice team for supports. Slot it wherever the enemy is Electric-weak.
- Off-meta premium duos with a mid support. Any two well-built limited carries plus a functional third clear both nodes comfortably; they land in A rather than S only because they want a specific matchup or a tighter rotation to top the board.
B tier: it clears, it will not top your best
- Standard-and-four-star carry teams. A well-geared beginner core with clean drive disc substats still three-stars the easier node. Give it your softest side and let your specialists handle the hard one.
- Survival-first comps. Double support and a defensive carry keep you alive but buy nothing on a clock that rewards speed. Use them to secure a star you would otherwise drop, never as a plan A.
Reading the rotation before you lock your pair
Shiyu Defense rotates its enemy lineup and weaknesses roughly every couple of weeks, and the whole ranking above bends to that. The order of operations is fixed even when the answer changes:
| Step | What you do |
|---|---|
| 1. Check both weaknesses | Open the current schedule and note what each node is weak to. |
| 2. Assign your best pair to the critical node | Your hardest-hitting, best-built team takes the deeper side, matched to its weakness where possible. |
| 3. Fill the first node with your ramp team | The stun-and-crit or Fire-clear team handles the add-heavy shallow side. |
| 4. Do not split your supports | Astra Yao, Caesar, and Nicole get used once. Do not stack two enablers behind one carry and starve the other team. |
The single most common mistake is sending your absolute best team at whichever node looks scarier. Send it where it matches instead, because a burst carry into its own element out-scores the same carry forced off-weakness, and the deeper node is where those extra points are worth the most.
The free-to-play clear
You do not need two limited hypercarries to full-star Shiyu Defense. You need two teams that each do their node's job:
- Build one carry you fully invest, then a second team around a solid stunner and a standard DPS. A trustworthy stunner converts a mid carry into a real one and spreads across both squads better than a hoarded second five-star.
- Keep your W-Engine and disc investment on the two carries that actually see the field, not spread thin across your whole box.
- Grab the current redeem codes for Polychrome, and if a recurring node weakness keeps catching you off-element, that gap is your next pull priority far more than another carry in an attribute you already cover.
Two teams, matched to two nodes, both fast. Assign your best to the critical side, feed the shallow node your ramp team, and Shiyu Defense stops being a wall and starts being the twice-a-cycle Polychrome faucet it is meant to be.