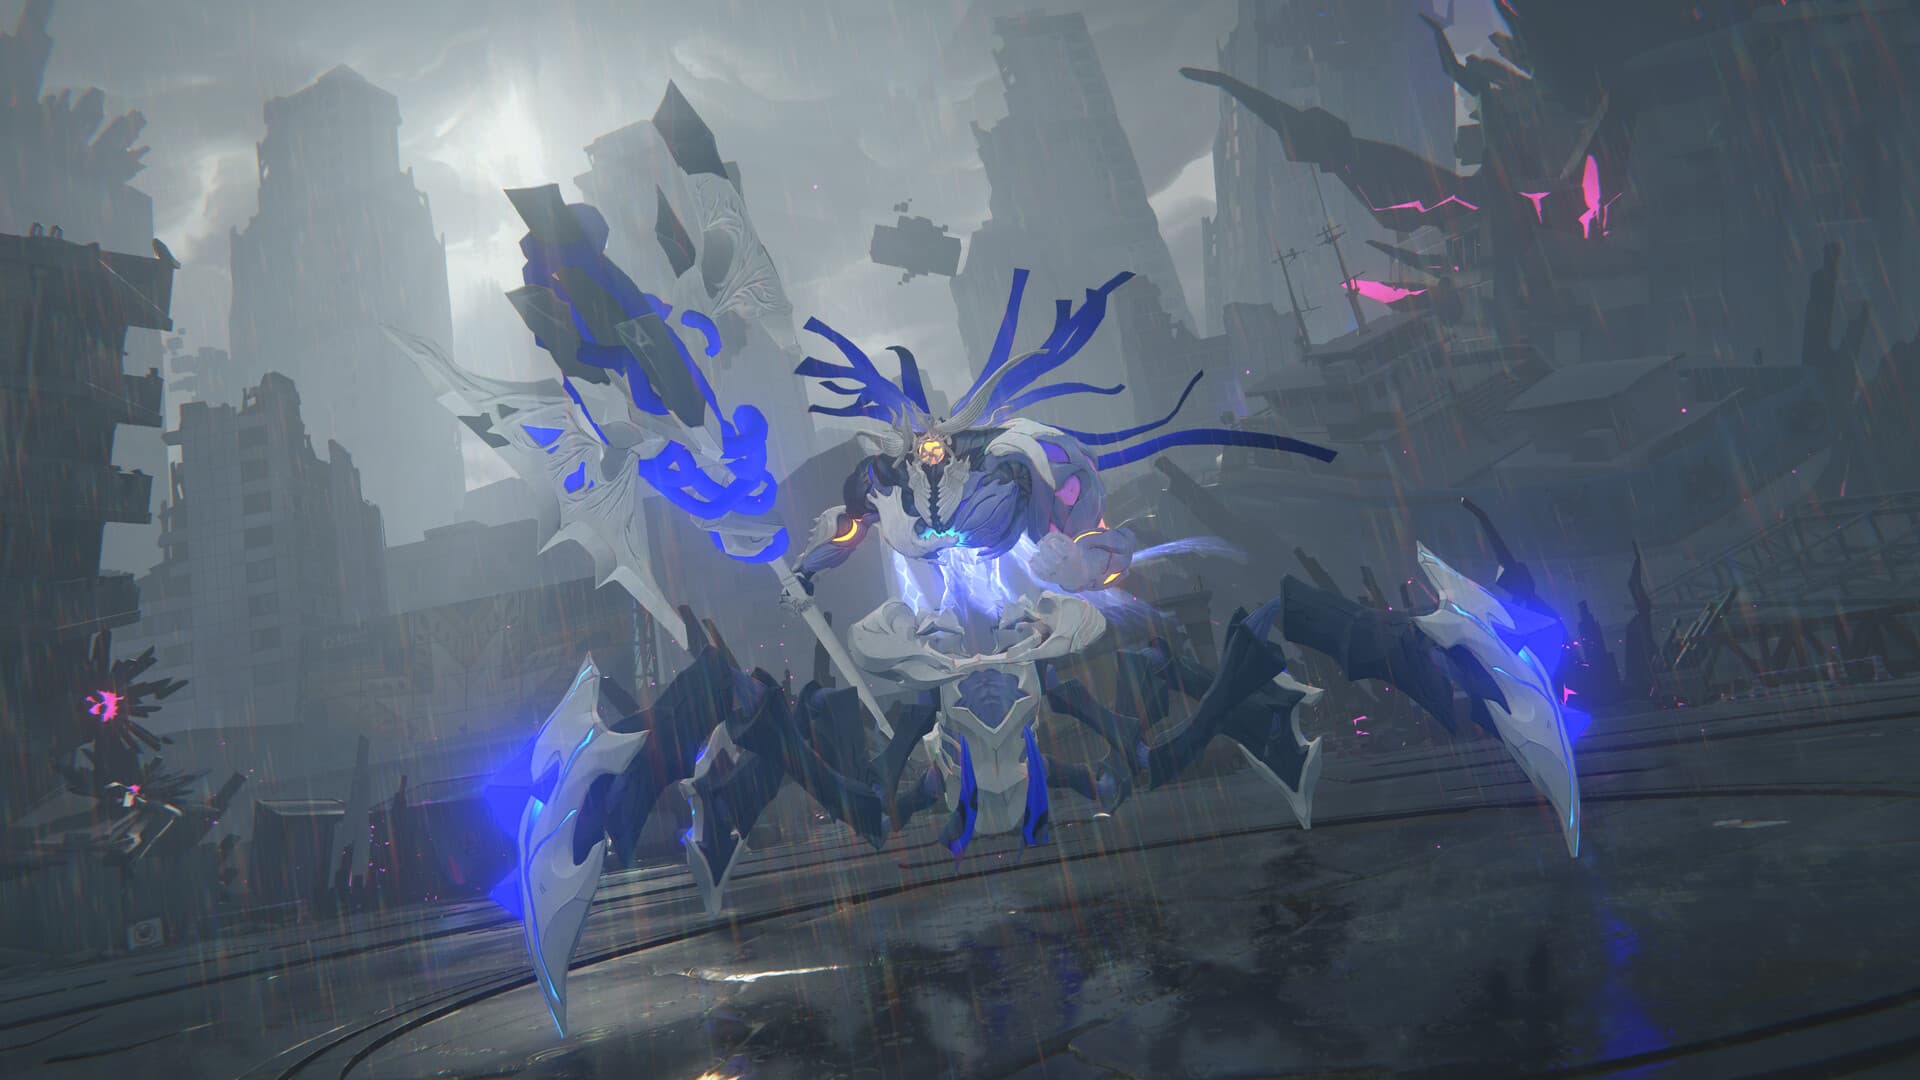
The mistake almost everyone makes in Deadly Assault is building their single best team and then wondering why the other two bosses fall apart. That is the whole trap. Deadly Assault is not a "bring your strongest comp" mode. It is a roster puzzle: three bosses, three teams, and neither an Agent nor a Bangboo can appear twice across all of them. Pick a squad for a boss and those units lock to that boss. Your top DPS carries exactly one fight. The other two are won or lost by how deep your bench goes.
Here is the shape of a full clear before any of the detail:
| What you field | Why |
|---|---|
| One attribute specialist per boss, matched to its weakness | You get three minutes per boss, so the fastest attribute match scores highest |
| A stunner or buffer behind each of the three, not two behind one | Supports lock to a boss the same way carries do |
| Your cheapest investment into the weakest of the three teams | The total is a sum, so the low team is where points come cheapest |
And the numbers those teams are actually chasing, because "score high" is useless without the thresholds:
| Rank per boss | Points needed |
|---|---|
| B-Rank | 6,000 |
| A-Rank | 14,000 |
| S-Rank | 20,000 |
Nine stars are on offer across the three nodes, the first six of them paying 150 Polychrome in total alongside Investigation Merits and Dennies. Clear all nine and Adversity Mode unlocks, which swaps the three-boss spread for one enhanced boss on a scaling difficulty. That gate is the reason depth is not optional: you cannot buy your way into Adversity with one monster team.
So this tier list is organized around the lock-out constraint. It ranks comps by the role they fill, then shows you how to spread a realistic account across three fights so you are not starving one boss to overkill another. For the mode's scoring and reset rules in full, the Deadly Assault guide is the companion; for where each Agent sits overall, the ZZZ tier list is the reference. This page is about the arrangement, not the individuals.
Two rules that follow from the scoring
- Speed beats comfort. Each boss gives you three minutes, and points come from damage plus boss-specific tasks like interrupting a telegraphed attack or clearing the adds that spawn mid-fight. A team that kills in half the time scores far above one that clears safely but slowly, so a glass cannon you can actually pilot outscores a bulky comp you cannot.
- Your floor matters more than your ceiling. Because the total is a sum across three fights, your worst team drags it. Dragging a third boss from 6,000 up to 14,000 adds 8,000 points; squeezing another 2,000 out of the boss you already S-Rank adds 2,000. The arithmetic is not close.
That second point is the one to tattoo on your brain. Depth wins Deadly Assault, not a single monster team.
The team tier list, by role
S tier: the boss-killers you build your split around.
- Ice Attack burst (Ellen Joe / Sigrid core). Single-target Ice comps that freeze the fight open and delete a boss in one long window are the cleanest high scores in the mode. Sigrid and Ellen both want a stunner and a support who does not eat their tempo, and against an Ice-weak boss they finish fights before the timer becomes a factor.
- Anomaly hyper-carry (Remielle / Yanagi-style disorder). Anomaly teams that stack a status and detonate it scale beautifully against the tanky, high-health bosses Deadly Assault leans on. Remielle anomaly cores in particular are currently among the strongest single-boss clears in the harder Adversity tier, because sustained anomaly damage does not fall off the way a burst window can. The anomaly teams guide has the build side.
- Electric pressure (Harumasa / high-frequency Electric). A fast, hit-dense Electric carry punishes the bosses that reward uptime over one big hit, and it gives you a third damage identity that does not overlap with Ice or anomaly, which is exactly what the no-reuse rule wants.
A tier: elite when the boss lines up.
- Physical / Rupture Breakthrough teams. Strong into the Rupture-flavored node and excellent when the season's third boss punishes the other two archetypes. A reliable "cover the gap" pick rather than a top-of-the-board team.
- Fire and Ether flex carries. Solid, self-sufficient comps that shine when their attribute matches a boss and settle for a comfortable clear when it does not. Great bench pieces precisely because they let you save your S-tier carries for their best matchup.
- Dedicated stun cores as a lead-in. A premium stunner does not carry a fight alone, but pairing one with a mid carry converts a shaky two-star into a clean three, which, per the floor rule above, is where your score actually grows.
B tier: it clears, it does not top the leaderboard.
- Off-attribute carries into a resistant boss. Anything forced into a fight it is not built for. It finishes, slowly, and it is usually the team you assign to your easiest boss to free your specialists for the hard ones.
- Support-heavy survival comps. If you are dying, these save the run, but the extra defense buys nothing in a mode that scores speed. Use them to secure a star you would otherwise lose, not as a plan A.
Splitting a limited roster across three bosses
This is the part the tier list cannot do for you, because the right answer depends on the bench you own. The method, though, is fixed:
| Step | What you do |
|---|---|
| 1. Assign specialists first | Lock your S-tier carry to the boss it is best against, not the boss you fear most. |
| 2. Read the weaknesses | Match each remaining boss to whatever attribute carry you have left. |
| 3. Split your supports too | Stunners and buffers get used up as well. Do not stack your two best supports behind one carry and leave another naked. |
| 4. Shore up the floor | Put your leftover investment into the weakest of the three teams. That is where points are cheapest. |
The counterintuitive move is step one. Instinct says to send your strongest team at the scariest boss. The mode wants the opposite: send your strongest carry at the boss it matches, where it scores highest, and solve the scary boss with your second-best specialist. You are maximizing a total, not surviving a gauntlet.
Reading the rotation you are actually in
Deadly Assault resets every second Friday, and each cycle hands the three nodes a different set of weaknesses. The cycle live as of September 17, 2026 opened on Friday, September 11 and closes on Friday, September 25, when the next one takes over. That cadence is worth internalising, because it means a comp someone posted last month may be answering a boss you will never see.
What does not change is the method. Open the mode, read the three weakness icons, then assign in this order: your best attribute match first, your second specialist to whichever remaining boss punishes you hardest, and your leftovers to the easiest fight. Do not copy a linked team list without checking the icons yourself; we are not going to assert this fortnight's three bosses from memory, and neither should anyone else.
The rotation that tests depth hardest is the one that clusters two bosses around the same weakness. You cannot use one carry twice, so your second-best in that attribute has to stand up on its own, which is exactly the scenario the free-to-play section below is built for.
The free-to-play line
You do not need three limited carries to full-clear Deadly Assault. You need three functional teams and the discipline to match them:
- Build one strong carry you fully invest, then two workable A-and-B-tier teams around solid four-star and standard Agents. A well-built beginner core covers more than its reputation suggests once the drive disc substats are clean.
- Prioritize a stunner you trust over a second premium DPS. Stun windows convert a mid carry into a real one, and they spread across teams better than a hoarded hypercarry.
- Grab the current redeem codes for Polychrome, and if you are short an attribute that keeps showing up in the rotation, that gap is your pull priority far more than another carry in an attribute you already own. The banner schedule tells you when that attribute is next on offer.
Field three teams, not one. Match each to its boss, feed your weakest fight instead of your strongest, and Deadly Assault stops being the mode that exposes your shallow bench and becomes the one that rewards you for building it wide.