Stunning an enemy multiplies the damage it takes by roughly 1.5x, and a properly geared Stun team pushes that to 2.5x or 3x. That single number is why ZZZ combat is built the way it is, and why a fight that feels like a slog is almost never a gear problem. You are swinging into an enemy that is not vulnerable.
What follows is the mechanical layer under all the team and gear advice, with the measured values rather than adjectives. Where a number comes from community datamining rather than an in-game tooltip, it says so.
The numbers, up front
| Thing | Value |
|---|---|
| Perfect Dodge window | about 0.2 seconds before the attack connects |
| Dodge charges | 2, refilling on a roughly 3-second cooldown |
| Manual switch cooldown | about 0.5 seconds; a Quick Assist swap has none |
| Stun duration | about 4 to 5 seconds on most enemies and bosses |
| Stun damage multiplier | 1.5x base (a +50% Stun Bonus), 2.5x to 3x with Stun DMG Bonus stacked |
| Daze decay while not attacking | roughly 5% per second against bosses |
| Chain Attacks granted on Stun | 1 on a normal enemy, 2 on an elite, 3 on a boss |
| Decibel cap and Ultimate cost | 3,000, per Agent, not per team |
Timing figures are community-measured (the ZZZ guide project is the clearest collection of them); the Chain Attack counts and the Stun Bonus formula come from arkkus's damage calculation reference.
Why 0.2 seconds is the whole skill ceiling
One dodge button, two completely different outcomes.
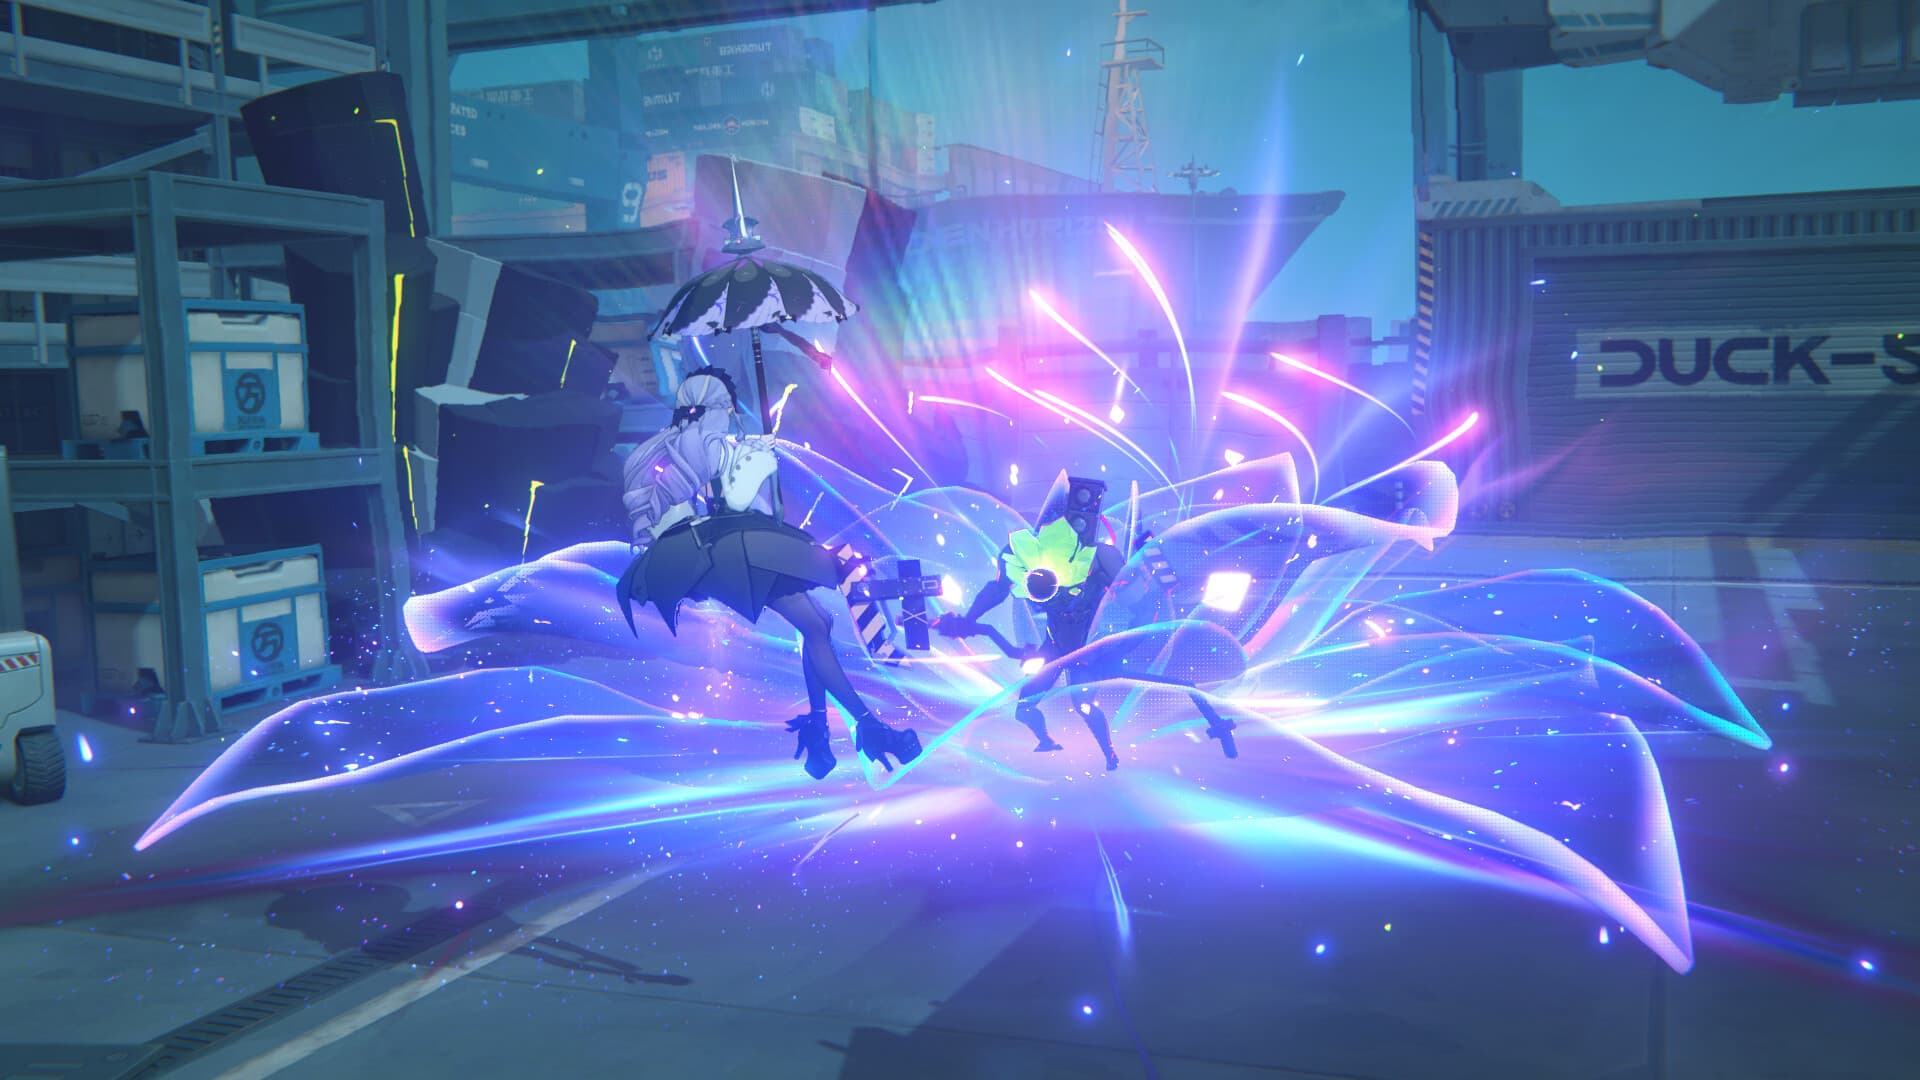
Press it early and you roll. Press it inside roughly the last fifth of a second before an attack lands and you get a Perfect Dodge: the screen desaturates, time slows for you and not the enemy, and your basic attack input is replaced by a Dodge Counter, a dedicated punishing hit that deposits a large chunk of Daze.
Two habits make it land. Dodge through or toward the attacker rather than away, so the counter is in range when the slow-motion starts. And do not pre-emptively spam the button, because you only hold two charges and they take about three seconds each to come back; an early dodge wastes a charge and gets you nothing but distance.
Not every attack is answerable this way. Unblockable grabs and wide area attacks, usually flagged with their own warning, want a plain repositioning dodge. Learn which of your problem bosses use those and stop trying to counter them.
The assist is more forgiving than the dodge
When your on-field Agent is about to eat a heavy, flashing attack, an off-field portrait lights up yellow. Tap the switch and that Agent slams in for a Defensive Assist, absorbing the hit and staggering the attacker. The window is wider than a Perfect Dodge, which makes this the tool to reach for on anything you cannot cleanly time, and the one most new players never use.
What comes next is why it is not really a defensive move. A successful Defensive Assist offers an Assist Follow-Up, a heavy counter from the Agent who just arrived that pours on Daze and often launches the enemy. So one input saves your health, rotates you to a fresh Agent, and pushes the Daze bar. There is no better trade available in the game.
Quick Assist is the third variant and the one that glues rotations together. After a launch, a knockdown, or a completed Assist Follow-Up, the prompt appears and the incoming Agent enters already swinging, with no switch cooldown at all, against the roughly half-second you pay for a manual swap. Chaining Quick Assists is how a good player keeps three Agents cycling without ever dropping tempo, and it is how faction and team passives that reward swapping stay stacked.
Daze is a formula, not a vibe
Every enemy carries a hidden Daze bar. Fill it and the enemy is Stunned: staggered, unable to act, and taking the multiplier at the top of this page for about four to five seconds.
How fast you fill it is not mysterious. The buildup resolves as:
Daze Infliction = Daze MV × Impact × (1 − Daze RES) × (1 + Daze%)
Which tells you something useful about gearing. Impact is the stat that scales the whole thing, which is why it is the Stun role's headline number and why putting Impact on a damage carry is mostly wasted. It also tells you why pauses hurt: Daze decays at roughly 5% a second against bosses while you are not hitting them, so a Stun you abandon halfway is a Stun you pay for twice.
Then there is the payout, and it is tiered in a way most guides skip. Stunning a normal enemy hands you one Chain Attack. An elite hands you two. A boss hands you three. That is the reason boss fights reward a dedicated Stunner far more than trash clearing does, and the reason a Stun team's damage curve looks flat in early floors and explosive on the last one.
The role split follows from all of it: Stun Agents open the window, Attackers empty it, and Support and Anomaly Agents keep both fed. Our tier list flags who currently fills each job, and the Specialties and team roles guide covers how they fit together.
Decibels stopped being a team meter in Version 1.4
This is the correction worth reading even if you skip everything else, because most guides still have it wrong, and so did this page until today.
Decibels used to be a shared pool: the team filled one gauge and whoever was on field spent it. Version 1.4 "A Storm of Falling Stars" changed that. Every Agent now carries their own Decibel meter, and firing an Ultimate spends only the caster's. The patch also rebalanced where the Decibels come from, raising the gain from hitting enemies and reducing it from applying Attribute Anomaly and Disorder to normal and elite enemies.
The mechanics worth memorising:
- The meter caps at 3,000, and an Ultimate costs the full 3,000.
- The named stages are Uproar at 1,000, Blasting at 2,000, and Maximum at 3,000.
- Because the gauges are separate, every Agent on your team can reach their own Ultimate in a long fight. Treating Decibels as one shared resource makes you hoard a button you did not need to hoard.
The timing rule survives the change: hold the Ultimate for the Stun window and fold it into the Chain Attack sequence, so its damage takes the 1.5x (or better) on top of everything else. A banked Ultimate you never spend across two Stun windows is worse than a slightly mistimed one.
Six attributes, and what each anomaly is actually worth
ZZZ runs a second damage economy alongside Daze. Deal attribute damage, fill a hidden Anomaly Buildup gauge, and the next instance triggers that attribute's Attribute Anomaly. Buildup resolves as Base Anomaly Buildup × AM Bonus × (1 + Anomaly Buildup Bonus%) × (1 − Anomaly Buildup RES), which is why Anomaly Mastery governs how often you proc and Anomaly Proficiency governs how hard the proc lands.
| Attribute | Anomaly | What it does | Damage value |
|---|---|---|---|
| Physical | Assault (plus Flinch) | Interrupts and deals one large hit; Flinch raises the Daze the target takes | 713%, single hit |
| Ice | Freeze, then Shatter | Freeze immobilises, Shatter fires when it ends; Frostbite raises CRIT DMG taken and runs 20 seconds against Ice's usual 10 | 500%, single hit |
| Electric | Shock | Recurring Electric damage, worst for machine enemies | 125% × 10 procs |
| Ether | Corruption | Extra Ether damage when the target is attacked, and confuses some enemies into hitting allies | 62.5% × 20 procs |
| Fire | Burn | Damage over time; organic enemies cannot move through it | 50% × 20 procs |
| Wind | Windswept | Interrupts and deals heavy Wind damage, then enables Contamination (below) | see Vortex |
Those damage values are datamined community figures expressed as a share of the Agent's ATK, not tooltip text; Prydwen's anomalies reference is the maintained version. Read the column as relative weight rather than as a number to plug into a calculator: Assault is one enormous hit, Burn is a slow trickle that wants uptime, and that difference is the whole reason their Agents are built differently. Our Anomaly system guide goes further into applying and stacking, and the Anomaly teams guide into who pairs with whom.
Yixuan is the one exception you may trip over: Auric Ink is a sub-attribute of Ether with its own separate buildup gauge, so Auric Ink and plain Ether can trigger each other's Disorder, and her damage is Sheer DMG scaling off Sheer Force rather than a standard ATK multiplier.
Disorder, Vortex, and the Wind exception
Apply a different anomaly to an enemy that already has one and the new anomaly overwrites the old, triggering Disorder: a large burst of damage and Daze calculated from the anomaly you just erased. This is the core of anomaly team building, and it is also the reason two appliers of the same attribute underperform two of different attributes. Polarity Disorder, available only to Tsukishiro Yanagi and Nangong Yu, does the same thing without clearing the active anomaly.
Wind breaks the pattern on purpose. An enemy in the Windswept state does not get overwritten; instead, the first time it takes Fire, Ice, Electric, Physical or Ether damage, that attribute's Contamination fires. And since Version 2.8 there is Vortex, a Disorder variant that triggers when you apply a different anomaly to a Windswept target: it finalises the other anomaly's damage-over-time into one burst of area damage in that attribute, and then goes on cooldown for a while before it can trigger again.
Practically: if you run a Wind applier, your second attribute wants to be a damage-over-time one, because Vortex is cashing that ticking damage in all at once.
What to change in your next fight
Pick the one that describes you and fix only that.
- You roll early and often. Stop. Wait for the tell, dodge at the last moment, press basic attack. Two charges, three seconds each.
- You eat the big flashing attacks. Use the Defensive Assist instead of trying to dodge them; the window is more forgiving and the follow-up is free Daze.
- Your carry has Impact on their discs. Move it. Impact scales Daze, and Daze is the Stunner's job.
- You fire Ultimates on cooldown. Hold them for the Stun window. And stop rationing them across Agents, because since 1.4 the meters are separate.
- You run two appliers of the same attribute. Swap one, so Disorder actually triggers.
Put it to work in the Shiyu Defense guide and the Deadly Assault guide, both of which are scored on how cleanly you run this loop under a timer, and fund the Stunner you are missing with the current redeem codes.
One figure here is still a rule of thumb
The 1.5x base Stun multiplier is on the record: it is a +50% Stun Bonus, and the official wiki lists 150% for standard enemies. What is not properly confirmed is the widely repeated claim that the base scales by enemy rank, with elites at 200% and bosses at 250%. That pattern comes from player measurement rather than any published table, and the damage-calculation references deliberately do not assert it. It is flagged here rather than printed as fact, because the practical advice does not depend on it: whatever the base is, Stun DMG Bonus from your Stunner and your discs is the part you control, and it is worth more than the difference.