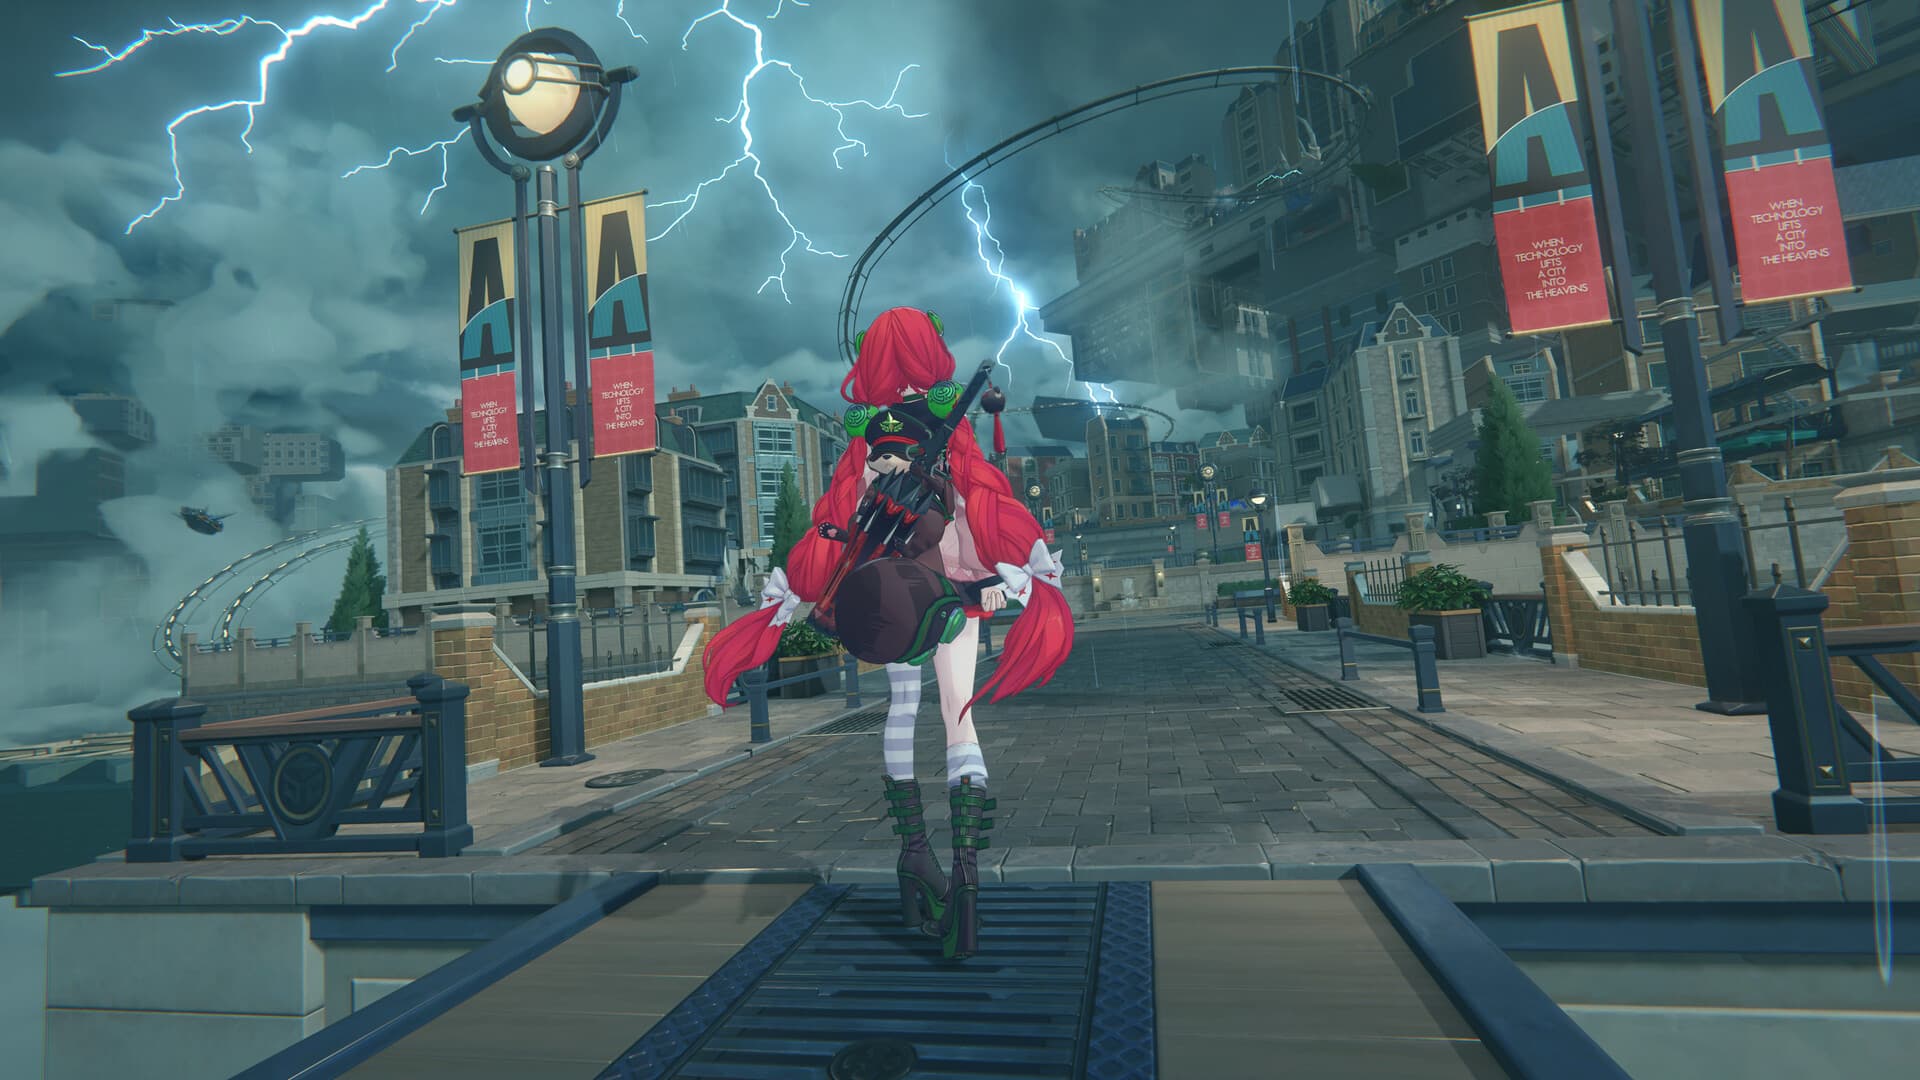
Lost Void is the mode where a mediocre account gets to feel busted for twenty minutes. It is the roguelike layer of Hollow Zero, and unlike the rest of ZZZ's endgame, it does not care how many dupes you own. It cares whether you can read a run and stack the right buffs in the right order. Do that well and a single well-invested Agent starts one-shotting elites that would normally give your whole roster trouble.
Here is what actually decides a clear, and the pick logic that makes the difference between a run that fizzles on floor two and one that snowballs into a boss you delete before it finishes its second attack.
What a run actually looks like
You pick a team, you enter, and you push through a floor made of four to seven levels with two or three rooms each. The final room is a boss. Rooms are typed: combat, shops, events, elite fights, and the occasional healing or currency node, and the layout reshuffles every attempt, so no two runs are identical. Clear the boss, and depending on the mode you either bank rewards or push deeper.
The whole thing is disposable by design. Every buff you collect exists only for that run. You are not building a permanent character here, you are assembling a throwaway power spike and spending it before it evaporates. That framing matters, because it changes how you should value a pick: a buff that is merely "good" is often worse than a buff that is "insane with the two things I already grabbed."
The three buffing systems, and how they differ
Lost Void hands you power through three distinct channels. Knowing which one you are being offered, and what it is for, is most of the skill.
| System | What it does | How to treat it |
|---|---|---|
| Resonium | Direct combat buffs: CRIT, DMG, Dodge upgrades, shields, anomaly boosts. The core of your run's power. | Prioritize picks that stack into one damage type or one mechanic. Synergy over raw numbers. |
| Gear | Grants a summonable Bangboo (used like an extra Ultimate) plus, in the current season, Agent-specific Gear that massively buffs a unit's kit. | Grab your on-team Agent's signature Gear whenever it appears. It is often the single biggest spike in a run. |
| Cards | Broader modifiers that buff Agents or change the run's rules and rooms. | Read the whole card. Some reshape the run more than any single Resonium. |
The mental model: Resonium is your build, Gear is your spike, Cards are your rules. A strong run usually means a coherent Resonium stack, at least one signature Gear for your carry, and Cards that amplify what you are already doing rather than pulling you in a new direction.
Resonium: build one thing, not five
The most common mistake is picking the highest number on offer. Resonium rewards commitment. If your carry is an anomaly unit, funnel everything into anomaly buildup, anomaly DMG, and the Resonium that trigger extra Disorder. If your carry is a raw-damage attacker, chase CRIT Rate until you are near capped, then CRIT DMG, then flat DMG multipliers.
A few habits that pay off every single run:
- Fix your CRIT Rate early. Damage Resonium does nothing if you are whiffing crits. Lock in reliable CRIT before you start hoarding CRIT DMG.
- Respect defensive picks. Shields and Dodge upgrades are not "wasted" slots. A run that survives to floor six out-damages a glass build that dies on floor four.
- Look for the combo, not the coin. Some Resonium reference each other ("after using a Dodge Counter, gain X"). Two mediocre pieces that talk to each other beat one flashy piece that stands alone.
- Refresh when the shop lets you. Rerolling a bad Resonium offer is usually worth the currency if it means completing a synergy.
Gear is your carry's power button
Gear is the system newer players sleep on. Beyond the summonable Bangboo, the current Lost Void season attaches Agent-specific Gear that can transform a unit, turning a normal rotation into something that melts elites. If you see the signature Gear for an Agent on your team, that pick almost always jumps to the top of the list, ahead of a generic damage Resonium.
Build your team around this in advance. Entering Lost Void with an Agent who has strong seasonal Gear is worth more than entering with a nominally higher-tier unit who has none. Check the current pull priorities if you are deciding who to invest in for the season.
Reading a floor before you walk it
You can usually see the room types ahead of you, so plan the path instead of taking the nearest door.
- Route toward power, not loot. Early floors, prioritize rooms that offer Resonium and Gear over rooms that only hand out currency. Your build compounds, so front-load it.
- Take elite rooms while you are healthy. Elites give better rewards. Fight them when your shields are up and your cooldowns are ready, not on your last legs before a boss.
- Bank healing for the boss floor. Do not burn a heal node to top off 10% HP two rooms before a rest. Save it for the run in.
- Spend currency before the boss. Leftover shop currency is wasted power. Do a final reroll or purchase pass before you commit to the final room.
The boss floor
Bosses in Lost Void punish sloppy defense more than low damage. By the time you reach the final room, your build should already be online, so the fight is about execution: keep your Assist, Dodge, and Parry timing clean, hold your big cooldowns for the stagger window, and cash in your Gear Bangboo when the boss is stunned. If your Resonium leans into Stun and Daze, the boss floor is where that investment pays off, because a longer stun window is a longer window to dump everything.
Where Lost Void sits in your week
Lost Void currently houses the weekly Hollow Zero rewards, so it is not optional if you want the full endgame payout. Fold it into your routine alongside Deadly Assault, Shiyu Defense, and the weekly boss on your weekly checklist. The good news: once you understand the three buffing systems, most runs take a fraction of the time they did when you were picking blind, and the mode stops feeling like a wall and starts feeling like the sandbox it was built to be.
New to the roster or still learning the ropes? Start with the combat mastery guide and the beginner team primer before you commit to a Lost Void carry, and browse the full Zenless Zone Zero wiki for build details on every Agent.