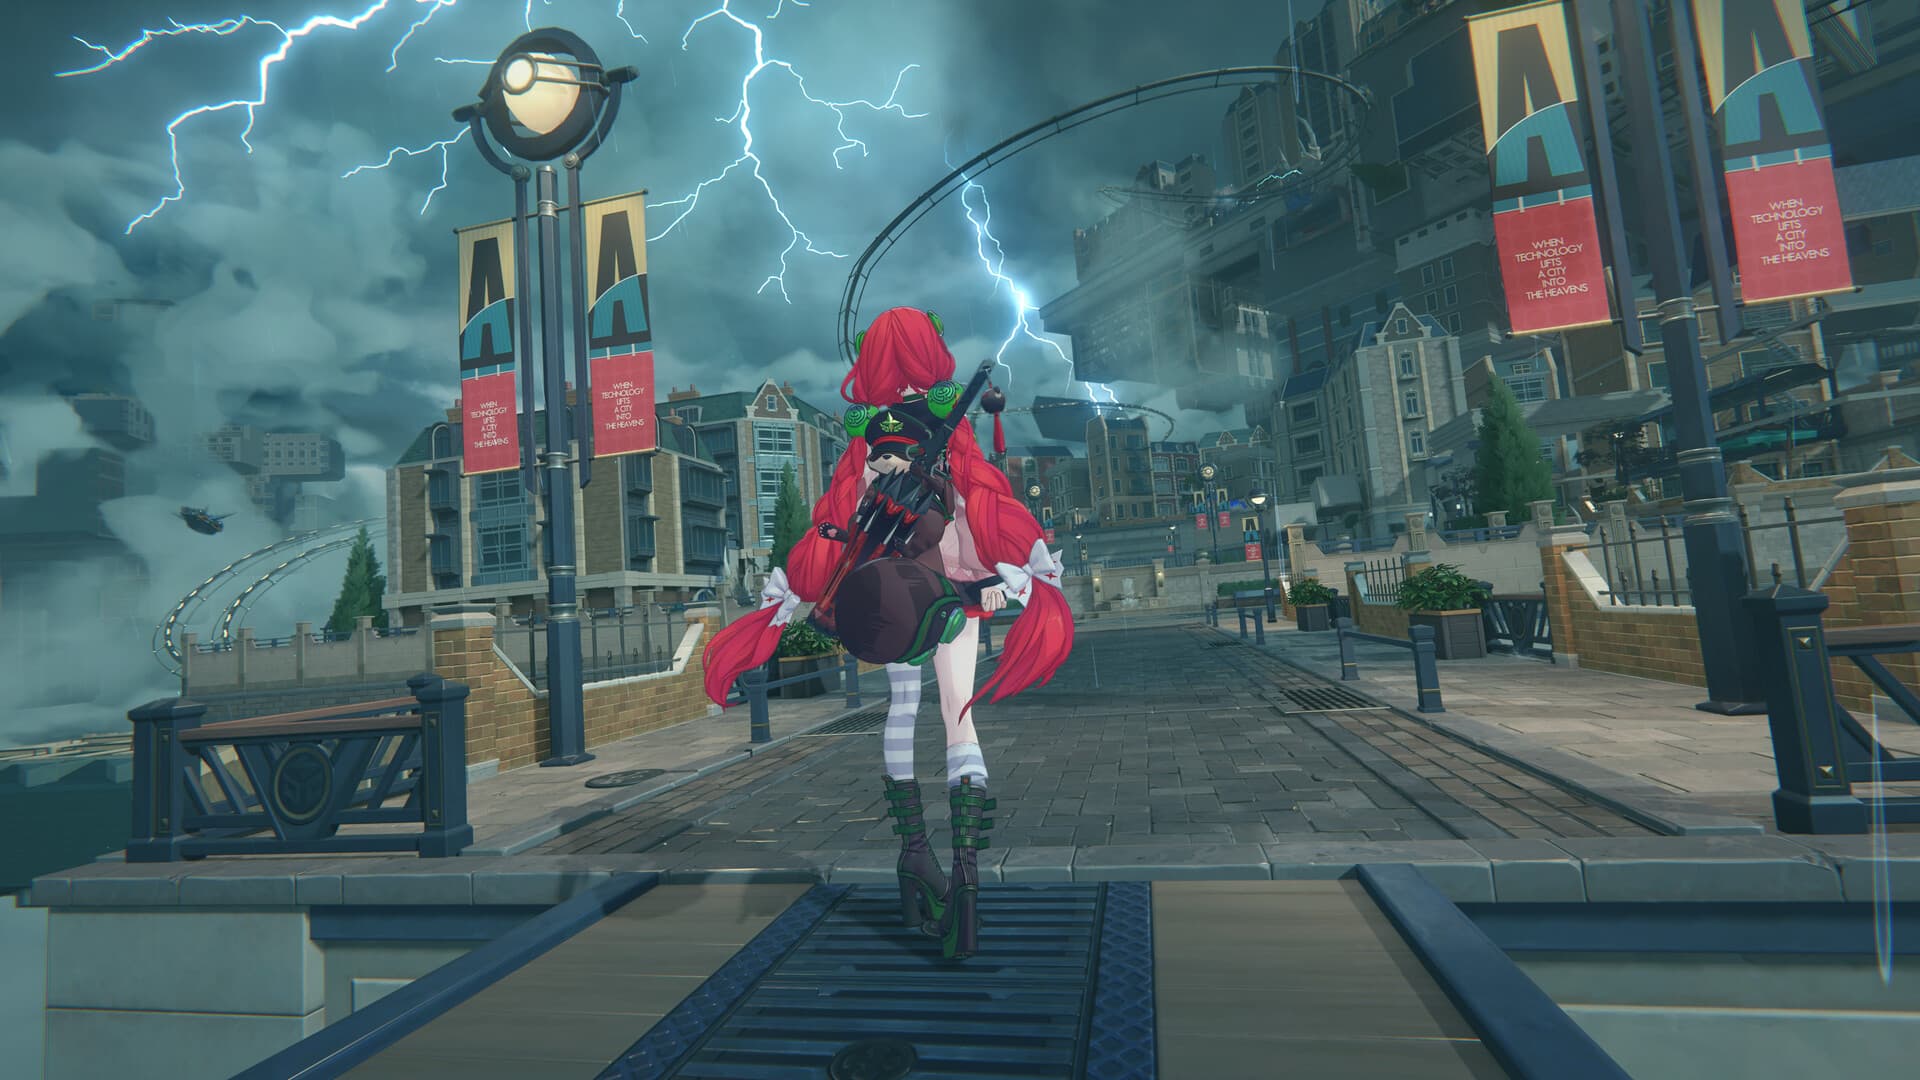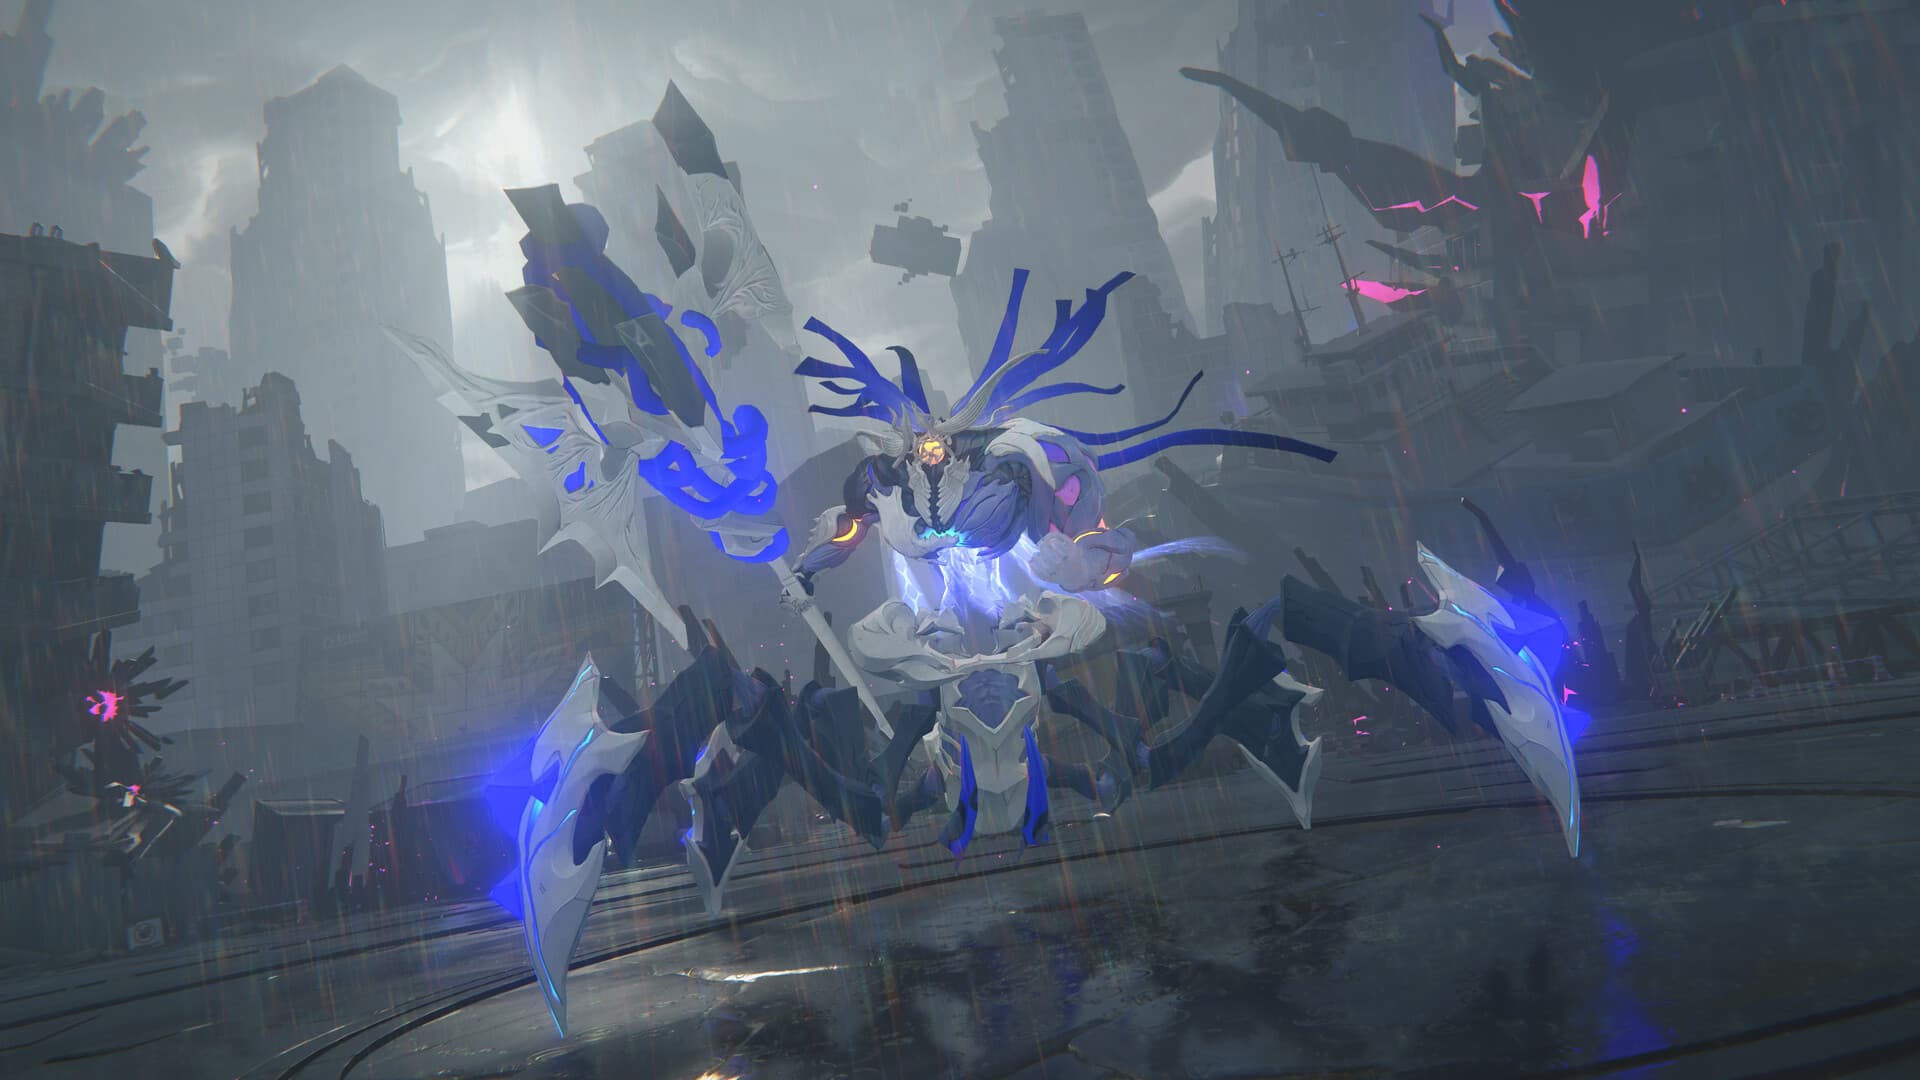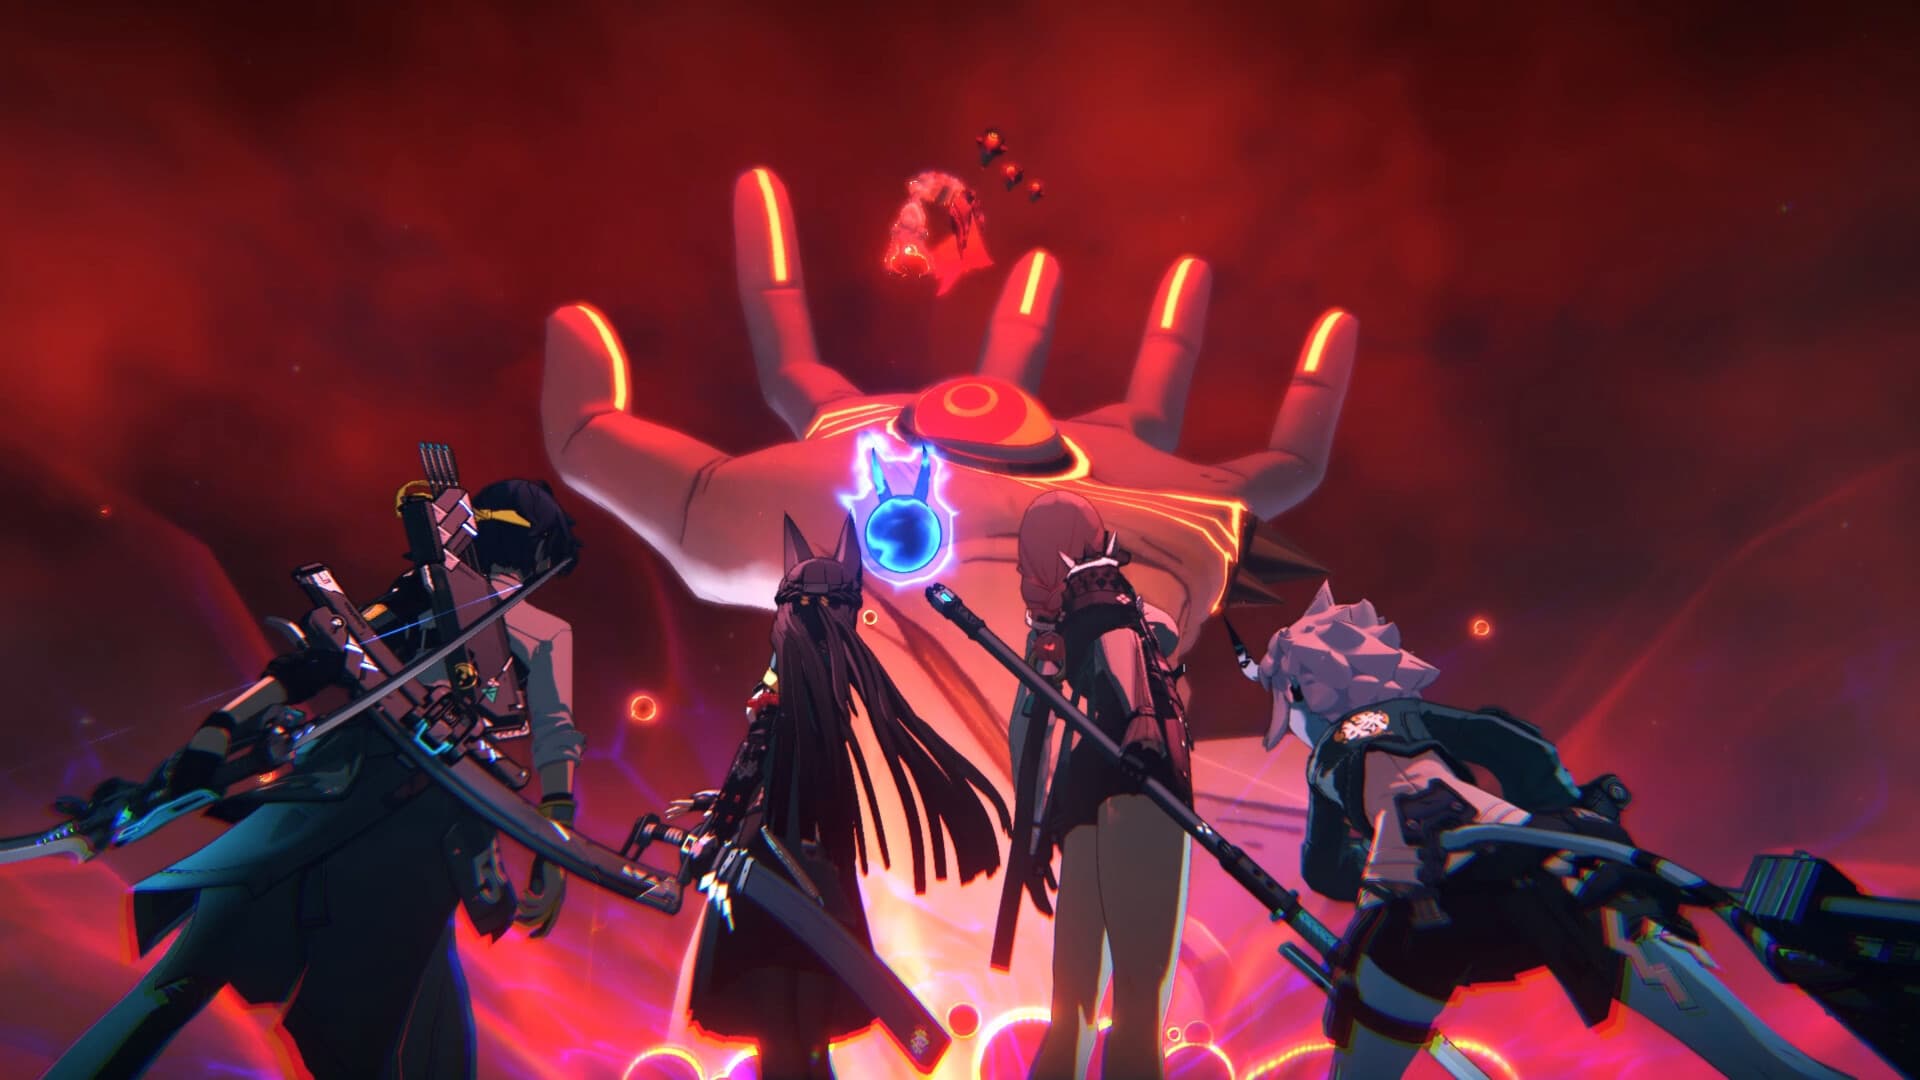
Most Proxies meet Hollow Zero once, get handed a wall of tiles and buff cards nobody explained, lose a run to something called Corruption, and quietly decide it is not for them. That is a mistake. Hollow Zero is the closest thing Zenless Zone Zero has to a roguelike, it pays out weekly Boopons and upgrade materials you cannot farm anywhere else, and once the Resonium system clicks it becomes the most replayable mode in the game.
This is the guide for going from "I clear the easy tier and leave" to hitting S-Rank on the hardest difficulty on purpose.
What Hollow Zero actually is
Hollow Zero is a run-based mode. You pick a squad, drop into a procedurally arranged zone, and move node to node fighting enemies, buying upgrades, and picking up Resonium, the temporary buff cards that only exist for the length of that run. Clear the zone before your run ends and you bank rewards scaled to how well you did.
The current endgame face of it is the Withering Garden, which unlocks at Inter-Knot Level 45 and layers an Ether activity modifier on top of the base loop. It is the version worth caring about because it is where the highest difficulty tiers and the best weekly payouts live. If you are still leveling toward it, the fundamentals below carry over to every Hollow Zero zone.
Resonium is the whole game
Your agents matter, but Hollow Zero is won or lost on how you stack Resonium. Treat everything else as setup for building one dominant Resonium engine.
Resonium comes in types, and the system rewards commitment to a type rather than a scattered grab-bag:
- Collect four of the same type and you trigger a Resonium Reaction, your first real power spike in a run.
- Collect eight of the same type and you unlock Advanced Resonium, the build-defining cards that turn a decent run into an S-Rank blowout.
The practical rule: decide your type early and hoard it. When a shop or event tile offers you a choice, take the card that pushes you toward your next four-of-a-kind threshold, even if a flashier off-type card is dangling next to it. A focused eight-stack of one type beats a pretty pile of singles every time. Late in a run, once your core is online, you can splash a few off-type cards for survivability or utility.
Match the type to your squad. An Anomaly team wants the Resonium that amplifies status buildup and disorder; a raw-damage team wants the cards that scale ATK, crit, and Chain Attack damage. Bringing a team that has no idea what your Resonium is doing is the most common reason a run underperforms.
Exploration versus Blitz: pick the right mode for the job
Withering Garden gives you two ways to run it, and they are for different goals.
| Mode | Best for | Trade-off |
|---|---|---|
| Exploration | Building a real Resonium engine, chasing S-Rank, weekly clears | Slower; you manually walk the zone and make choices |
| Blitz | Fast weekly credit when you already know you can clear | Far fewer Resonium pickups, so weaker runs overall |
Explore when you want the strongest possible run: you get access to more Resonia sources, Bangboo Merchants, and event tiles, which is exactly what you need to hit an eight-stack and clear the hardest tiers. Blitz when the difficulty is trivial for your roster and you just want the weekly reward without the click-through. New to the mode? Explore every time until clearing is boring.
A run, start to finish
- Pick a squad that shares an identity. Two Ice agents plus their Bangboo, or a full Anomaly core, so your Resonium has a clear target. Our best beginner teams and Anomaly teams guide are good starting points.
- Commit to a Resonium type on your first two or three pickups. This is the single most important decision in the run.
- Route toward shops and event tiles, not just fights. Those are where you buy the specific cards that complete your four and eight stacks. In Exploration you can see the map, so plan the path.
- Hit your Reaction at four, then push to Advanced at eight. Everything before your first Reaction is a warm-up; everything after your Advanced card is cleanup.
- Manage your resources for the boss. Keep an eye on your survivability so a bad Corruption or Sheer state does not undo a strong run right before the final fight.
Pushing the hardest difficulties for the real rewards
Higher Intensity tiers (the mode scales up to the double-digit difficulties like Intensity 11) multiply both the danger and the score. S-Rank on these is a build check, not a reflex check:
- You need your Advanced Resonium online. An eight-stack that matches your team is what carries these tiers. If you are clearing but not S-Ranking, you are almost always stopping your build short.
- Lean on Bangboo synergy. The right element or faction Bangboo effectively doubles your Anomaly or Chain Attack output on the exact turns that matter. If you have not sorted your companion, start with our Bangboo guide.
- Bring your Deadly Assault and Shiyu squads. The rosters you built for Deadly Assault and Shiyu Defense are exactly the invested, on-element teams Withering Garden rewards. If those are strong, Hollow Zero is mostly a Resonium exercise.
Why it is worth the weekly habit
The payoff is not cosmetic. Hollow Zero and the Withering Garden hand out Boopons for the Bangboo channel, agent and W-Engine upgrade materials, and Dennies on a weekly cadence, on top of one-time rewards for first clears and difficulty milestones. Fold it into the same weekly loop as your other endgame: clear Shiyu Defense, rotate through Deadly Assault, do your Hollow Zero weekly, and your account stays fed without ever touching your wallet.
Keep your builds sharp with the ZZZ tier list and the combat mastery guide, grab the latest free codes before they expire, and plan your next banner with the pull planner.