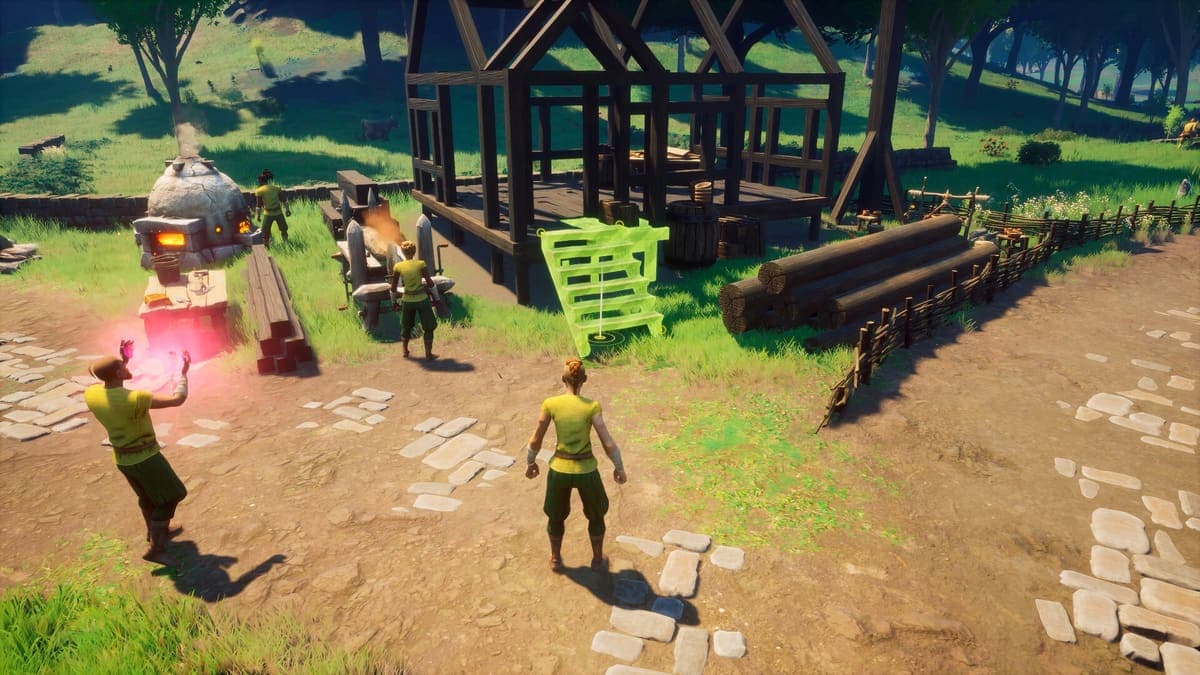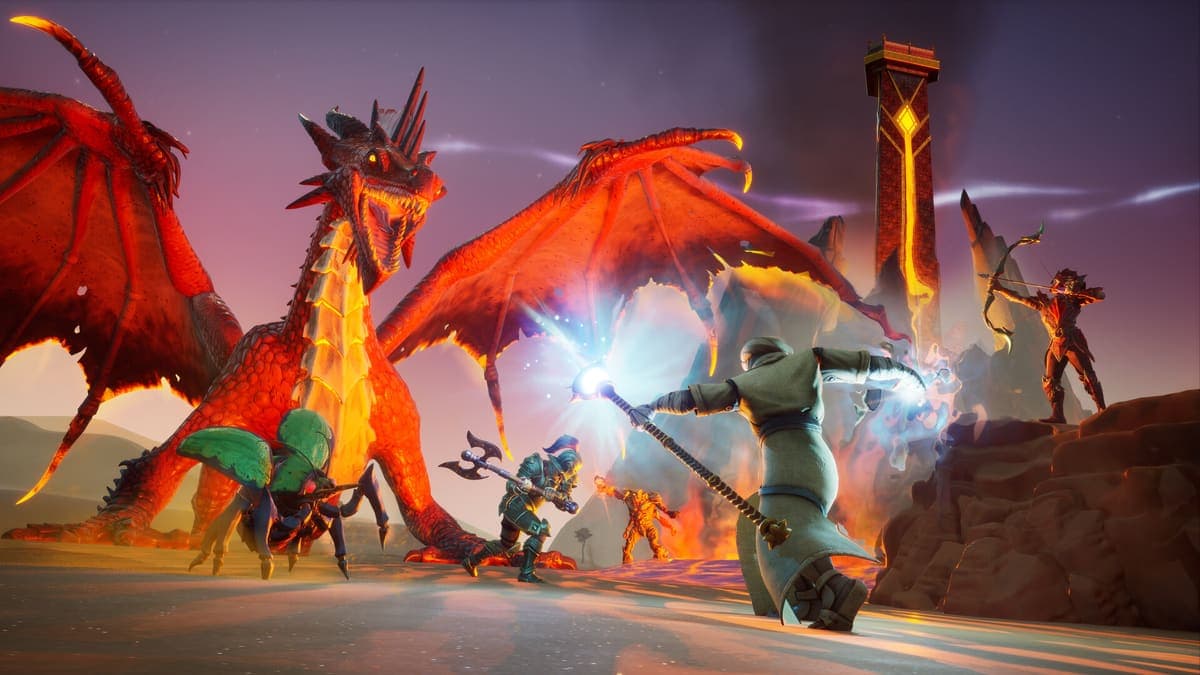
An old man called Doric asks you for ten ash logs and eight stones, you build a crafting table, you whittle a stone club, and he gives you a bowl of vegetable soup. That is the entire tutorial. Twenty minutes later you are standing in a swamp that used to be a battlefield, and nothing in the game has mentioned that the thing stalking you is a power 4 Abyssal Demon.
Dragonwilds does not hold your hand for long. It does, however, reward a small number of early decisions enormously, and most of them are not about gear.
Watch five bars, not two
Most survival games give you hunger and thirst. Dragonwilds tracks five things: Health, Stamina, Sustenance, Hydration and Rest.
Stamina is the one that will kill you. It pays for attacking, blocking and dodging out of the same pool, which means a fight you are losing gets worse at an accelerating rate: you block, you cannot dodge, you get hit, you block again. New players die to this far more often than they die to raw damage.
That single fact is why the armour set bonuses matter so much. Melee armour cuts block stamina cost by a third with one piece equipped. Magic armour halves stamina regen delay. Those are not small percentage bumps on a sheet, they are the difference between a fight you can sustain and one you cannot.
Rush three spells, in this order
Here is the thing Dragonwilds does that no other survival game does: spells are gated behind individual skills, not just Magic. Your Fishing level unlocks a fishing spell. Your Farming level unlocks a farming one. And several of them delete a chore permanently.
Three are worth going out of your way for in your first several hours.
Windstep, at 8 Agility. Five Air runes. Better jumps and controlled descent. Eight levels is almost nothing, and it changes how you read the whole map, because the vaults are built around hidden vertical routes.
Superheat, at 20 Artisan. Five Air and fifteen Fire runes. It speeds up every processing station you own, forever. Twenty Artisan levels is a single evening of crafting, and you will be running those stations for the next sixty hours.
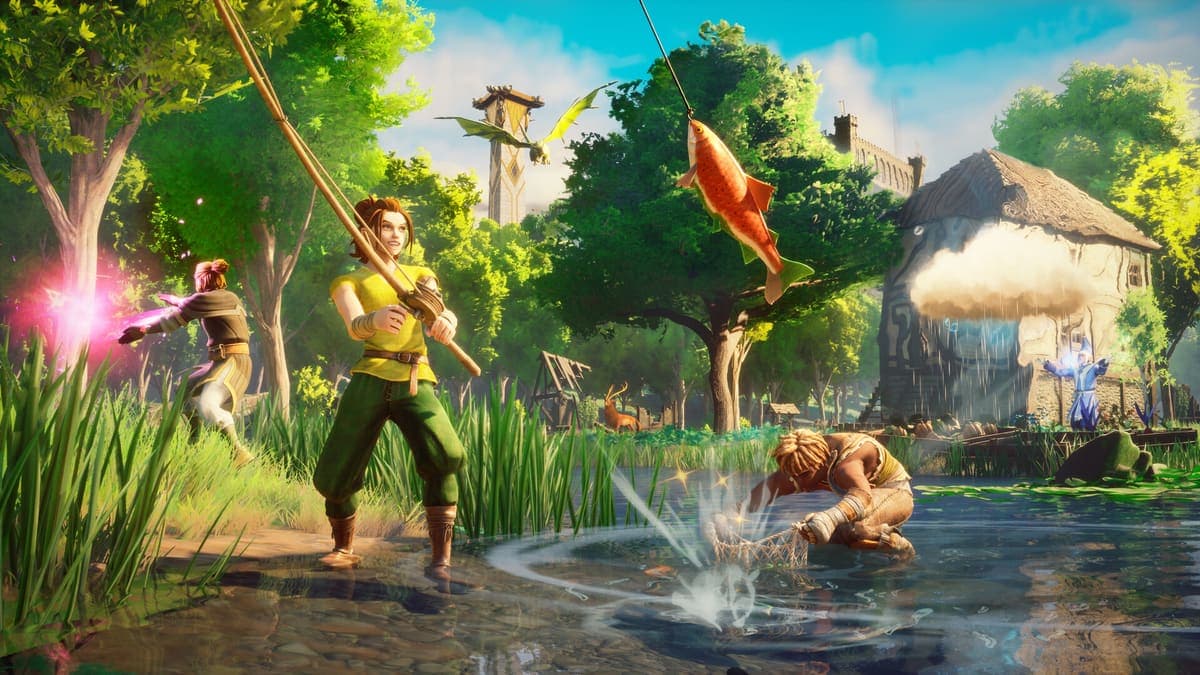
Infernal Rod, at 30 Fishing. Fifty Fire runes, and it cooks every fish the moment you catch it. No raw stack to haul home, no second trip to a fire, and your Cooking rises while you fish. If you only take one piece of advice from this page, take this one.
All three need runes, which means you need Runecrafting, which opens through Rune Mysteries, the fourth quest in the main line. Do not put it off. Astral runes in particular turn up in almost every utility spell in the game, and there is no shop to buy them from.
What to actually kill in Brynmoor
Brynmoor is three areas: Temple Woods, Bramblemead Valley, and the Whispering Swamp. Goblins are the standing threat and they are fine. The thing that is not fine is the Abyssal Demon, which roams the Whispering Swamp at power 4 with 1,500 health.
It is also a perfect teaching tool, because it is weak to Slash. Swing a sword or a scimitar at it and it comes apart quickly. Swing a mace and you will be there a while. Weakness matching is not a minor optimisation in this game, and the demon is where most players learn that.
The other half of combat is weak spots. Many enemies have a marked spot that deals critical damage, and critically, there is no cooldown on weak-spot crits. A player who aims kills faster than a player who swings at the torso, independent of gear. Get in the habit now, while the things you are fighting cannot kill you for experimenting.
Clear the three level 2 vaults before you go north
Brynmoor holds three of Ashenfall's ten Dragonkin vaults, all at level 2: Crasorak Kara in Temple Woods, Thishepen Kara in Bramblemead Valley, and Vertentis Kara in the Whispering Swamp.
They are trap-filled dungeons with lever puzzles and a boss at the bottom, and they are the cheapest blueprints in the game. The bosses down there are the Rat King (weak to Stab) and the Vault Overlord and Plague King (both weak to Crush), so a dagger and a mace between you and a friend covers all three.
One thing that catches co-op groups out: a vault has to be physically discovered before it shows on the map, and that applies to everyone in the world separately. Your friend finding it does not put it on your map.
Put your bed where you are going, not where you started
1.0 added Home Teleport, which returns you to your bed on a 900 second cooldown. That makes bed placement a tactical decision rather than a decorative one.
The instinct is to build a proper base in the pretty bit of Temple Woods and keep it all game. Resist it. Construction levels almost passively, materials are cheap, and moving a forward bed to the edge of whatever region you are currently grinding saves more real time than any single piece of gear you will craft.
Where the difficulty actually jumps
The main quest line is strictly sequential and it is also the gate on the map, so the quest order is the region order. The curve is not smooth, and it is worth knowing where the steps are before you hit them.
| Boss | Power | Health | Weakness |
|---|---|---|---|
| Velgar | 4 | 6,000 | None |
| Imaru | 5 | 14,000 | None |
| Black Knight Titan | 6 | 14,000 | Crush |
| Fuzan | 7 | 16,000 | None |
| Kuldra | 9 | 240,000 | None |
Velgar to Imaru is one power level and more than double the health. That is the wall most first-time players hit, and the answer is not a better weapon so much as a Crush option in the second slot, enough food to outlast him, and Tempest Shield at 11 Attack so that blocking actually prevents damage.
Three things nobody tells you
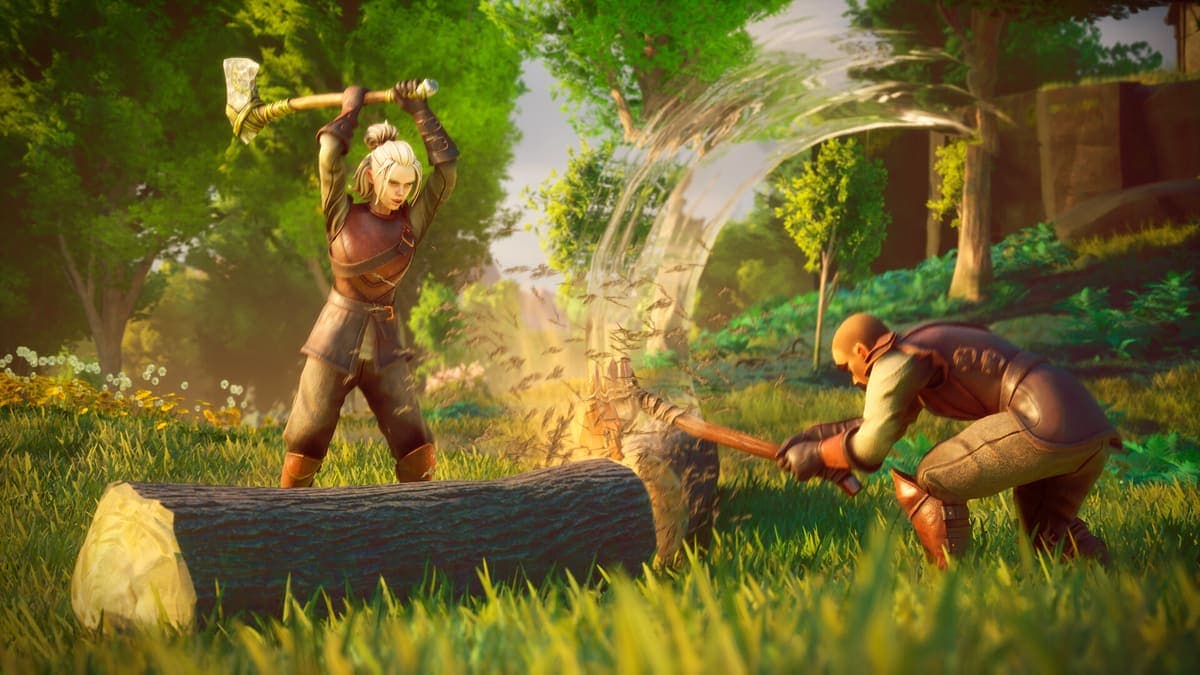
Logs on the floor count. Woodcutting experience comes from collecting loose logs as well as felling trees, and so does Mining from loose stones. You can finish the tutorial crafting table before you own a single tool.
Every dragon except the last one is weak to Water. Green at power 5, blue at 6, red at 7, all of them. One Water answer covers the entire chromatic line for the whole campaign, and 1.0 added Enchant Weapon: Water so a melee player gets it without respeccing. Kuldra is the exception, and she is a different kind of fight anyway.
Four is four. Co-op caps at four players in a world someone is hosting from their own machine. Six only happens on a dedicated server. Crossplay does not change the number.
Once Brynmoor is cleared and you have those three spells, the game opens up considerably. Ghornfell is next, it is much worse, and the storm in the Highlands really does strike anything walking in the open.