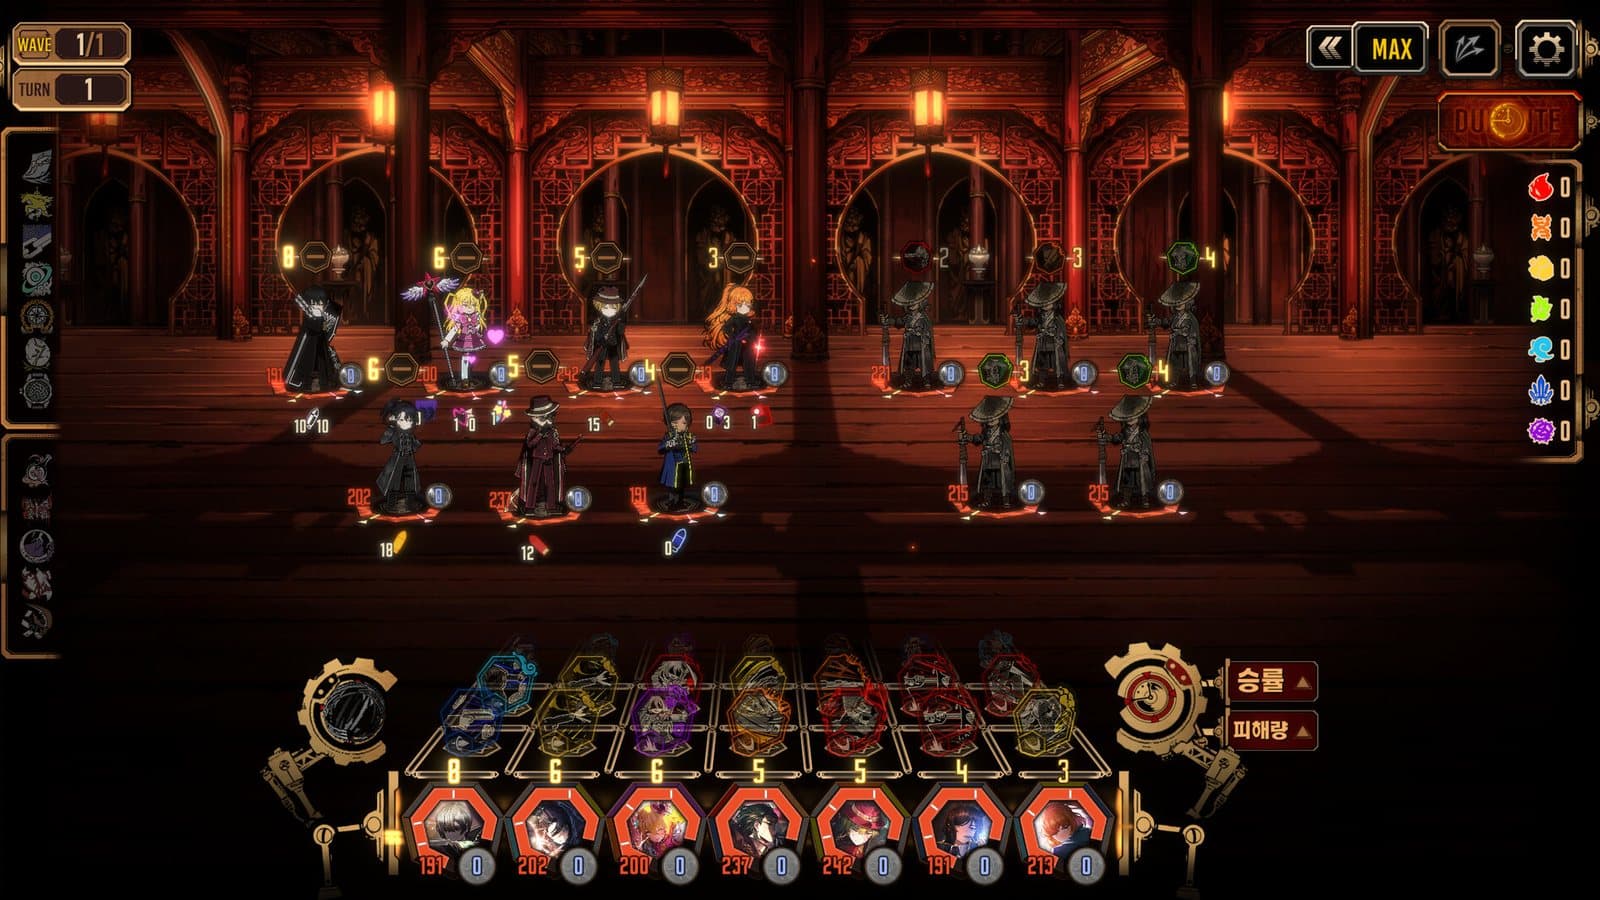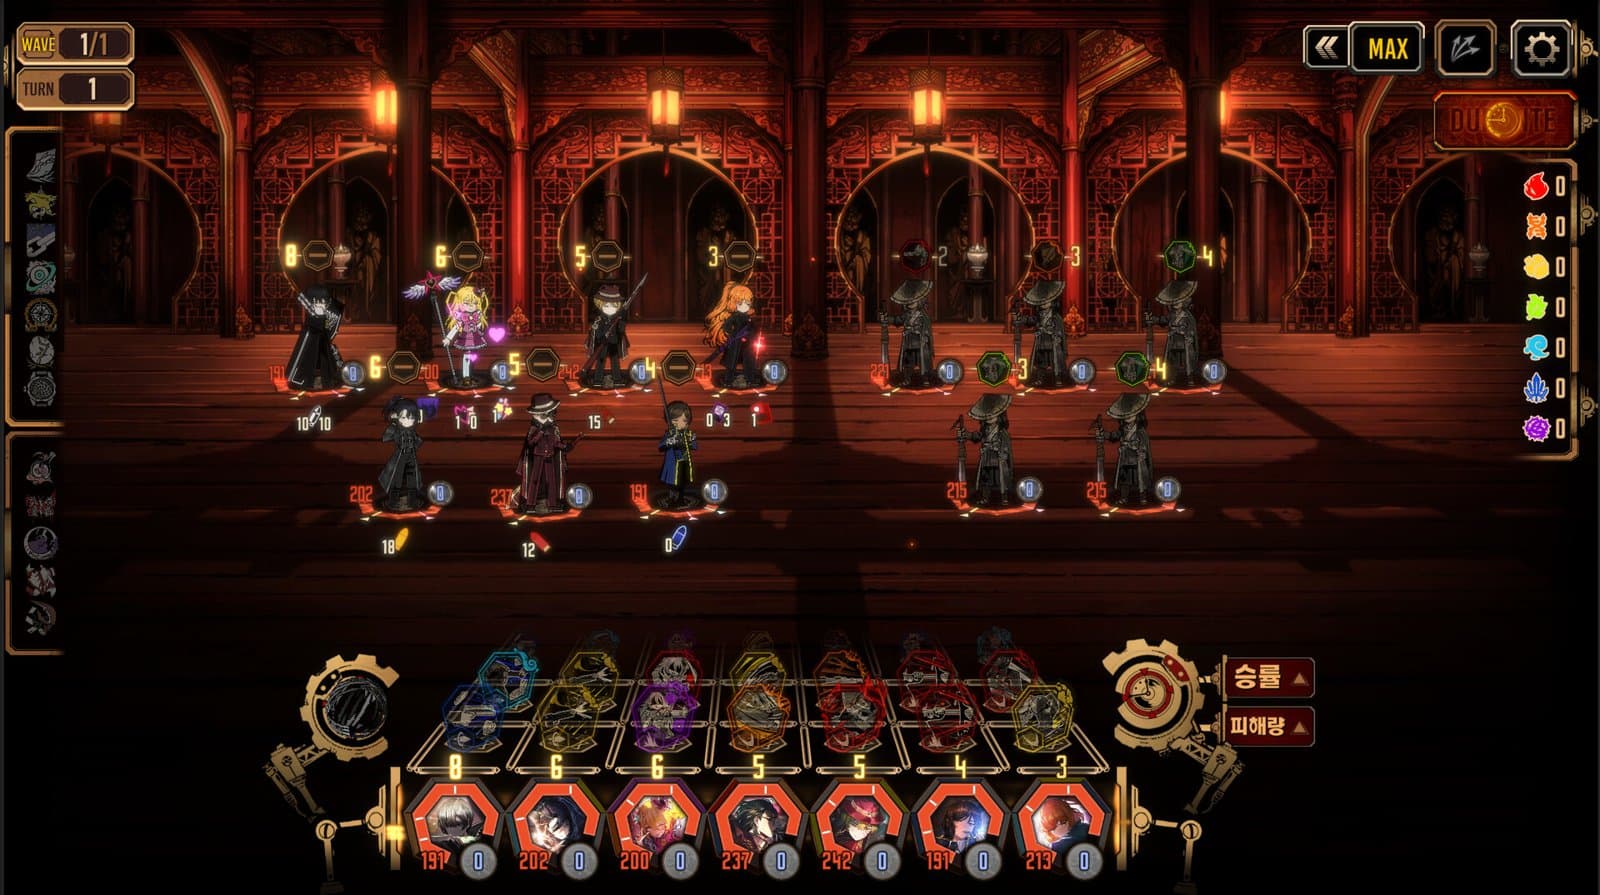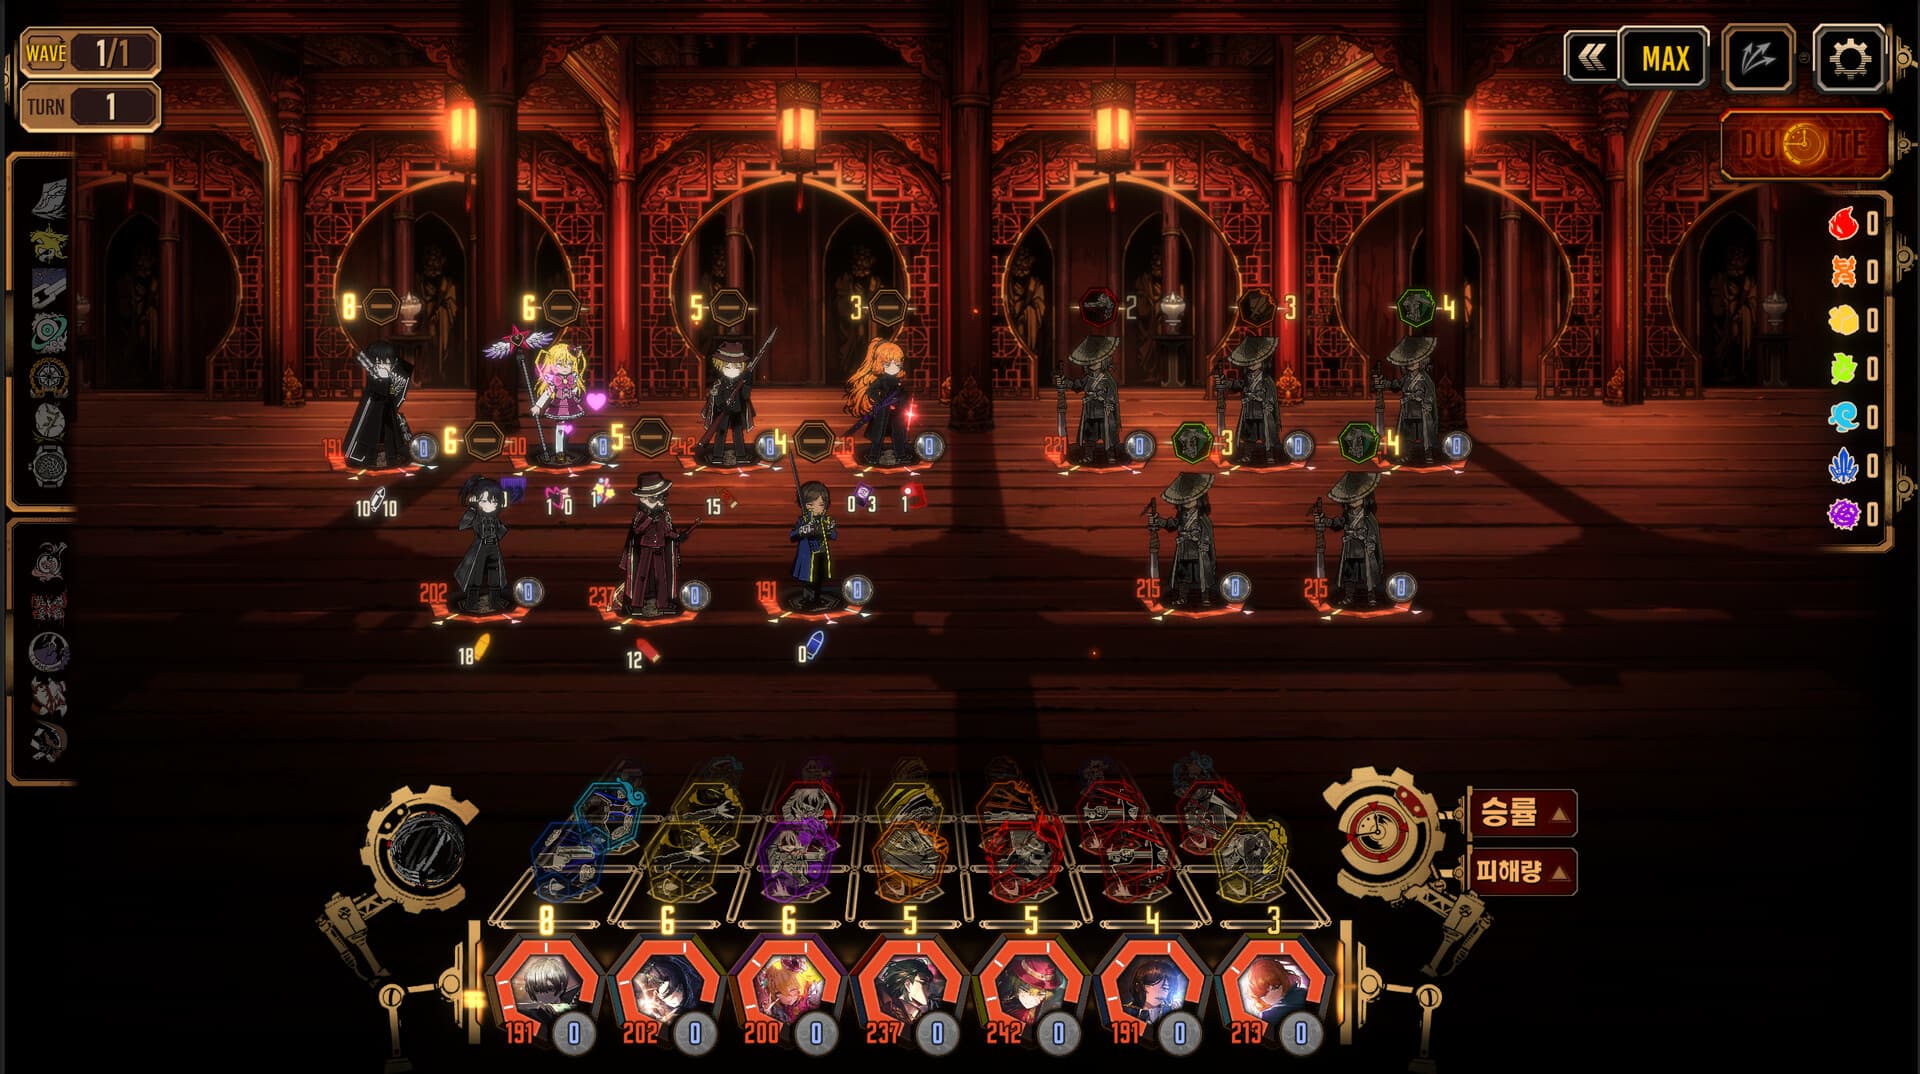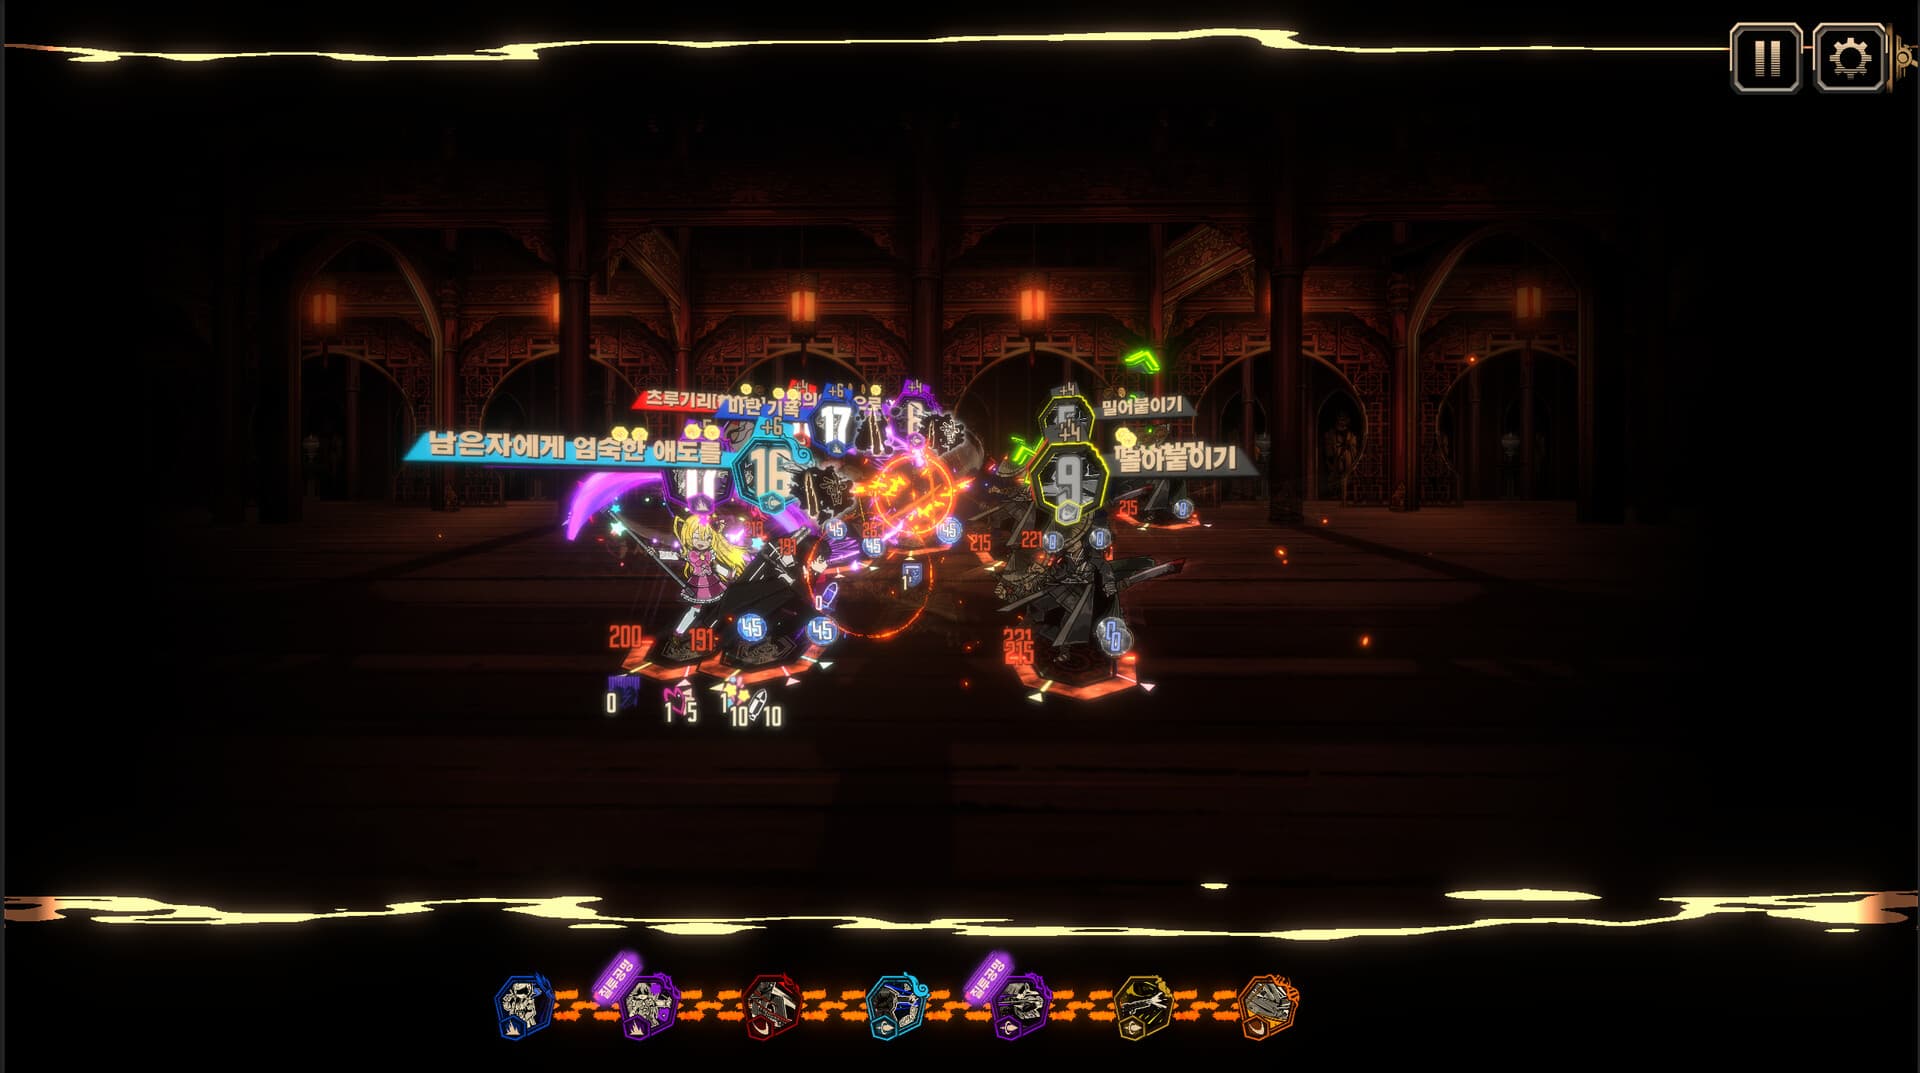
Mirror Dungeon is where you experiment. Refraction Railway is where you find out whether you actually understand the combat. There are no E.G.O Gifts to paper over a weak roster, no dungeon events to reroll into a lucky build, and no swapping your team when a fight goes sideways. You bring who you bring, and the game counts every turn it takes you to win.
That is the whole appeal. Refraction Railway is Limbus Company's purest test of team building and clash reading, and it is one of the best reasons to actually learn the mechanics instead of brute-forcing them. Here is how a Line works, how it pays out, and how to push from "cleared it" to the sub-120 banner.
What Refraction Railway is
Refraction Railway is a secondary combat mode: a series of high-difficulty encounters, updated in Seasons. Each Season introduces a new Line, with its own mechanics and a lineup drawn from that Season's Canto plus entirely new enemies. Rewards include resources plus limited-time profile decoration banners, and because the decorations are time-limited, a Line is genuinely worth clearing while it is open.
The structure borrows from Story Dungeons, with a crucial difference in how failure sticks. You assemble a team, and once you start you cannot change or alter it. There are no E.G.O Gifts and no dungeon events to lean on. What does carry over is your resource state:
- E.G.O Resources you build in one stage are retained into the following battles, so managing your sin affinities across the whole run matters, not just per fight.
- Sinners who sit out a stage are fully healed once you win it.
- Sinners who die stay dead for the rest of the Railway. There is no reviving them mid-run.
That last rule is the one that decides your difficulty. Every death is permanent for the Line, so a sloppy early stage can leave you understaffed for the boss.
How the Lost and Found reward system works
Refraction Railway is unusually generous about letting you try before you pay. You can freely enter and attempt a Line at any time without spending anything. The catch is on the reward side: you need 25 Enkephalin Modules to actually claim what you have earned.
Clearing a stage for the first time drops its rewards into the Lost and Found section. You spend Enkephalin Modules to unlock Lost and Found for that Line, and once it is unlocked it stays unlocked. From that point, consecutive rewards from the same Line can be claimed for free until the Line closes. In practice: pay the module cost once per Line, then reap everything that Line offers without further spend. Do not let a Line expire with rewards still sitting in Lost and Found unclaimed.
The turn counter and the two banners
The mode tallies how many turns you take to clear each stage and sums them across the entire Railway. Two profile banners hang on that total:
- One for completing the Railway in under 999 turns. This is the "you finished it competently" reward and most invested players clear it without special effort.
- One for completing the Railway in under 120 turns. This is the flex. Sub-120 means you are ending most fights in a handful of turns, which requires a real damage plan and clean clash wins, not attrition.
If you only care about resources, the 999-turn banner and the Lost and Found rewards are the goal. If you want the trophy, sub-120 is a puzzle worth solving.
Building a team that survives a Line
Because you cannot swap mid-run and dead is dead, team building is the whole game here. A few principles:
- Commit to a status or a burst archetype. A team that all plays the same damage language, whether that is a Bleed core, a Rupture core, a Tremor core, or a Sinking core, snowballs far harder than a pile of strong-but-unrelated Identities. Our team building guide covers how to pick a win condition and stack it.
- Win the clashes. Coin power and clash math decide who takes damage at all. If you are shaky on how clashes resolve, the clash and coin combat guide is the prerequisite for everything else here.
- Bring the right E.G.O for the sin economy. With Resources carrying between fights, plan which E.G.O you will fire and when, so you are not stranded on the wrong affinities against the boss. The E.G.O guide breaks down corrosion risk and resource cost.
- Respect the status the Line pushes on you. Each Line leans on specific afflictions. Know what is coming and pack the counters; the status effects and afflictions reference is the field manual.
A practical run order
Approach a new Line in two passes. First pass: enter freely, feel out the enemy gimmicks and the boss, and note where your deaths happen, without worrying about the module cost yet. Second pass: adjust your team to the Line's status theme, clear it cleanly, then spend your 25 Enkephalin Modules to open Lost and Found and collect. If you are chasing sub-120, that is a third, optimizing pass, where you tune for the fastest kill on each stage rather than the safest.
For the win condition itself, the current Limbus Company tier list is the fastest way to see which Identities and E.G.O are carrying the meta, and if you are newer to the whole system, start with the beginner's guide before you step onto the Railway. Once your first Line closes with everything claimed and a banner on your profile, the mode stops feeling like a wall and starts feeling like the best combat puzzle in the game.