Most of your damage in Zenless Zone Zero is supposed to happen during a window that lasts a few seconds. If you are not deliberately setting that window up, you are playing the game with one hand tied behind your back and wondering why bosses take so long.
That window is the Stun. Everything else in a ZZZ fight is, in one way or another, working toward it or cashing in on it. Learn the yellow bar and the whole combat system suddenly makes sense.
The yellow bar, explained in plain terms
Every enemy has a Daze meter, shown as a yellow bar under its health. You fill it by landing hits, especially hits from attacks with high Impact. When the bar fills completely, the enemy is Stunned: it collapses, stops fighting back, and, crucially, takes drastically increased damage for a short time.
That last part is the whole point. A Stunned enemy is hit with a Stun DMG Multiplier, a bonus that can push your damage well past what the same combo would do against an unstunned target. So the loop every ZZZ team runs, whether the player realizes it or not, is:
- Build Daze until the enemy is Stunned.
- Swap to your biggest damage dealer.
- Dump everything into the Stun window before it ends.
- Repeat.
If you have never thought about your fights this way, the combat mastery guide is the companion piece; it covers the moment-to-moment execution while this one covers the system you are executing toward.
Daze: how to fill the bar faster
Not all hits build Daze equally. The stat that governs it is Impact, and it belongs mostly to a specific class of Agents.
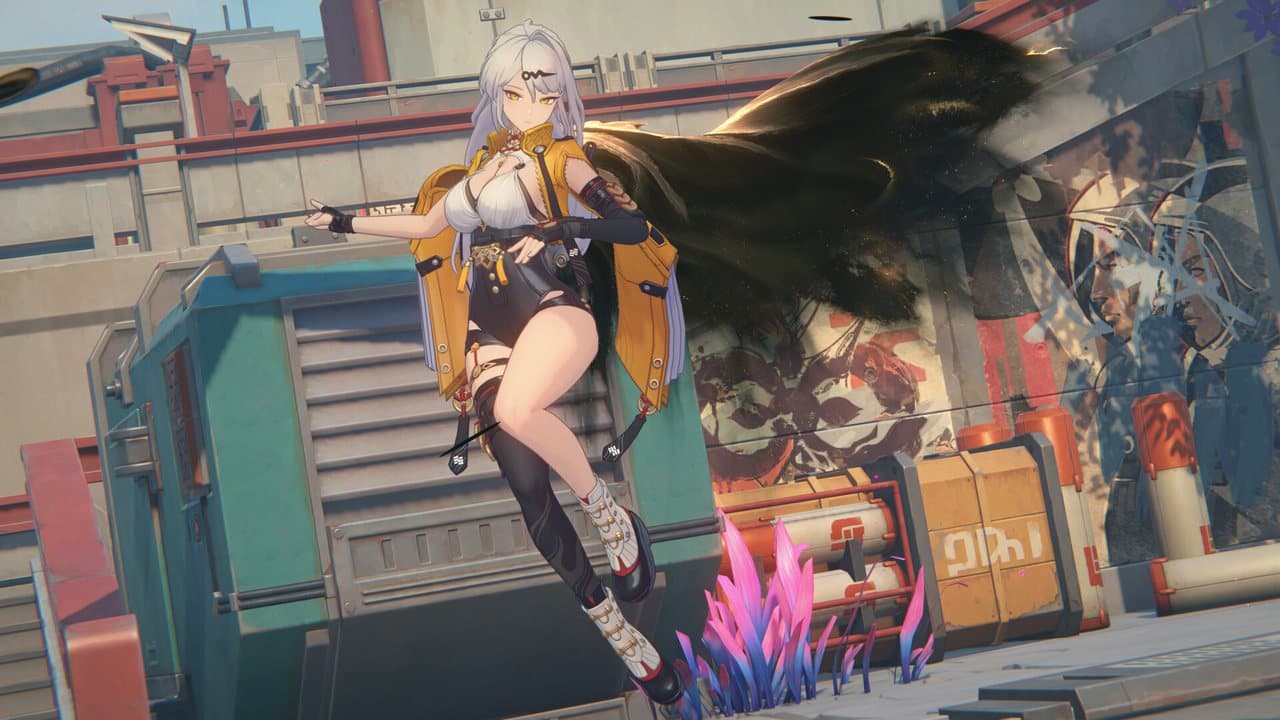
- Stun Agents are built for this. Their kits accumulate Daze quickly, their Impact is high, and their whole reason to exist is to get the enemy to the Stun state so someone else can capitalize.
- Anomaly damage also feeds Daze in its own way, which is why Anomaly teams play differently; they lean on elemental buildup and disorder rather than a dedicated Stun Agent, and their damage pacing is smoother instead of spiky.
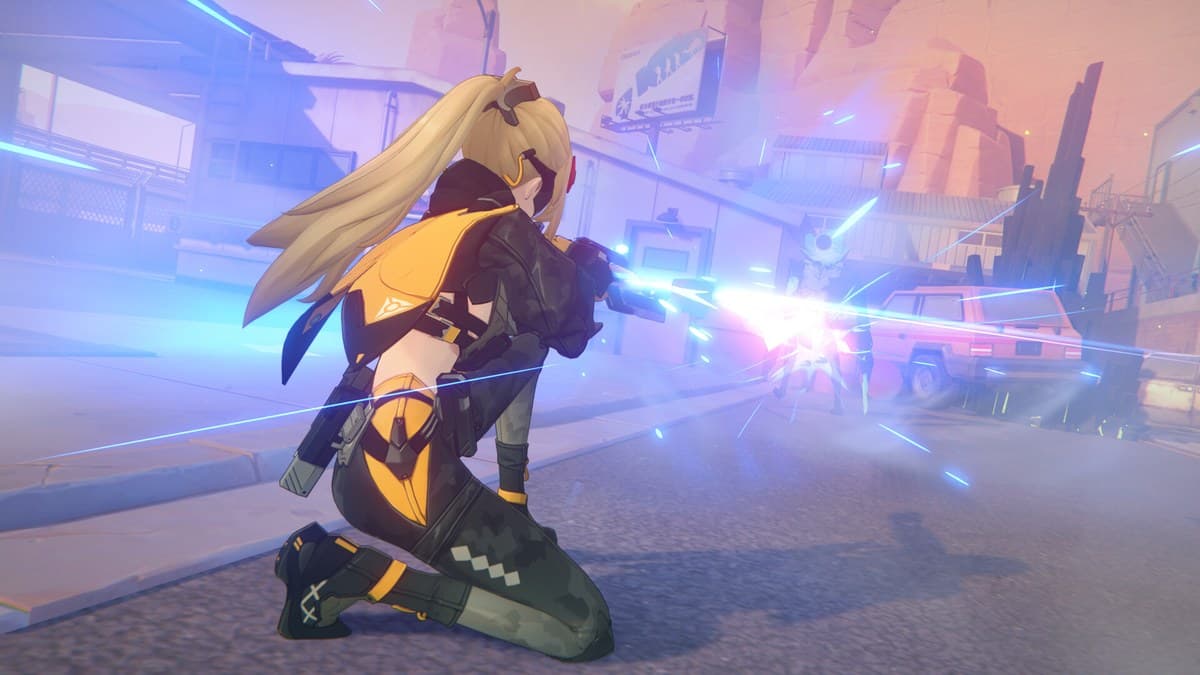
- Attack and other DPS Agents build some Daze on their own, but usually not enough to Stun a tough enemy quickly. That is why the classic ZZZ template is a trio: one Stun, one main damage dealer, one support.
A few practical truths about the bar:
- Daze decays when you stop hitting the enemy. Against a mobile or evasive boss, a slow, sloppy assault can leak Daze faster than you build it. Stay on target.
- Perfect dodges and parries feed the loop. A well-timed dodge into a counter, or a defensive assist when a teammate gets pressured, is not just survival; it is extra Daze and a swap opportunity rolled into one.
- Impact is a real build stat. For your Stun Agent, Impact on the Drive Discs and W-Engine is what shortens the time-to-Stun. A Stun Agent built for crit is a Stun Agent doing the wrong job.
The Stun window: where the fight is actually won
When the bar fills and the enemy staggers, a timer starts. This is your damage window, and how much you get out of it depends on three things.
First, the size of the Stun DMG Multiplier. This scales with your Stun Agent. A better-built, higher-level Stun Agent hands your carry a bigger multiplier, which means the same Stun window is worth more damage. This is the part players miss: the Stun Agent contributes to your damage even though it is not the one dealing it.
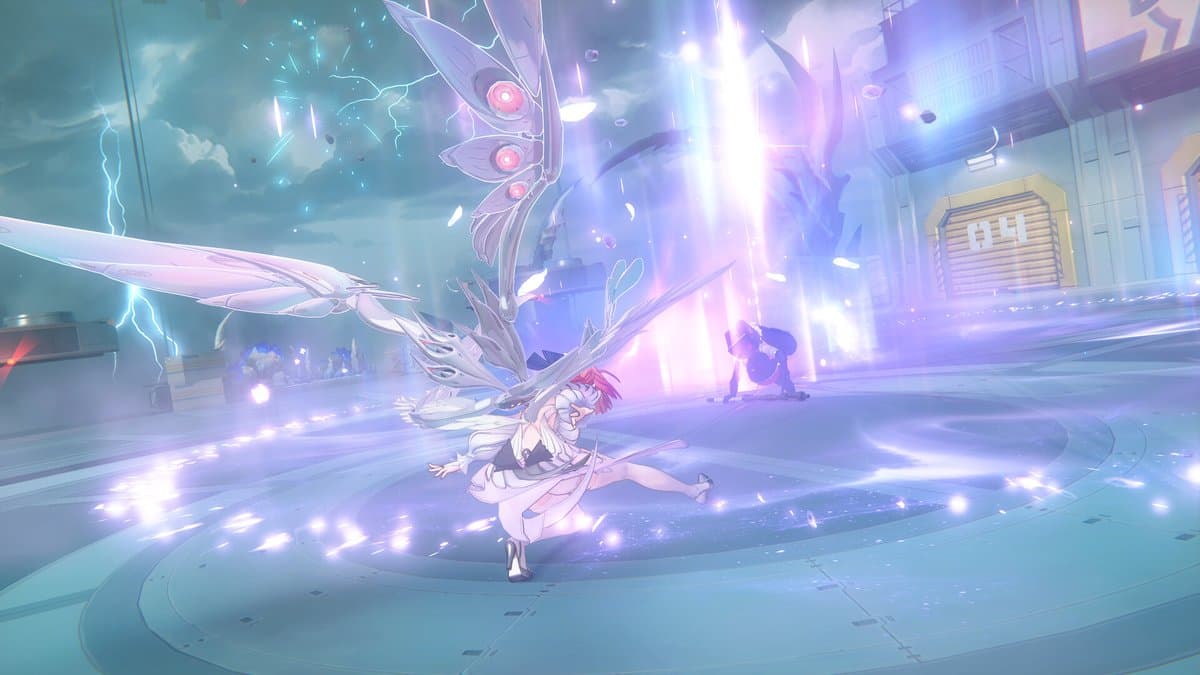
Second, your swap timing. The instant the enemy is Stunned, you want your main DPS on the field, not your Stun Agent still finishing an animation. Great ZZZ players Stun the enemy and are already swapping mid-motion, using Quick Assist and chain attacks to bring the carry in with a bang.
Third, your carry's burst. The Stun window rewards front-loaded, high-ceiling damage. This is where Ultimates and your strongest combo strings belong. Holding your Decibel meter for the Stun rather than firing it off the moment it fills is one of the biggest free upgrades a new player can make.
Miss the window and you are back to square one, chipping the Daze bar up again from a fresh start. Hit it clean and a boss that felt spongy suddenly folds.
Building a team around the loop
You do not need premium units to run this. You need roles filled. The standard shape:
| Role | Job | What to prioritize |
|---|---|---|
| Stun Agent | Fill Daze, provide the Stun multiplier | Impact, energy, uptime |
| Main DPS | Cash in the Stun window | Crit, ATK, burst damage |
| Support | Buff the carry, cover swaps, extra Daze or shred | Team buffs, energy, a useful debuff |
The magic is in the swaps. A tuned team is not three characters taking turns; it is one continuous action where the Stun Agent hands off to the DPS at the exact moment the bar fills, the support layers a buff over the top, and Quick Assists keep the whole thing on the field without dead time. If you want a ready-made starting point, the best teams for beginners guide gives you working trios you can build toward, and the right Bangboo can add a surprising amount of Daze and energy to the loop.
Reading different enemies
The stagger system is not one-size-fits-all, and the endgame modes will teach you that quickly.
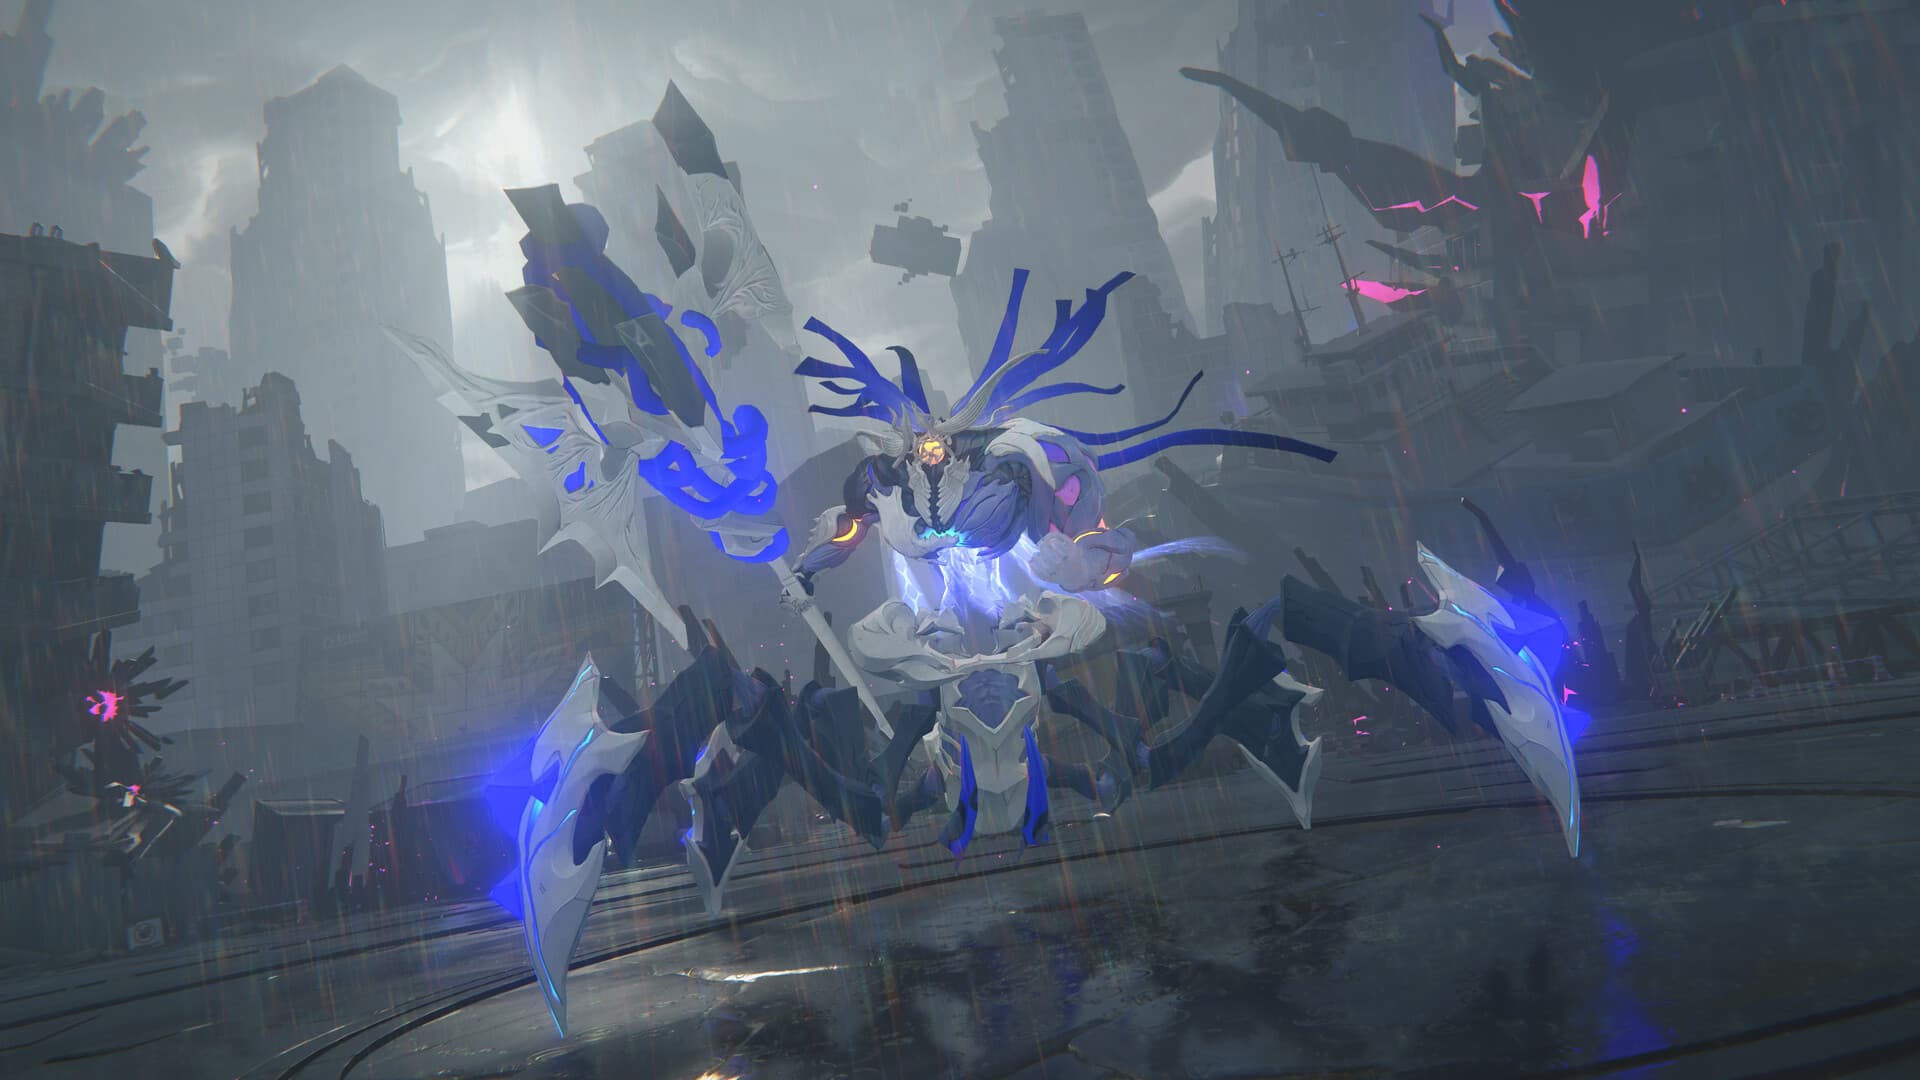
- Big single bosses are the purest expression of the loop: build Daze, Stun, burst, repeat. This is Deadly Assault and boss-heavy Shiyu Defense territory, where a clean Stun rotation is the difference between a full-star clear and running out of time.
- Waves of smaller enemies care less about the Stun multiplier and more about area damage and fast Daze application across a crowd. Sometimes an Anomaly team clears these faster than a Stun team, because it does not need to fully Stun each trash mob to delete it.
- Enemies with armor or shields may need their guard broken before Daze builds normally. Watch the animation, not just the bar.
The takeaway is that "which team is best" is often really "which team suits this enemy's stagger profile," and the players who clear the hardest content fluently are the ones who match the tool to the fight.
Quick fixes if your damage feels low
If bosses are taking forever, run down this list before you blame your gear:
- Are you actually Stunning them? If the yellow bar never fills, your Stun Agent needs more Impact, more uptime, or more field time.
- Are you bursting into the window, or into full health bars? Save your Ultimate and strongest combos for the Stun.
- Is your Stun Agent underleveled? A weak Stun Agent means a weak Stun multiplier, which quietly caps your whole team's damage.
- Are you letting Daze decay? Stay aggressive. The bar does not wait for you.
Bottom line
Zenless Zone Zero is a Stun game wearing a stylish action-brawler coat. Fill the Daze bar, Stun the enemy, and pour your biggest damage into the window before it closes. Build your Stun Agent for Impact, your carry for burst, and your support to glue the swaps together, then hold your best tools for the moment the enemy staggers. Once that rhythm clicks, everything from Shiyu Defense to the hardest Deadly Assault rotations stops being a damage check and starts being a timing game you already know how to win.