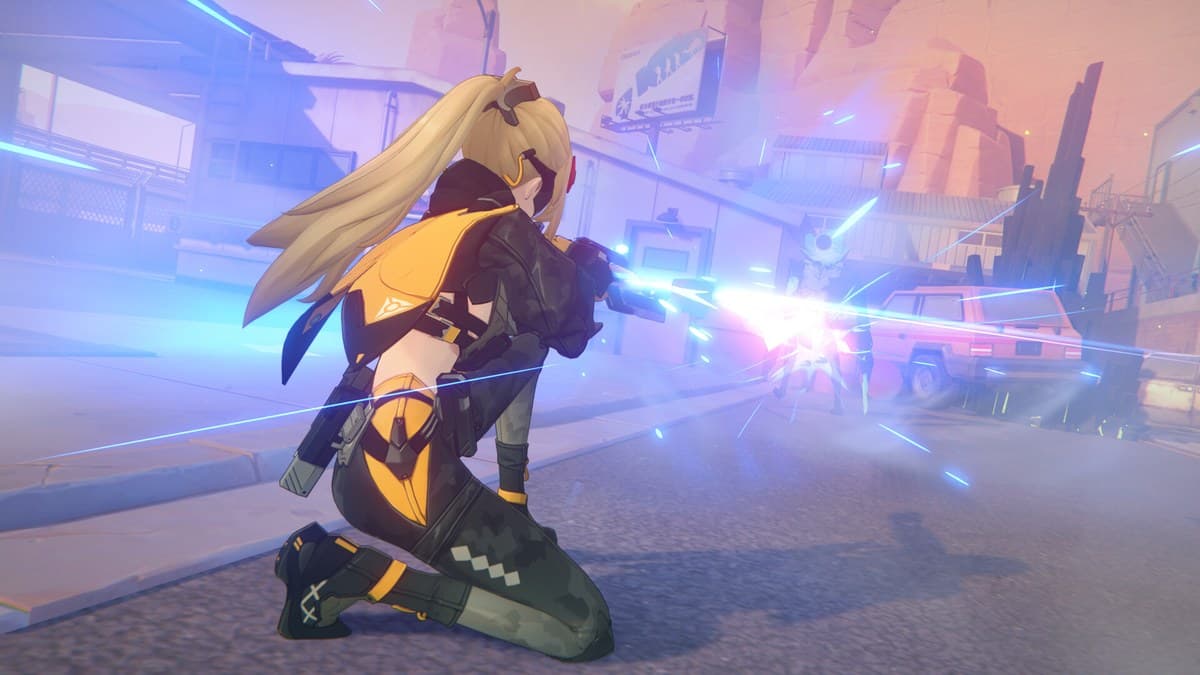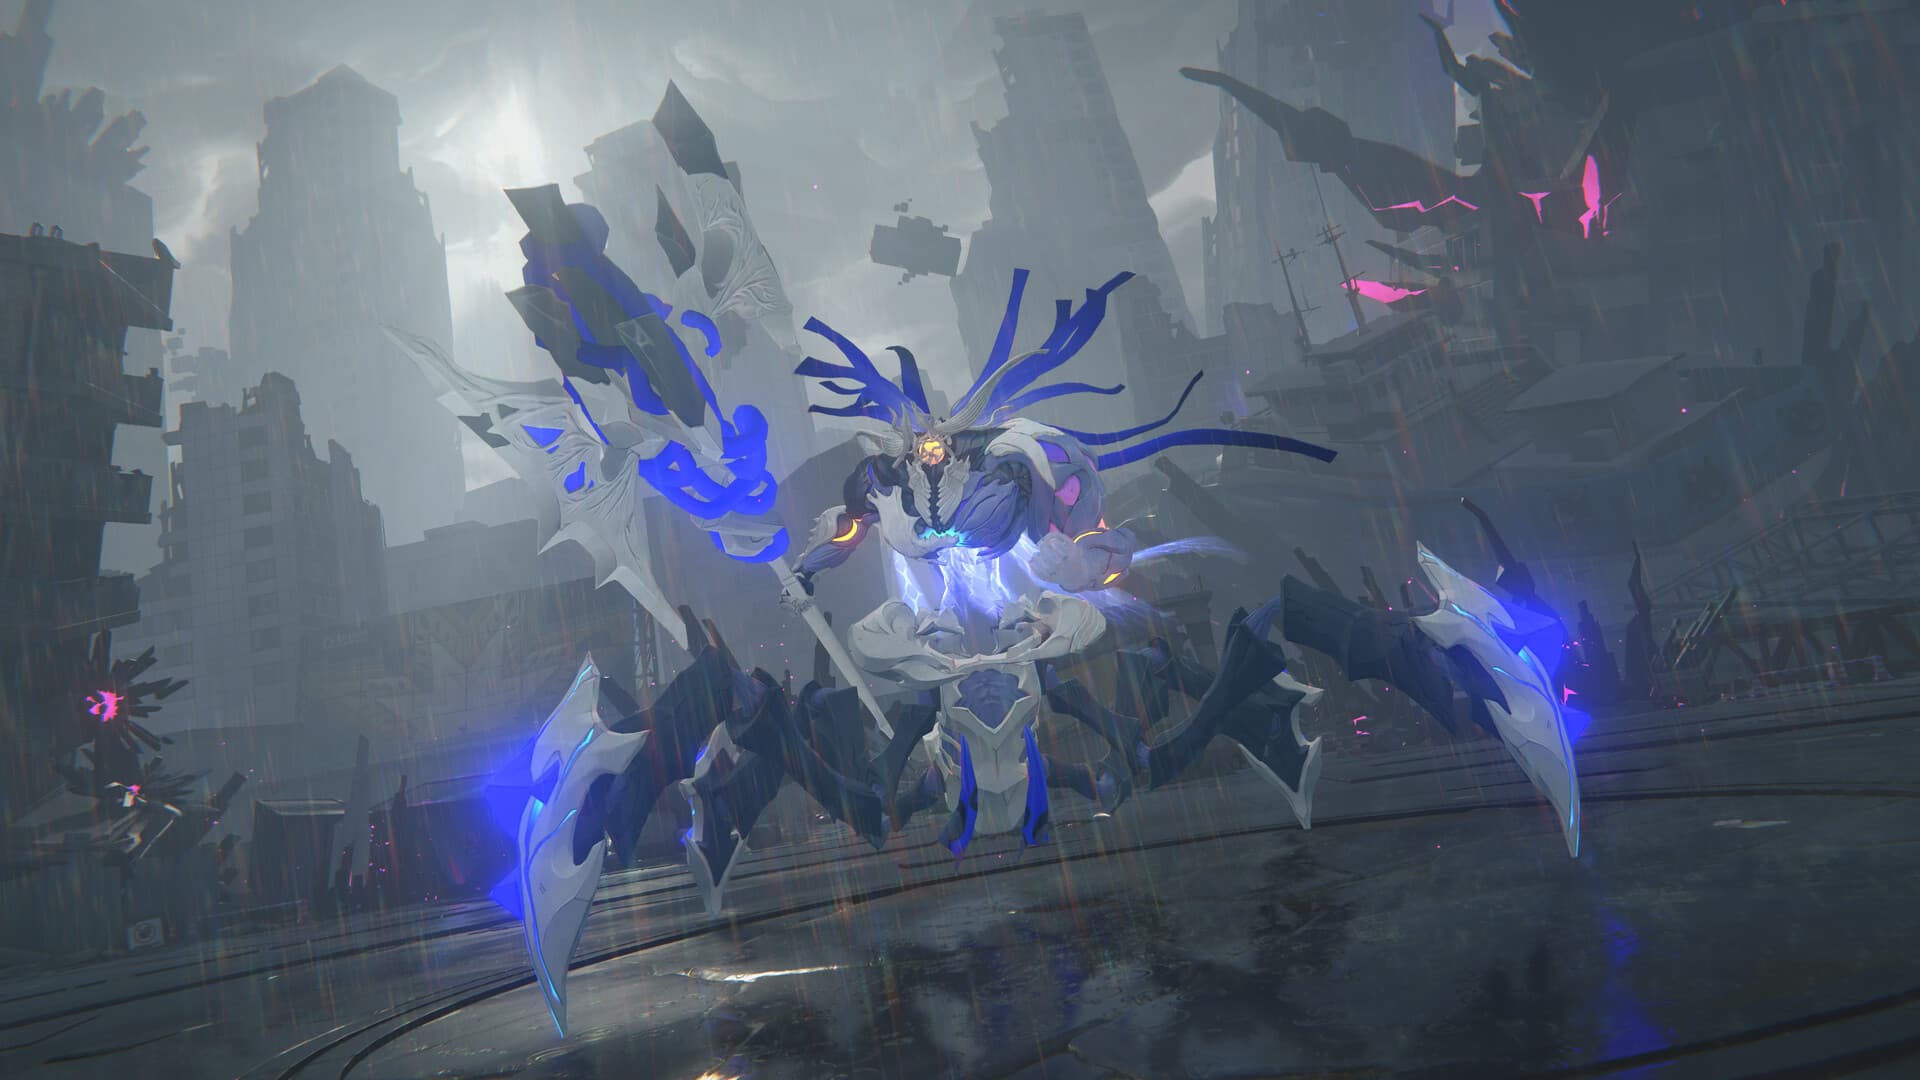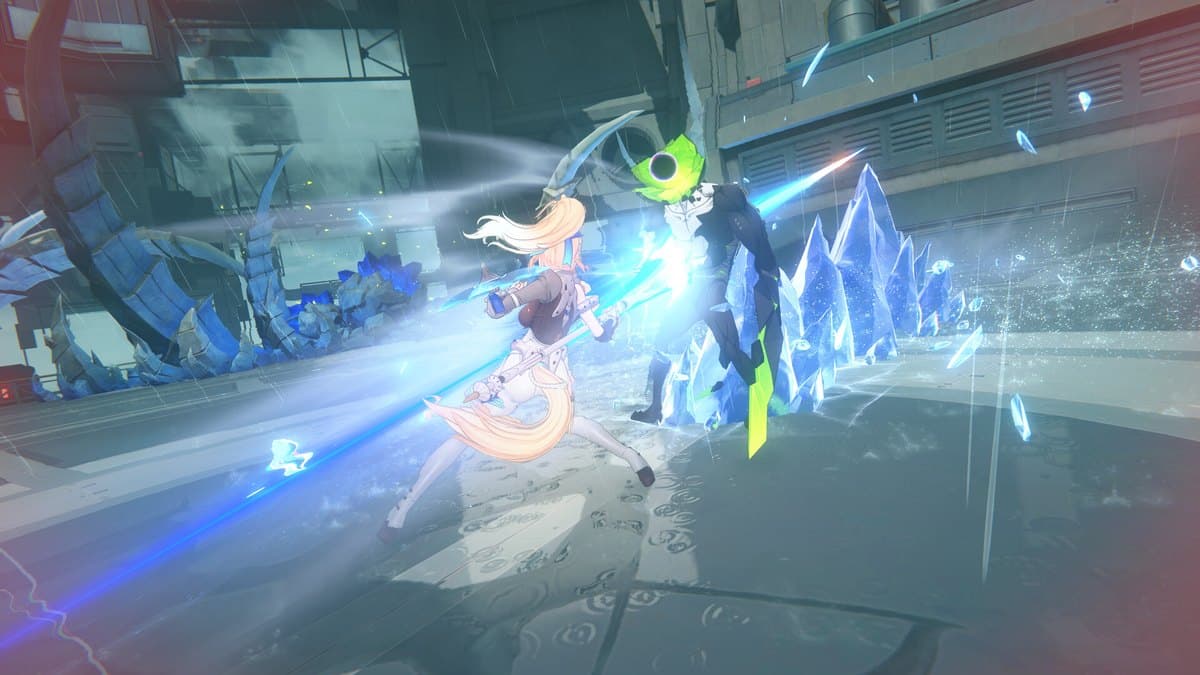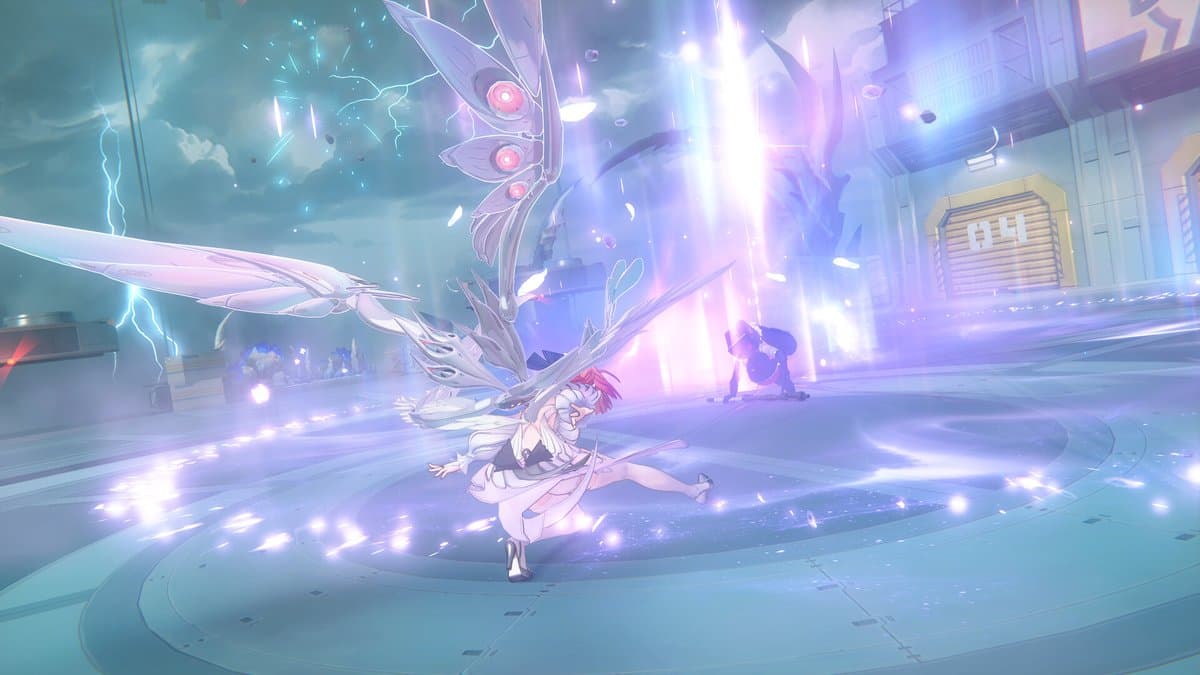
Two agents, same investment, wildly different clear times. The gap is almost never the build. It is that one player is dumping their biggest hits into the stun window and the other is scattering them across a fight where the enemy can still fight back. Zenless Zone Zero hands you two independent burst systems to solve this, and they run on completely different fuel. Understanding which is which is the difference between a Deadly Assault run that stalls at half the score and one that caps out.
Two meters, two rules
Here is the mental model to lock in before anything else:
- Chain Attacks are powered by Stun. They cost you nothing but the setup. You build an enemy's Daze bar, it maxes out, the enemy is Stunned, and landing a hit during that state triggers a Chain Attack: a cinematic prompt that lets you swap to another squad member for a heavy strike, then a third, cycling through the team.
- Ultimates are powered by Decibels. This is a separate team meter that fills to 3,000 through combat. Once it is full, the on-field agent can unleash their Ultimate, which spends the whole meter.
They are not the same button and they do not share fuel. You can be sitting on a full Decibel meter with no Stun available, or land a Stun with Decibels still charging. The art is getting both ready at the same moment.
How Daze builds (and why Chain Attacks are the priority)
Every hit you land adds Daze to an enemy's stun bar. When it fills, the enemy is Stunned: locked in place, unable to retaliate, and taking a large bonus to the damage it receives. That vulnerability window is where the game wants you to spend everything.
Different agents fill Daze at different rates. Stun-role agents exist specifically to inflict it fast, which is why the strongest teams pair a Stunner with a DPS who does the actual damage during the opening the Stunner creates. If your Daze feels slow, the fix is usually team composition, not gear. Our stun, daze, and stagger guide goes deep on the numbers and which agents excel at building the bar.
The trigger for a Chain Attack is the Stun itself. Land a qualifying hit on a Stunned enemy (or defeat one) and the Chain Attack prompt appears, freezing the action while you pick which agent chains in. Each chained agent deals a hefty burst, and because the enemy is Stunned throughout, all of it lands into the amplified-damage window.
How Decibels build (and when to actually press Ultimate)
Decibels tick up as you fight. You fill the meter faster by doing the aggressive, skill-expressive things the combat rewards: Chain Attacks, Dodge Counters (dodging at the last moment, then striking back), Assist Follow-ups, and EX Special Attacks. Passive basic-attack spam fills it too, just slowly.
The mistake is pressing Ultimate the instant the meter hits 3,000. Two reasons to hold it:
- Ultimates hit hardest during Stun. An Ultimate fired into a Stunned enemy benefits from the same damage amplification your Chain Attacks do. Dropping it on an enemy at full posture wastes a chunk of that value.
- Ultimates often extend or feed the chain. During a Chain Attack sequence, if your Decibels are full, the game offers the Ultimate as the finisher of the cycle. Saving it for that moment stitches your two burst systems into one continuous animation of damage.
So the priority order in most fights is: build Daze, trigger the Stun, open the Chain Attack, and cash the Ultimate as the exclamation point at the end while the enemy is still stunned.
The clean rotation
Here is the loop that most competent New Eridu players converge on. Adjust the agent names to your own squad; the structure holds.
- Open with your Stunner (or your fastest Daze builder). Use Special and EX Special attacks to pile Daze onto the target quickly.
- Dodge Counter incoming attacks rather than blocking blind. Each counter chunks Daze and pumps Decibels at the same time.
- Stun lands. The enemy freezes and glows. This is the window everything was for.
- Swap to your DPS and open the damage. If a Chain Attack prompt fires, chain through your carry first so the biggest multiplier lands into the fullest part of the window.
- Finish with the Ultimate if Decibels are full, ideally as the tail of the Chain Attack, still inside the stun.
- Reset. Rebuild Daze on the next enemy while Decibels recharge for the following window.
Two things separate a good run from a great one here. First, do not let a full Decibel meter sit idle across multiple Stun windows; a banked Ultimate you never spend is pure wasted damage. Second, do not force a Stun you have not earned; if Daze is not near full, keep building rather than blowing your DPS window on an enemy that can still counterattack.
Building squads that feed both systems
A team that clears fast is one where both meters fill on schedule. That usually means three ingredients working together:
- A Stunner to open the window (fast Daze).
- A DPS to spend it (raw damage during Stun).
- A Support or Anomaly agent to buff, apply status, or extend the window.
The Assist system glues them: dodging into an Assist swaps an ally in with a counter that both protects you and feeds Daze and Decibels. Leaning on Assists instead of eating hits is how experienced players keep both meters topped up without ever dropping their guard. For the fundamentals underneath all of this, the combat mastery guide covers dodging, parrying, and Assist timing, and the beginner team guide shows the Stunner-plus-DPS backbone in action.
Putting it to work
Where this pays off is the timed and scored content. In Deadly Assault and Shiyu Defense, score is largely a function of how much of your damage lands inside stun windows and how many Ultimates you cash before the clock runs out. Players who plateau there almost always have the raw stats and are simply spending bursts at the wrong time.
Line up the right agents from the ZZZ tier list, grab the current redeem codes for free Polychrome toward your next Stunner, and keep the Zenless Zone Zero hub handy as new agents shift which squads fill both meters fastest. Master the two-system rhythm and your clear times drop before you spend a single upgrade material.