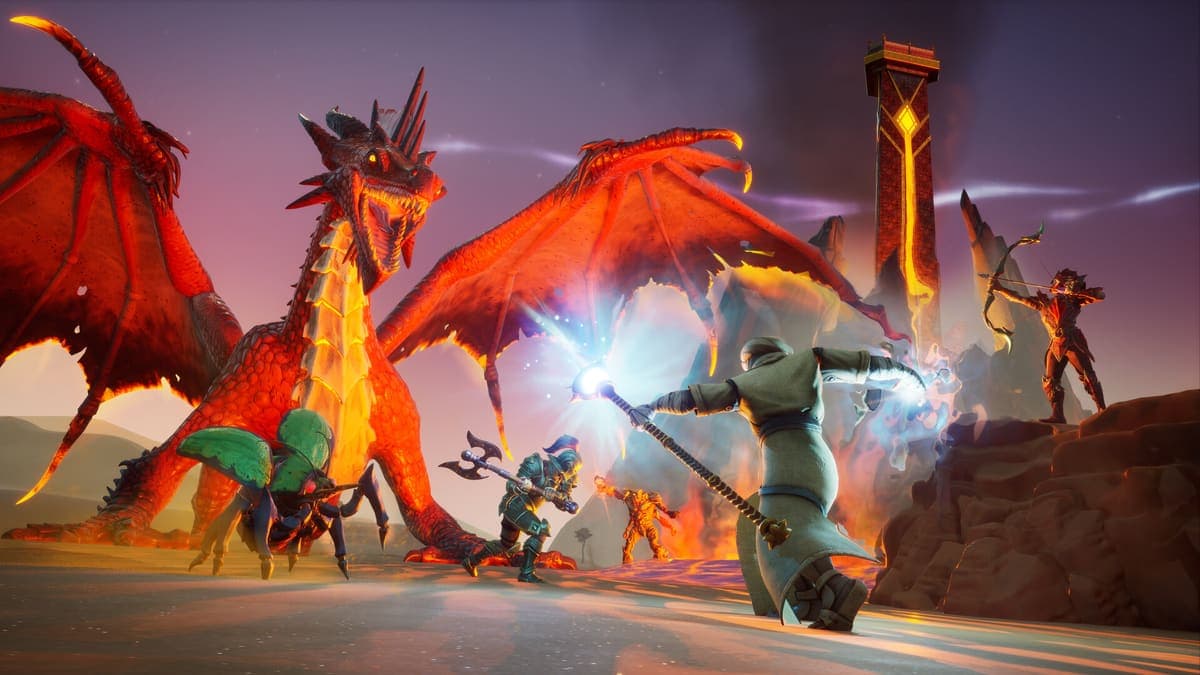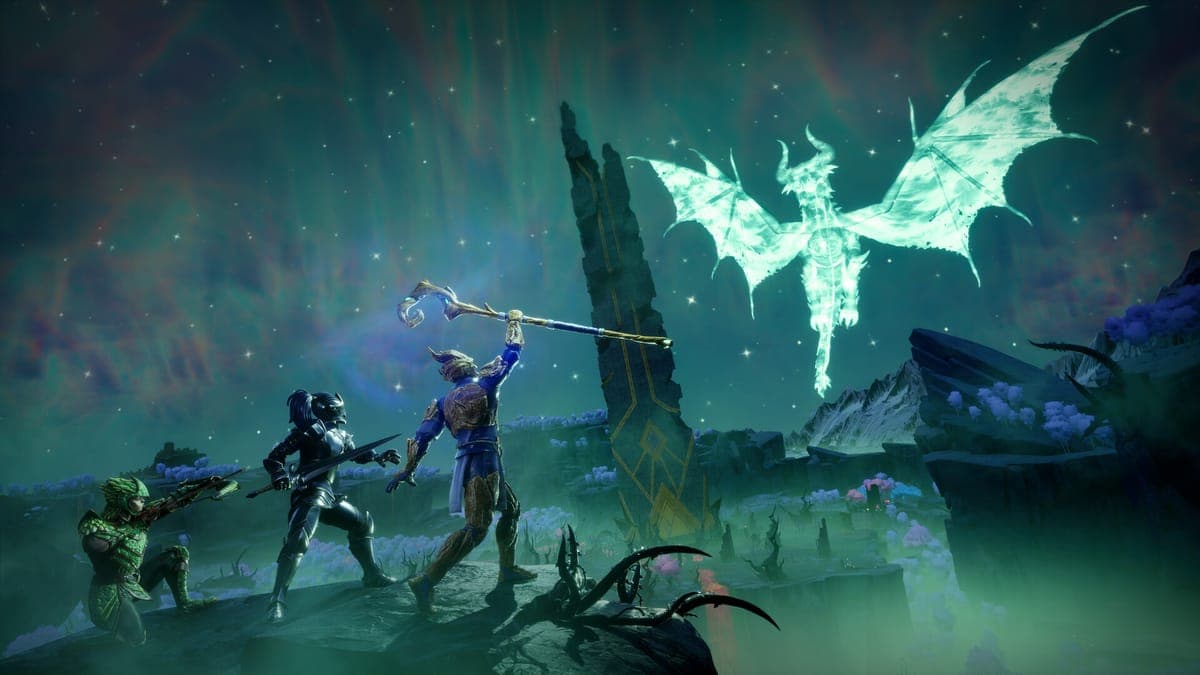
Your weapons do nothing to her.
That is not a difficulty curve or a resistance you can out-gear. Kuldra cannot be damaged by players at all. The 240,000 health bar that everyone screenshots is not a wall to chew through, it is a bar that only one thing in the game can move: the Anima Cannon, which hits for 9,999 a shot. Work that out and the raid stops being a gear check and starts being what it actually is, a four-phase puzzle with a dragon shouting at you.
Here is how the whole thing runs.
What to bring
The wiki's strategy page is explicit about food and vague about everything else, so this splits into what is documented and what is consensus.
Food, in order of preference:
| Food | Heals | Note |
|---|---|---|
| Stuffed Catfish | 200 | The best in the game for this |
| Undead Delight | 180 | Carries the Sea Life perk |
| Eggs Royale | 120 | Sea Life perk |
Infusions do not stack, so do not plan around layering them.
Potions: Antipoison, standard duration, for the final phase. It is not optional there. Super Antifire is listed as an optional extra for faster kills.
Spells worth having unlocked: Surge for the longer dodge, Tempest Shield so blocking actually prevents damage, and Spectral Arrows. A Whetstone and a Magical Focus are also listed as optional.
Gear. Jagex has not published a requirement and the wiki's page is still a stub on this, so treat the following as third-party consensus rather than fact: Rune (power 8) for melee, Black dragonhide (power 8) for ranged, Ancestral for magic. Strong power 7 gear out of the Umbral Sands, Adamant or the Kalphite carapace, is reported as enough for a first attempt. Bring a primary weapon plus a ranged or magic fallback rather than committing to one line, because status damage lands in every phase.
Party size. The raid sits inside normal multiplayer, so it is four players in a hosted world and six on a dedicated server. Solo is doable and reported as such, including the heart phase. More players mainly speeds up the trash between the set pieces. A hard mode is referenced on the strategy page but not documented anywhere I could find, so I am not going to pretend to know what it changes.
Reading her attacks
The main head opens with a beam. After that each head goes on its own:
- Green spits poison
- Red drops fireballs
- White throws ice shards that try to freeze you
- Blue shoots lightning at wherever you are standing
Blue is the one that punishes standing still, white is the one that punishes being caught mid-animation, and green is why the Antipoison matters.
Phase 1: kill a hatchling, load the cannon
A blue Dragon Hatchling spawns. Killing it yields water anima, which goes into the pylon, which charges the Anima Cannon.
Then you land six hits with the cannon.
When that is done Commander Zilyana turns up and raises a barrier. Get inside it and stay there. Kuldra's special attack does rapid damage to anything outside, and this is the most common way a first run ends: someone treats the barrier as scenery.
Phase 2: the same trick, different element
You get moved to a new platform and the loop repeats, except the hatchling is red and the anima is fire.
One group note from the wiki worth taking seriously: stagger your anima deposits. Everybody sprinting the same charge at the same time wastes the window.
Phase 3: two pylons, then you go inside
You platform across floating islands to reach the arena. This time there are two pylons, water and fire, and both have to be filled before the cannon will fire.
Six hits again, and this time the hits stun her. A bridge opens to her head. You walk into it.
If you have Windstep from 8 Agility, there is an optional gate skip here. Eight levels and five Air runes, and it saves you a traverse in the hardest fight in the game, which is a reasonable argument for not skipping the cheapest spell in the game.
The wiki flags the hatchling spawn order in this phase as unconfirmed, so do not plan a rotation around it.
Phase 4: inside her, killing the heart
This is the real fight, and it is not a dragon fight.
You are inside Kuldra's body attacking her heart, which has its own health pool you take to zero. Two things are trying to stop you:
- Heartworms, which the wiki is unsure about mechanically (whether they cause the Earth Spike attack is marked unconfirmed)
- Poison explosions, which is why Antipoison II is on the list rather than being a nice-to-have
Dodge, keep the Antipoison running, and chew the heart down. Ranged and magic players have a tunnel safe spot to work from.
When the heart dies, leave immediately. The exit is not a formality.
What you get
The Queenslayer's Reward Pack, which contains the Dragon Scimitar: power 9, 102 to 215 damage, the only power 9 weapon in the game.
Note the shape of that reward. The Rune Greataxe you walked in with does 196 to 343. The scimitar is faster and leaves a hand free to block, so it is not a downgrade, but it is a trophy for having finished rather than a tool that helps you finish. Nothing in Dragonwilds' endgame needs it yet. That changes in December, when Luminance adds the Prayer skill and a set of elven content, and again across 2027 with the Blood Crystal Saga.
The part that trips everyone up
Every phase is the same three beats: get the anima, charge the pylon, fire six times. The variation is which element, how many pylons, and what is trying to kill you while you do it.
So if a run is failing, it is almost never damage. It is one of four things:
- You stepped outside Zilyana's barrier
- Your group all deposited anima at once instead of staggering
- You went into phase 4 without Antipoison
- You stood still while the blue head was looking at you
For the rest of the climb up to this fight, the boss order guide covers Velgar through Fuzan, and the tier list ranks what to be wearing when you get here.
Sources: the Kuldra strategy page for the phases, attacks and food, which is still marked as an unfinished stub; gear and party-size notes are third-party and labelled as such above.