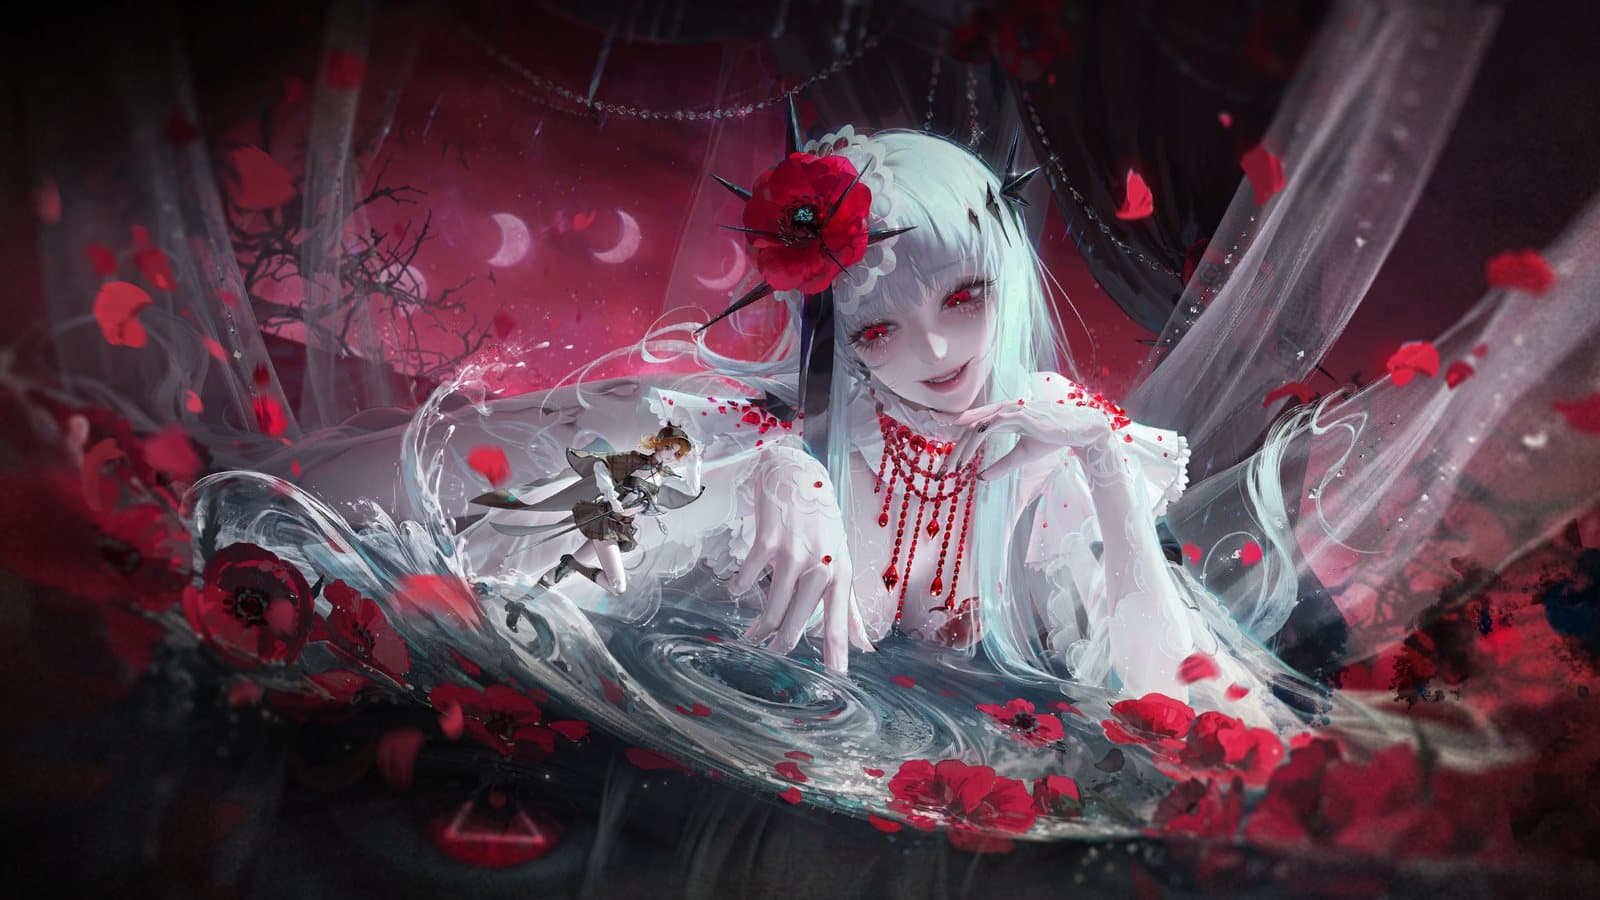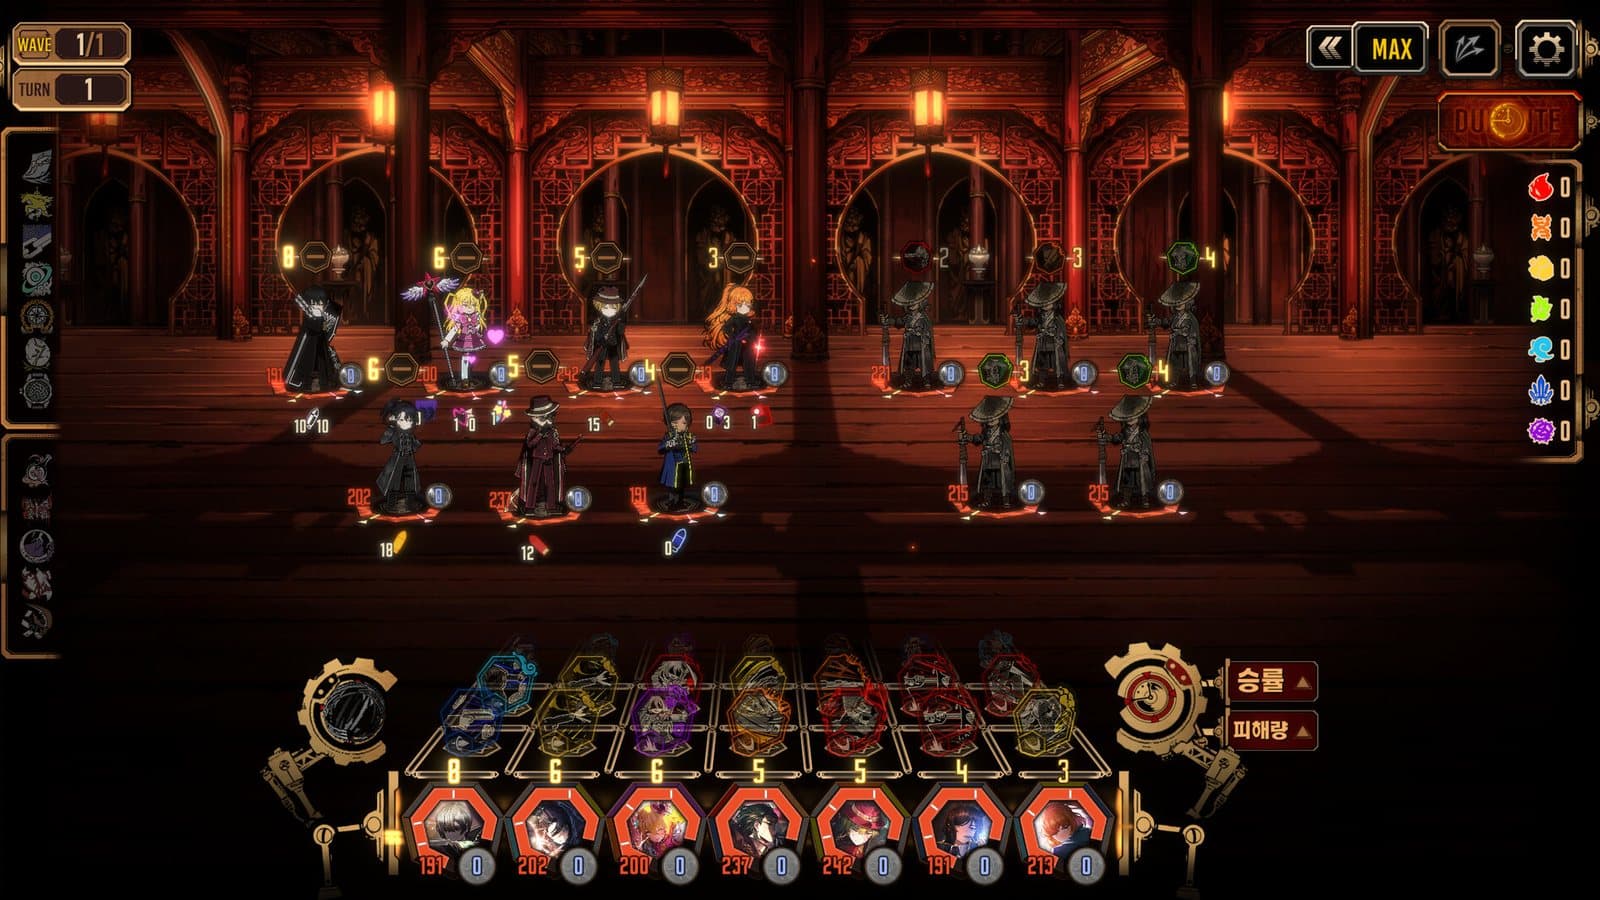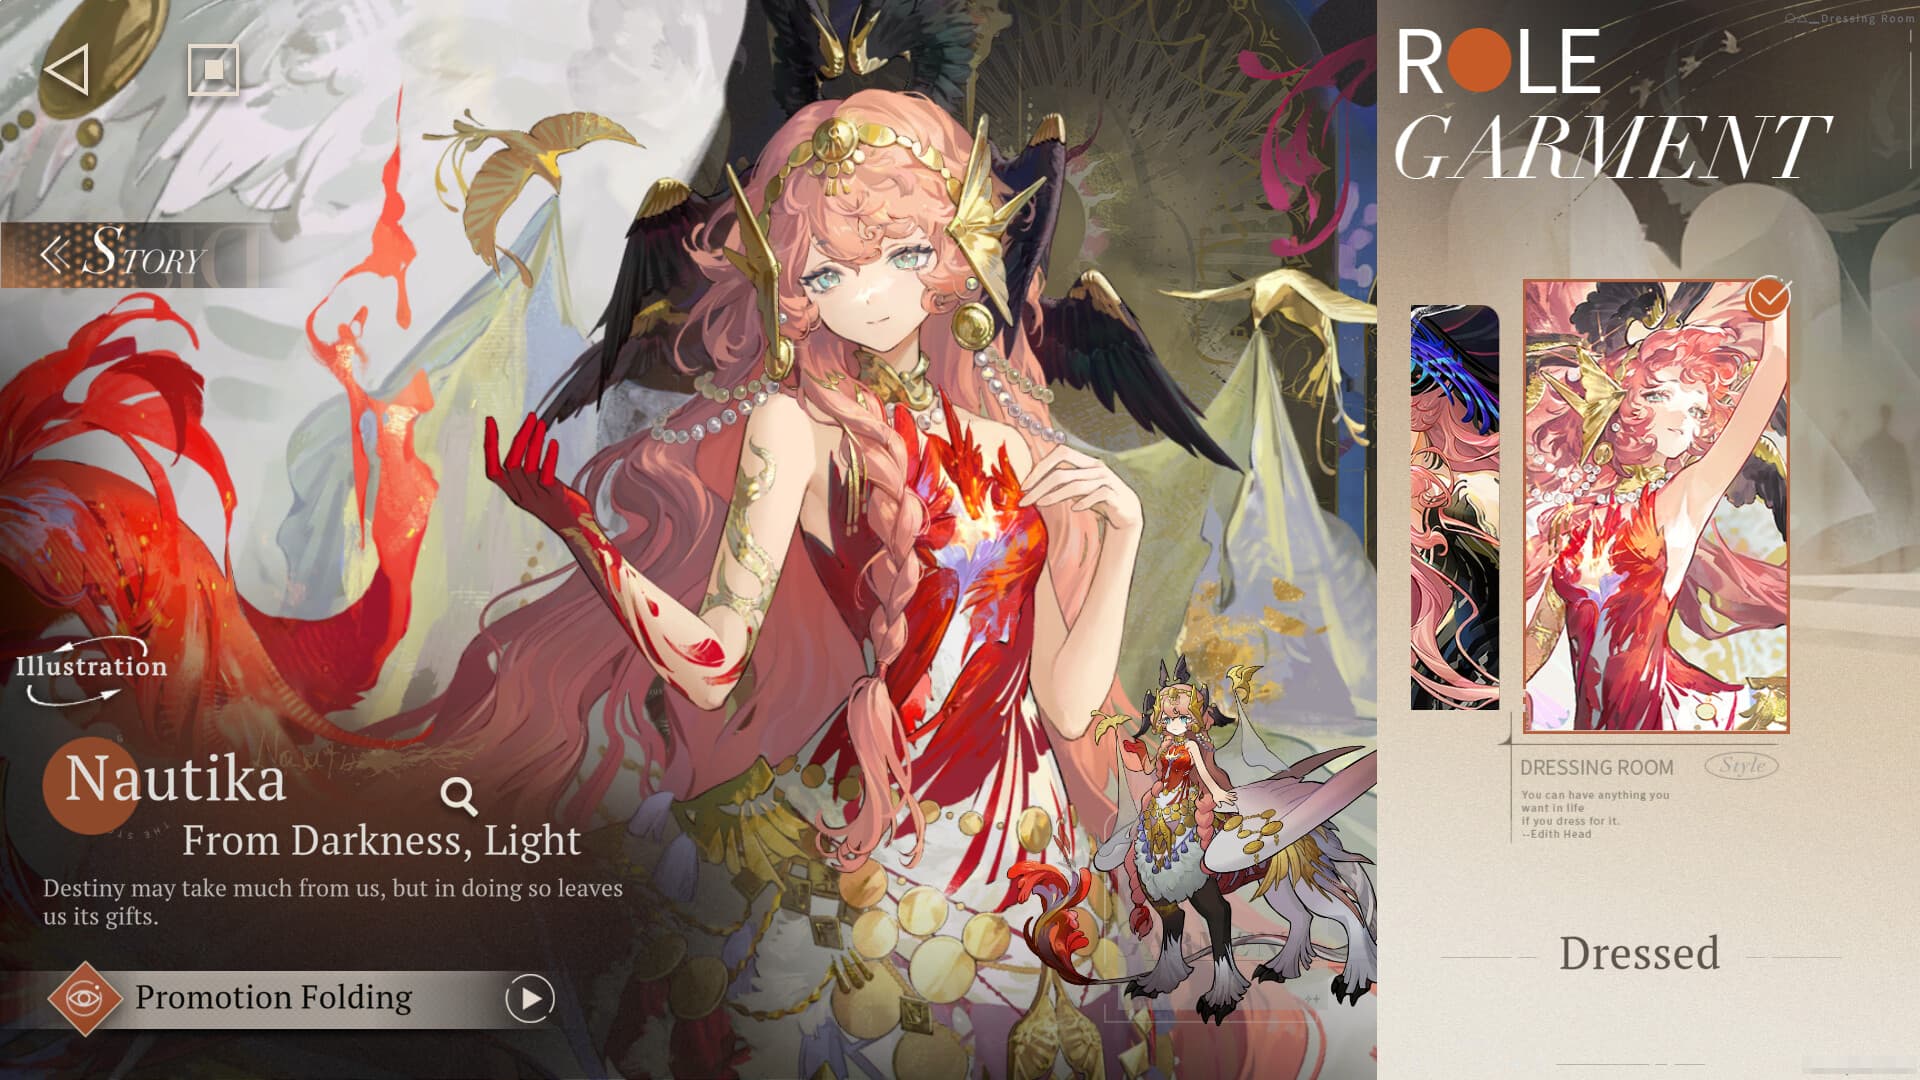
The mistake newer Reverse: 1999 players make is asking "who is the best character?" The game does not answer that question, because it is not built around one. It is built around the three-seat team: a damage carry, an amplifier who makes that carry hit harder, and a sustain who keeps the team standing through the long fights. A character is only as good as the shell they slot into, and a mediocre carry inside a well-built shell will out-clear a top-rated one running solo.
So this is not a character ranking. It is a ranking of the shells themselves, the repeatable team patterns you build toward and reuse across every mode the game throws at you. Learn the shell, and you stop chasing individual banners and start chasing the one or two pieces your team is actually missing. Rankings shift as new units and Euphoria upgrades land, so treat this as the durable archetype logic underneath the meta, not a frozen leaderboard.
The shell, before the tiers
Every team below is a variation on the same three jobs. If you are new, the team-building guide covers this in depth, but the short version:
- The carry. Your damage. Almost always the character your whole rotation feeds Moxie and buffs into, so they can fire an Ultimate that actually ends the fight.
- The amplifier. A buffer or debuffer who multiplies the carry's output: raising damage dealt, stripping enemy defense, feeding extra Moxie, or extending the carry's turns. This seat is where most of a team's real power hides.
- The sustain. A healer, a shielder, or a control unit who keeps the team alive long enough for the carry to ramp. Skimp here and your S-tier carry dies before they matter.
One more thing sits above all of it: afflatus and damage type. Reverse: 1999 runs a rock-paper-scissors wheel plus a split between Reality and Mental damage, and a shell that ignores the enemy's weakness leaves a huge multiplier on the table. The best shells are flexible enough to swap a seat to cover the matchup.
S tier: the self-sufficient Reality nuke core
Carry: a premium Reality nuker. Amplifier: Tooth Fairy or Lopera. Sustain: a healer who can also buff.
This is the workhorse of the entire game, the shell you can build once and clear almost anything with. A self-sufficient Reality carry like Spathodea, Lucy, or Jiu Niangzi does the heavy lifting: each of them ramps their own damage, front-loads a devastating Ultimate, and asks relatively little of the rest of the team beyond "keep me buffed and alive."
What makes it S tier is the amplifier seat. Tooth Fairy is the closest thing the game has to a universal buffer, stacking her signature buff onto the carry and turning a strong Ultimate into a fight-ender; Lopera does similar work while pushing the carry's turns forward so the big hits come sooner. Drop in a healer who doubles as a minor buffer and the whole thing runs itself. There is no fragile combo to execute: you buff, you cycle Moxie into the carry, you fire, the screen clears. Its only real weakness is the wheel, when the enemy resists your carry's afflatus or damage type, which is exactly why owning two carries of different afflatus is the real endgame goal.
S tier: the poison and damage-over-time core
Carry: Melania. Enablers: Sotheby and a stacking support. Sustain: a healer.
The poison archetype is the game's set-it-and-forget-it powerhouse, and it belongs alongside the nuke cores rather than below them. Instead of one huge Ultimate, this shell layers poison and damage-over-time stacks that keep ticking on the enemy's turn, then compounds them until the numbers spiral. Melania is the archetype's crown jewel, converting stacked poison into escalating damage, and Sotheby is the classic partner who piles on the initial stacks and keeps them topped up.
It earns S tier the same way DoT does in every gacha: it is low-maintenance and it scales beautifully into long fights and multi-wave content, where the stacks have time to snowball. Its weakness is the mirror image of the nuke core's: against very short fights or single-turn burn checks, the ramp is too slow to pay off, so this is a shell you bring to attrition content, not a race. Where the fight lasts, poison is elite.
A tier: the Mental damage and debuff-scaling core
Carry: Isolde or Semmelweis. Amplifier: a debuffer like Bkornblume. Sustain: a healer.
Not every enemy is soft to Reality, and this is the shell that covers the other half of the wheel. A Mental carry like Isolde scales her damage off the debuffs stacked on the enemy, so she wants a partner whose whole job is stapling negative status onto the target, and Bkornblume's defense-strip is the textbook enabler. Semmelweis plays a self-contained variant, buffing herself through her own mechanic and needing less hand-holding.
It sits at A rather than S for two honest reasons: the debuff-scaling carries ask a little more setup than the plug-and-play nukers, and Mental-damage teams occasionally run into enemies that punish the archetype. But as the second pillar of a well-rounded account, this shell is essential. The moment a boss shrugs off your Reality core, this is the team you swap to, and having it built is often the difference between a clean Limbo clear and a wall.
A tier: the control and lockdown core
Carry: any solid nuker. Controller: Druvis III. Sustain: a healer or shielder.
When a fight is less about raw damage and more about surviving a dangerous enemy pattern, control becomes a damage stat. Druvis III petrifies and locks down targets, buying your carry free turns and denying the enemy its threatening moves entirely. Pair her with a carry who can capitalize on the safety and a sustain to cover the gaps, and hard content becomes a controlled demolition rather than a race against a healer's cooldowns.
This shell is A tier because it trades a little ceiling for enormous consistency: you will rarely wipe to it, and it turns "unfair" enemy mechanics into non-issues. In pure damage races it gives up ground to the S-tier nuke and poison cores, but for the Mane's Bulletin fights that check your survivability rather than your DPS, control is often the cleanest answer on the board.
B tier: budget and free-unit shells
Carry: a free or low-rarity nuker. Support: Sotheby or another accessible buffer. Sustain: a free healer.
These are the teams you run while building toward the tiers above, and they are more capable than newer players expect. Reverse: 1999 is unusually generous with strong free and low-rarity units, and the best free characters guide points at the ones worth investing in. A budget shell built around an accessible carry, a free debuffer or poison-stacker, and a healer will clear the story and the early tiers of endgame comfortably.
They land in B tier not because they are weak but because they hit a ceiling: the premium amplifiers and self-sufficient carries above simply multiply harder, and against the toughest endgame checks the budget shell runs out of gas where the S-tier one keeps going. Build one anyway. It teaches you the three-seat rhythm on units you already own, and it frees your pulls for the one or two premium pieces that actually upgrade the shell.
Matching the shell to the mode
The tiers assume a generic hard fight. In practice you pick the shell for the content:
- Limbo is a two-team check, so it rewards owning both an S-tier Reality core and a covering Mental or poison core rather than doubling down on one. Depth beats a single overtuned team here.
- Mane's Bulletin leans on surviving specific boss mechanics, which is where the control shell and a strong sustain earn their tier. Bring the team that answers the gimmick, not just the one with the biggest number.
- Long attrition content is poison's home. Give the damage-over-time core time to snowball and it out-damages the burst teams that front-load and fizzle.
To turn the shells into an actual account, the full tier list rates individual characters against the roster, the best Psychubes guide sorts out the gear that amplifies each seat, and the status effects explainer demystifies the buffs and debuffs these shells trade in. When you are ready to pull the missing piece, the current banner schedule shows who is reachable and the redeem codes help fund it.
The one-paragraph version
Reverse: 1999 is a game of three-seat shells, not solo carries. The two S-tier shells are the self-sufficient Reality nuke core (a Spathodea, Lucy, or Jiu Niangzi carried by Tooth Fairy or Lopera and a healer) and the poison and damage-over-time core (Melania and Sotheby snowballing stacks), each elite in its lane and each with a clear weakness the other covers. The Mental debuff-scaling core and the control lockdown core are the A-tier answers you swap to when the wheel or the boss mechanic turns against your mains, and a budget free-unit shell carries a new account until the premium pieces arrive. Build a strong Reality shell first, add a covering second shell of a different afflatus, and you will clear almost anything the game asks, because in this game the team is the unit.