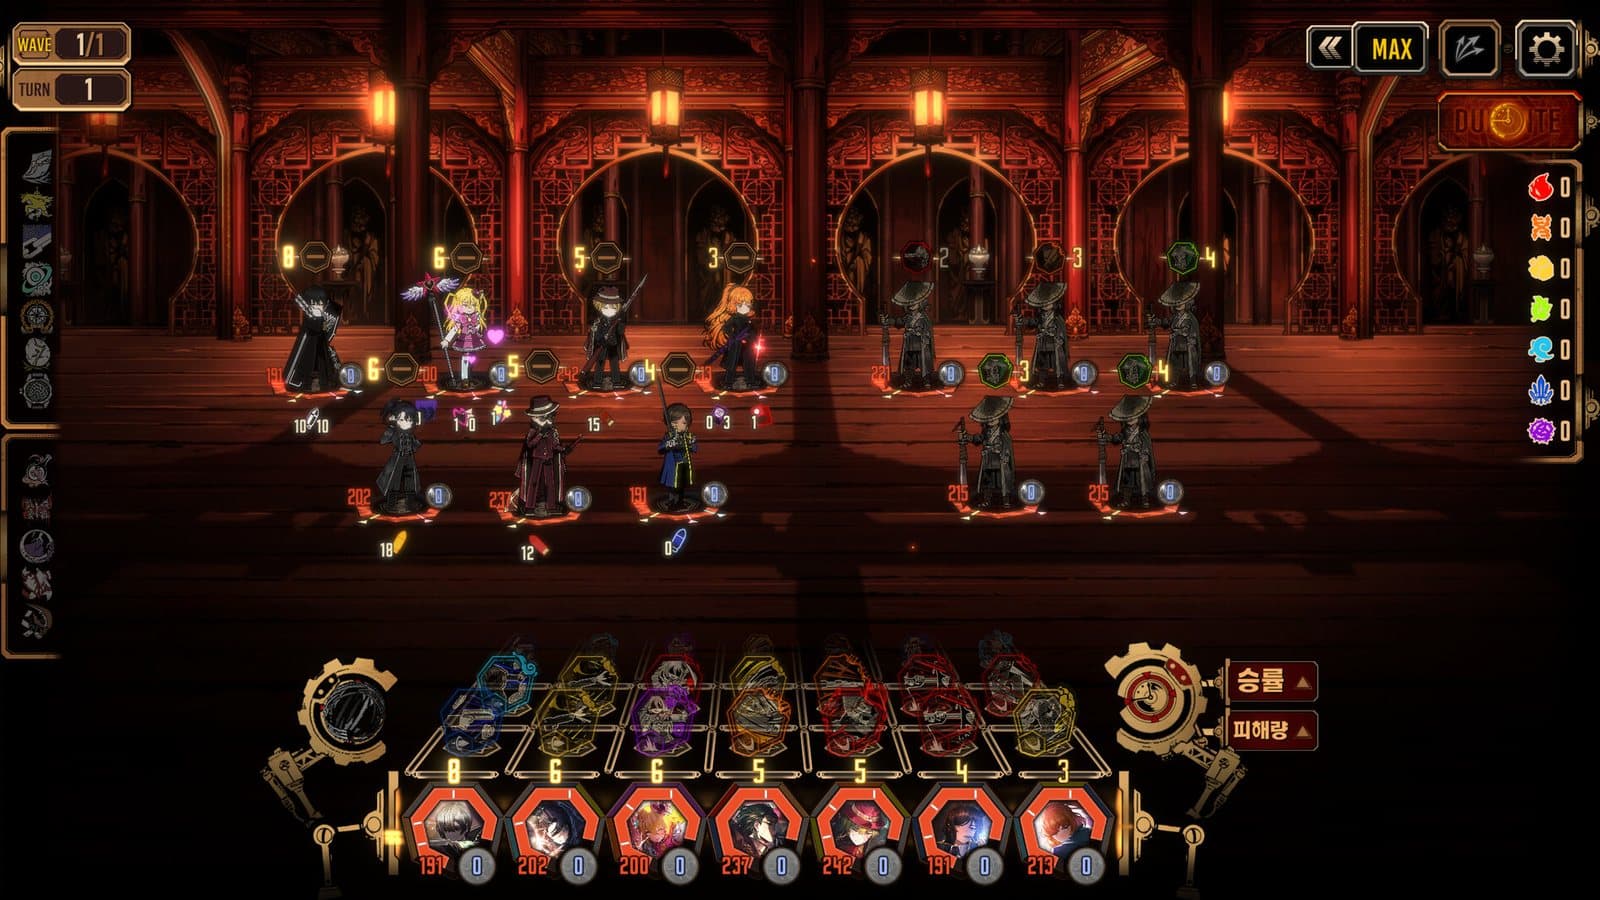
Two accounts with the exact same Sinners can post wildly different clear times in Path to Nowhere, and the difference is almost never levels. It is the grid. This is a positioning game first and a stat game second: where you place a Sinner decides what it hits, what hits it, and whether your damage lands before the timer runs out. So the useful unit of "a good team" is not a list of characters, it is a repeatable grid template, a shape you build toward and reuse across modes.
This tier list ranks those templates. Each one is a role skeleton first, with the current S-Rank Sinners that fill it named as examples. Swap in whoever you own of the right role and the shape still holds. If the six damage classes are new to you, the best Sinners and team-building guide breaks them down; this list is the layer above that, the finished squads.
The universal skeleton
Before the tiers, the shape almost every strong grid shares:
- A frontline (Endura, sometimes a beefy Fury) placed to physically block the lane and eat hits so your backline lives.
- A primary carry (Reticle, Umbra, or Arcane) placed where its range covers the kill zone and nothing reaches it.
- Control (a Sinner who stuns, roots, or pulls) to freeze dangerous enemies inside your carry's window.
- Sustain (a healer or shielder) to keep the whole thing standing through longer fights.
Every template below is a variation on that four-job idea stretched across the six-slot grid. The tiers reflect how much content the template trivializes, not whether it can technically win.
S tier: the Umbra AoE core
Frontline: [Demon] or another Endura wall. Carry: an Umbra AoE hitter. Control + healer to taste.
The Umbra core is the closest Path to Nowhere has to a do-everything team. An Umbra carry like Bai Yi, Crache, or the newer Adela (who hits a 3x3 and snowballs crit through her Mad Shears state) turns a cluster of enemies into a single deletion, which is exactly what the game keeps throwing at you: waves that funnel into one chokepoint. Put an Endura wall like Demon at the front to hold the lane, drop a healer behind, and add one control Sinner to lock the dangerous elites, and this grid clears hard story stages and the endless tower modes with room to spare. It is S tier because its answer to "what if there are a lot of enemies" is "good, that is what I wanted."
S tier: the Reticle burst line
Frontline wall. Carry: a Reticle single-target sniper. Control that isolates the target.
Where Umbra is for crowds, the Reticle line is for the health bars that actually scare you: bosses, elites, the timed damage checks. A Reticle carry such as Langley, Summer, or Oak Casket parks safely at max range and unloads on one target, and if you pair it with control that pins the boss in place, the fight is often over before the boss executes its dangerous move. This is the template you build second, because "delete the one thing that matters" is a different and equally necessary tool from "clear the room." Keep it, learn it, and the timed boss modes stop being a wall.
A tier: the Arcane damage-over-time grid
Carry: an Arcane caster. A frontline to buy time, a healer to outlast.
Arcane carries like Eirene, Stargazer, or Raven win by attrition: layered magic damage and damage-over-time that keeps ticking whether or not you are actively hitting, which makes this grid superb in the long, grindy fights and the endless modes where sustained output beats burst. It lands in A rather than S only because it ramps instead of front-loading, so against a hard early-timer it can feel a step slow. Give it a frontline that reliably stalls and a healer to stretch the fight, and it grinds down almost anything. This is also the template that most rewards good Crimebrand choices, since several set bonuses key directly off sustained damage and healing.
A tier: the Fury bruiser rush
Carry: a Fury frontliner who is also your wall. Healer priority.
The Fury rush collapses two jobs into one seat: a bruiser like Zoya, Nox, or Deren stands at the front, blocks the lane, and does the damage, which frees your other slots for heavy sustain and control. It is aggressive, it is simple, and it is fantastic for players who find fiddly backline positioning tedious. The catch, and the reason it sits in A, is that your damage is standing in the danger zone, so it lives and dies on your healer keeping up. Stack sustain behind it and it bulldozes; skimp on sustain and it folds.
B tier: the Catalyst control shell
Core: a Catalyst support like [Hamel]. Built around a borrowed carry.
Catalyst Sinners such as Hamel, Enfer, or Cabernet do not really carry; they enable. A Catalyst-led shell leans on debuffs, buffs, and crowd control to make a borrowed carry from another template hit harder and stay safer. It is not a standalone team so much as the glue you graft onto the grids above, which is why it is B on its own and yet quietly present in most top clears. Think of it as the seat that upgrades an A-tier grid into an S-tier one, rather than a team you run by itself.
Building toward this
You do not need every template today. The correct order for a developing account:
- Build the Umbra AoE core first; it solves the most content.
- Add the Reticle burst line for bosses and timed checks.
- Slot a Catalyst support in wherever a fight is giving you trouble.
- Gear your carries properly. A well-chosen, leveled Crimebrand set is worth more than a rank-up, and it is the difference between "this grid almost clears" and "this grid clears."
When you want to test a shape before you commit resources, the interactive Path to Nowhere team builder lets you assemble a grid from the roster, and the beginner guide covers the placement basics that make any of these templates actually work. Keep your redeem codes current for the currency to promote and gear the Sinners these grids ask for, and the tier letters take care of themselves.