Read the blessing before you read the tier list. That is the difference between a 36-star Abyss and a frustrating one, because the Spiral Abyss blessing does not tweak the meta, it rewrites which half of your roster matters. This rotation's blessing, Luster-Piercing Moon, hands one archetype a massive buff on the first side and a completely different one on the second, so the "best team" question splits cleanly in two: one answer for the top half, one for the bottom.
This is a Version 7.0 read tuned to the current rotation, so it lists the comps that clear this Abyss fastest rather than the abstract strongest teams. For the season-agnostic power rankings, the 7.0 best teams tier list covers Abyss and Theater together; this page is the current-cycle overlay. For the mechanics of Floor 12 itself, the Floor 12 guide walks the chambers.
What the blessing is doing this rotation
Luster-Piercing Moon buffs a specific reaction on each half, and the two buffs point at opposite team types:
- First half: a huge boost to Superconduct damage and a strong boost to Stellar-Conduct, the Cryo reaction Snezhnaya introduced. Both of those are Cryo-driven, so the top half wants a Cryo team, not your usual all-purpose carry.
- Second half: a large boost to Normal Attack Pyro damage, which rewards a single-target, on-field Pyro carry who lives on their normal attacks.
So the correct first move is not "who is my best DPS," it is "I need a Cryo team for the top and a Pyro normal-attack team for the bottom." If you only own one of those, that is the side you should expect to lose stars on, and the banner verdicts tell you which pull closes the gap.
The first half: Cryo, because the blessing says so
The buff to Superconduct and Stellar-Conduct makes the first side a Cryo playground. The standout line is a Stellar-Conduct Cryo core built around the new reaction: Sandrone driving the reaction, Odette as the Cryo enabler, and a strong off-field amplifier or a second catalyst to keep the reaction firing. The Stellar-Conduct reaction teams guide has the full rotation, but the short version is that this is the archetype the blessing was practically written for, and it tops the first half this rotation.
If you have not invested in the new Cryo units, a classic Superconduct pairing (a Cryo applicator beside an Electro carry) still eats the Superconduct buff and clears comfortably. It is not the flashiest line, but the blessing does the heavy lifting, and an old Cryo-plus-Electro comp you already own will full-star the top half on the strength of the buff alone.
The second half: single-target Pyro on normal attacks
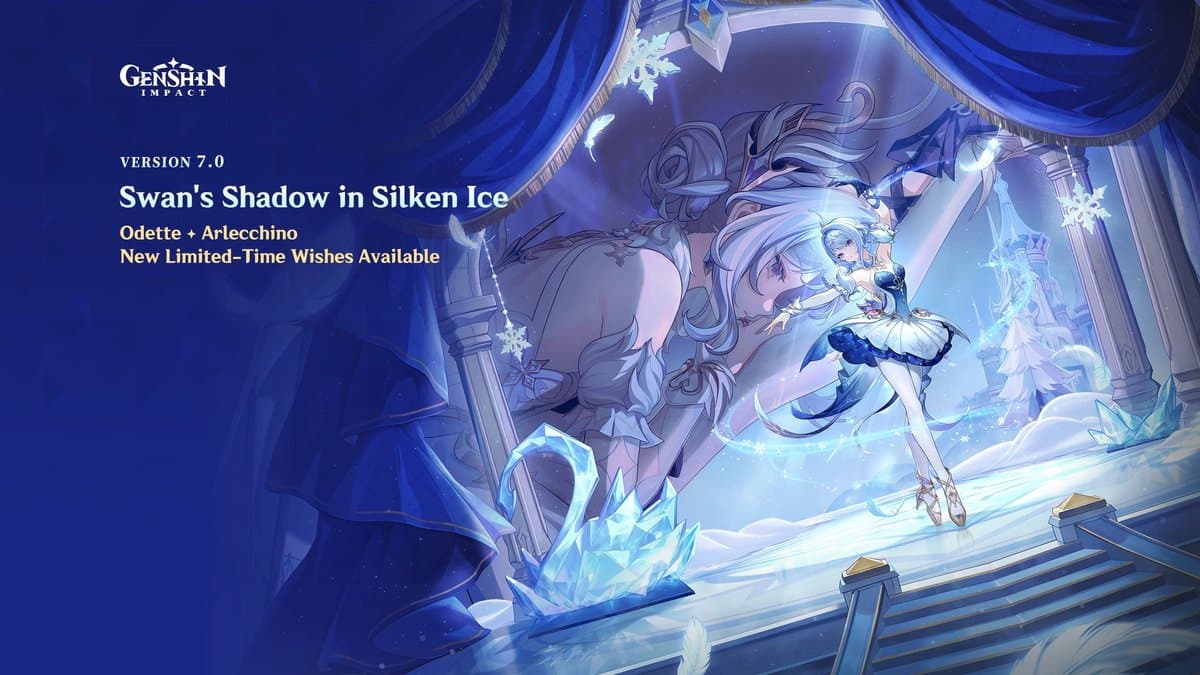
Flip to the bottom and the answer flips with it. The Normal Attack Pyro buff is tailor-made for the on-field Pyro carries who spend the whole fight swinging: Arlecchino is the cleanest pick this rotation, with Hu Tao and Mavuika right behind, each anchoring a Vaporize or mono-Pyro shell that turns the normal-attack buff into a landslide. Give any of them a hydro applicator for Vaporize or a Pyro-resonance shell for raw scaling, a shielder or healer, and an off-field enabler, and the second half becomes the easier of the two.
The enemy lineup this rotation, which includes the Perpetual Mechanical Array, the Gluttonous Yumkasaur Mountain King, and the Chimeric Winged Lion, is a mix of single targets and short add waves, which suits a focused Pyro carry with just enough splash to clear the small stuff. Prioritize your Pyro carry's crit ratio and, against the resistant bosses, some resistance shred before you blame the comp for a slow kill.
The rotation tier list
Ranked by how reliably each archetype full-stars this blessing, not by abstract power:
S tier, this rotation:
- Stellar-Conduct Cryo (first half). The blessing's favorite child. Highest first-half ceiling by a wide margin.
- Normal-Attack Pyro Vaporize (second half). Arlecchino, Hu Tao, or Mavuika into the NA-Pyro buff. Fastest bottom-half clears.
A tier, this rotation:
- Superconduct Cryo-Electro (first half). The budget route to the same buff. Clears cleanly, just without the Stellar-Conduct ceiling.
- Mono-Pyro / Pyro melt (second half). Any strong Pyro shell that leans on normal attacks still cashes the buff even without the top-end carry.
- Evergreen amplify cores (either half). Freeze, Melt, and the reliable Hydro-driven teams do not need the blessing and clear regardless. They are your safety net if you lack the on-archetype units.
B tier, this rotation:
- Off-buff hypercarries. A great team that ignores the blessing (a pure physical or a Dendro core here) still clears, but it leaves free damage on the table and will trail on the timer. Fine for the half you already have covered, not the half you are fighting for.
Notice the ranking is rotation-shaped, not permanent. An S-tier comp here can drop to A next cycle when the blessing changes. That is the nature of the mode: the full tier list tells you which units are strong, and the blessing tells you which of them are strong right now.
The free-to-play clear
You do not need both premium archetypes to hit 36 stars. You need to cover each half well enough and let the blessing carry the rest:
- Own the buff on at least one side and bring your most reliable evergreen team to the other. A well-built Freeze or National comp clears whichever half you are not specializing, blessing or no blessing.
- Match the reaction, then optimize the build. A four-star Superconduct pairing on the first half outscores a fancier off-buff team, so lean into the buff before you lean on rarity. Clean artifact main stats and substats matter more than another five-star.
- Grab the current codes for Primogems and, if you are missing an entire archetype for this blessing, that is your pull priority far more than a duplicate of a carry you already run.
Read the blessing, build one team for each half around what it buffs, and pour your leftover investment into the side you are weaker on. Do that and Spiral Abyss stops being a wall and becomes what it is designed to be: two short puzzles the blessing already half-solved for you.