If you pulled Flins, watched him do respectable-but-not-scary damage, and quietly wondered whether you wasted your Primogems, the problem is almost never Flins. It is that Lunar-Charged was not firing the way it is supposed to. This is the reaction that turns a middling Electro polearm into one of the highest damage ceilings in Version 7.0, and unlike the reactions you already know, it will sit there doing very little until three specific conditions are all true at once.
So this is the whole reaction, taken apart: what Lunar-Charged is, why it ignores your Electro DMG goblet, the Moonsign state that unlocks its actual numbers, and the four seats every Lunar-Charged team has to fill. If you own Flins or Ineffa, or you are deciding whether the archetype is worth chasing on the current banner, read this before you farm a single artifact.
The one-sentence version
Lunar-Charged is a Nod-Krai reaction that pays out when Electro meets Hydro on the same enemy, and its damage scales off the reaction's own multipliers rather than your Electro DMG. It behaves like a supercharged evolution of Electro-Charged, and it reaches full strength only while the party is pushed into a Moonsign state called Ascendant Gleam. Everything else below is the detail behind that sentence.
How the reaction actually fires
At the base level Lunar-Charged works on the same trigger you already understand from Electro-Charged: put Electro and Hydro on the same target and the reaction goes off, ticking damage over time as long as both auras coexist. That is the floor. What makes Lunar-Charged its own reaction, and not just a rename, is what stacks on top of that trigger.
Two consequences matter more than anything else when you build for it.
The damage is reaction damage, not element damage. This is the part that trips up every returning player. A normal Electro carry wants an Electro DMG Bonus goblet, because their damage is Electro damage scaled by Electro bonuses. Lunar-Charged does not care about your Electro DMG number, because the reaction has its own scaling entirely. Pick your goblet for the reaction and your character's raw ATK and CRIT, not for the element, and you gain a meaningful chunk of damage for nothing. The elemental reactions guide covers why transformative and amplifying reactions read your stats so differently; Lunar-Charged sits firmly on the transformative side, which is exactly why Elemental Mastery and reaction multipliers, not Electro DMG, are what move the number.
Hydro is not optional. Because the reaction needs a Hydro aura to trigger against your Electro, a Hydro applicator is a load-bearing wall in the team, not a flavor pick. No Hydro, no Lunar-Charged, and Flins collapses back into that mediocre polearm carry. This is the single most common reason a new Lunar-Charged team underperforms: the Hydro uptime is not high enough to keep the reaction rolling through the whole on-field window.
Ascendant Gleam: the Moonsign state that unlocks the ceiling
Here is where Lunar-Charged stops resembling anything older. The reaction has two gears. The low gear is the Electro-plus-Hydro tick you get for free. The high gear is what happens once the party reaches Ascendant Gleam, the Moonsign state introduced with the Nod-Krai units.
Ascendant Gleam is a party-wide condition you build into rather than a per-hit reaction. When the team is set up to reach it, Lunar-Charged damage jumps to its intended level, and the gap between "Flins is fine" and "Flins is deleting the screen" is almost entirely this state being active versus not. A Lunar-Charged team that never reaches Ascendant Gleam is playing the budget version of the archetype whether it means to or not.
Reaching it reliably is a team-composition problem, not a rotation-timing trick. It wants a Nod-Krai enabler whose whole job is to push the party's Moonsign, and the cleanest of those is Columbina, the Lunar linchpin who exists to drag the team to Ascendant Gleam and hold it there. Without a dedicated enabler you can still trigger the reaction, but you are leaving the top gear locked. That is the honest dividing line between a good Lunar-Charged team and a great one.
The four seats every Lunar-Charged team fills
Once you accept that Lunar-Charged is a system rather than a single character, team building becomes a checklist. Every strong version of this comp fills these four roles, and the quality of your team is decided by how well each seat is covered, not by how invested your carry is.
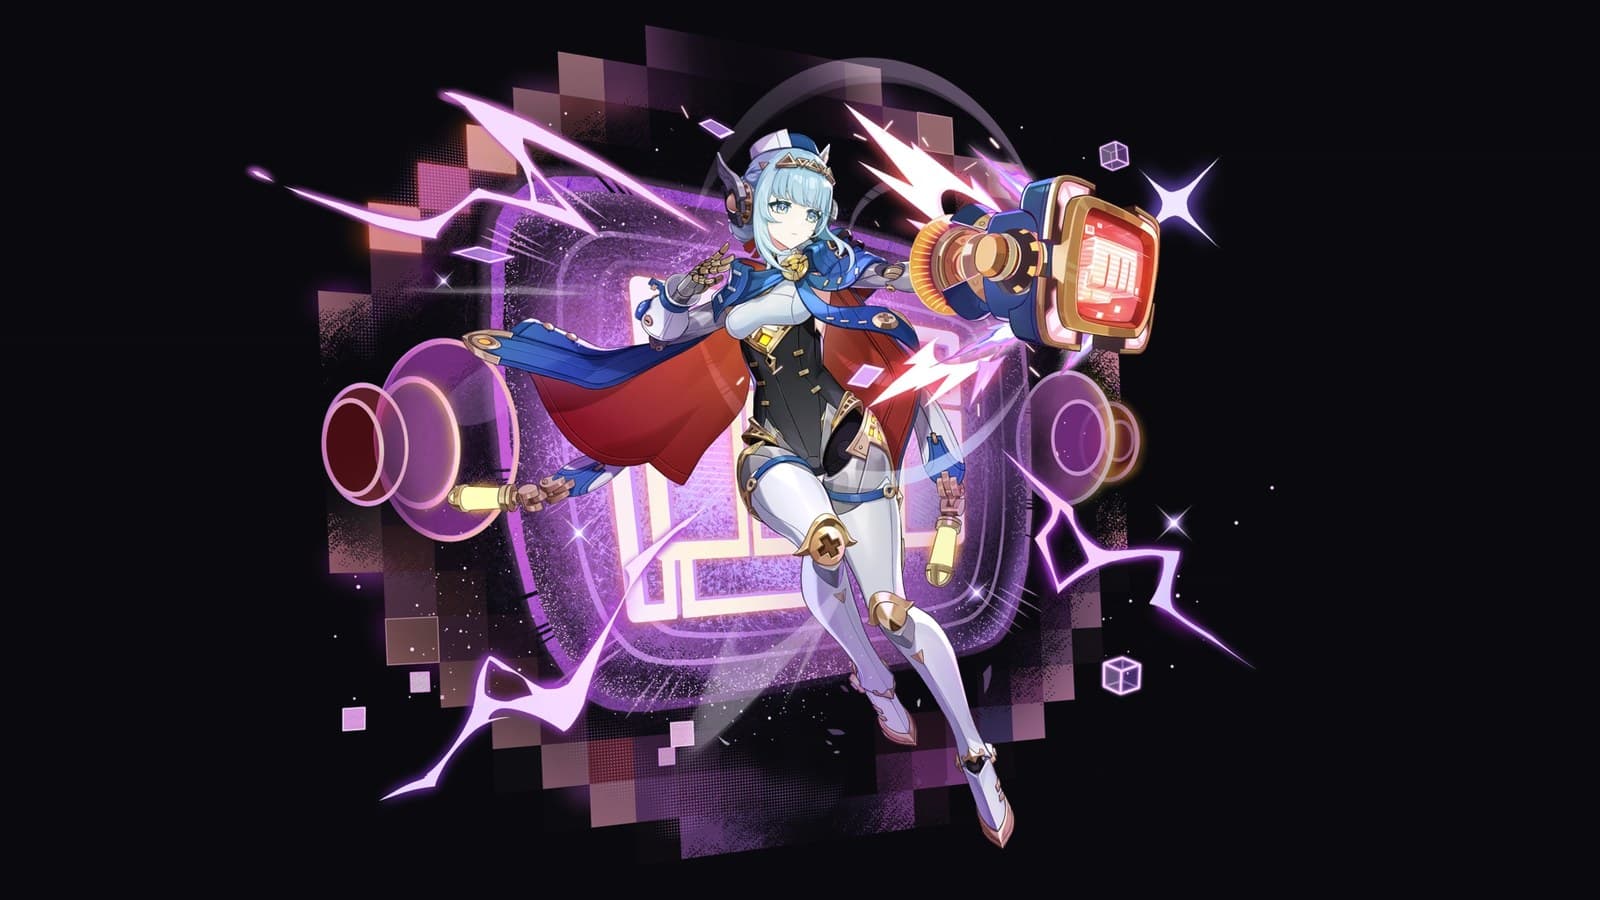
1. The on-field Lunar-Charged carry. This is Flins, the Electro polearm who builds toward a Lunar-Charged state on field and unloads a large AoE Lunar-Charged burst that is the bulk of the team's damage. He is ATK-scaling, he wants the reaction goblet, and his full build breakdown covers the weapons and artifact stats that matter. He is the seat everything else exists to enable.
2. The Electro feeder. Ineffa is the premier pick here, an off-field Electro applicator who doubles as the second Nod-Krai presence, which means she feeds the reaction and helps push toward the Moonsign state at the same time. Her build guide goes deep on the feeder seat. If you do not own her, another consistent off-field Electro source keeps the reaction alive, but you lose the Nod-Krai synergy that makes the whole engine hum.
3. The Hydro applicator. The load-bearing wall. You want a Hydro unit whose application is frequent and off-field so it never fights your carry for screen time. Xingqiu and Yelan are the workhorses because their Hydro uptime is nearly constant, and Furina layers damage buffing on top if you have her. Prioritize consistent application over raw personal damage: a Hydro unit that keeps the aura up 100 percent of your window is worth more here than a flashier one that only touches the enemy occasionally.
4. The Moonsign enabler (or a fourth support). In the ceiling build this seat is the Nod-Krai enabler, Columbina, who unlocks Ascendant Gleam. If you cannot field a dedicated enabler yet, this seat becomes a flex support, a shielder or a second buffer, and you accept that you are running the reaction in low gear. That is a real team; it just is not the best one.
Building for the reaction, not the element
Because Lunar-Charged scales off itself, the stat priorities look wrong to anyone coming from a standard Electro carry, so state them plainly:
- Goblet: the reaction or a raw ATK goblet, not Electro DMG. This is the free-damage swap most players miss.
- Elemental Mastery matters more than usual. As a transformative-side reaction, Lunar-Charged reads EM heavily. The Elemental Mastery guide explains the scaling curve; on a Lunar-Charged carry, EM is not a dump stat, it is a real damage substat.
- CRIT still counts on the carry's own hits. Flins deals some direct Electro damage alongside the reaction, so his personal CRIT ratio is not wasted, but do not sacrifice the reaction stats to chase it.
- Energy Recharge on the enablers. The feeder and Hydro units need their bursts up every rotation to keep uptime; check the Energy Recharge guide for the thresholds so your rotation never stalls waiting on energy.
The mental model that keeps you from overspending: the carry's artifacts are the easy part, and the team is the hard part. Assemble the four seats first, then farm.
The budget version: leaning on Electro-Charged
Not every account can field two limited Nod-Krai units plus a premium Hydro. If that is you, there is a genuine bridge team, and it is worth naming so you do not feel locked out.
Drop the dedicated Moonsign enabler and run Flins, an Electro feeder, a Hydro applicator, and a fourth support. You will not reach Ascendant Gleam reliably, so you are squeezing the Electro-Charged floor rather than the Lunar ceiling. The good news: even the floor clears the Spiral Abyss comfortably and holds its own in the current Stygian Onslaught rotation, where the archetype's front-loaded burst adapts to single-target boss fights better than most reaction cores. Treat this as the "I pulled Flins early and my account is still growing into his best team" build, not his final form. When you complete the Nod-Krai core, the same characters graduate into the ceiling version with no relearning.
How it compares to the other 7.0 reactions
Version 7.0 gave Genshin two reaction identities worth understanding side by side, because they solve different problems:
- Lunar-Charged is the Electro-and-Hydro package. It is AoE-first, front-loads a big burst, and scales through the Moonsign. It is the reaction to build if you own the Nod-Krai units and want a screen-clearing Electro carry.
- Stellar-Conduct is the Cryo-and-Electro package anchored to Sandrone. It is the repeatable single-target damage engine, the mirror image of Lunar-Charged's AoE identity.
Neither replaces the evergreen amplifying cores. Vaporize and Melt hypercarries still top single-target burst, and Bloom variants still rule wide chambers. Lunar-Charged's niche is being the strongest modern Electro option, and the strongest new AoE reaction carry, for players who invested in the Nod-Krai roster. Where you spend to complete that roster is the 7.0 wish schedule, which currently runs the Flins and Ineffa reruns together precisely because they are two halves of one engine.
The mistakes that keep the reaction from firing
If your Lunar-Charged team feels weak, it is almost always one of these, in order of how often it is the culprit:
- Not enough Hydro uptime. The reaction dies the instant the Hydro aura lapses. Fix the applicator or its rotation before anything else.
- An Electro DMG goblet. You are paying an Electro tax the reaction never reads. Swap it.
- No Moonsign enabler, expecting ceiling numbers. Without Ascendant Gleam you are running the budget team; judge it by that standard, not by clear videos built on the full core.
- Treating Elemental Mastery as a dump stat. On a transformative-side carry, that is real damage you are throwing away.
Get those four right and Lunar-Charged stops being the reaction you tolerated and becomes the reason Flins was worth pulling. For where the archetype sits against the rest of the roster, the best characters guide ranks the units that make the biggest difference, and the team-building guide covers the energy, uptime, and survivability fundamentals every one of these four seats leans on.