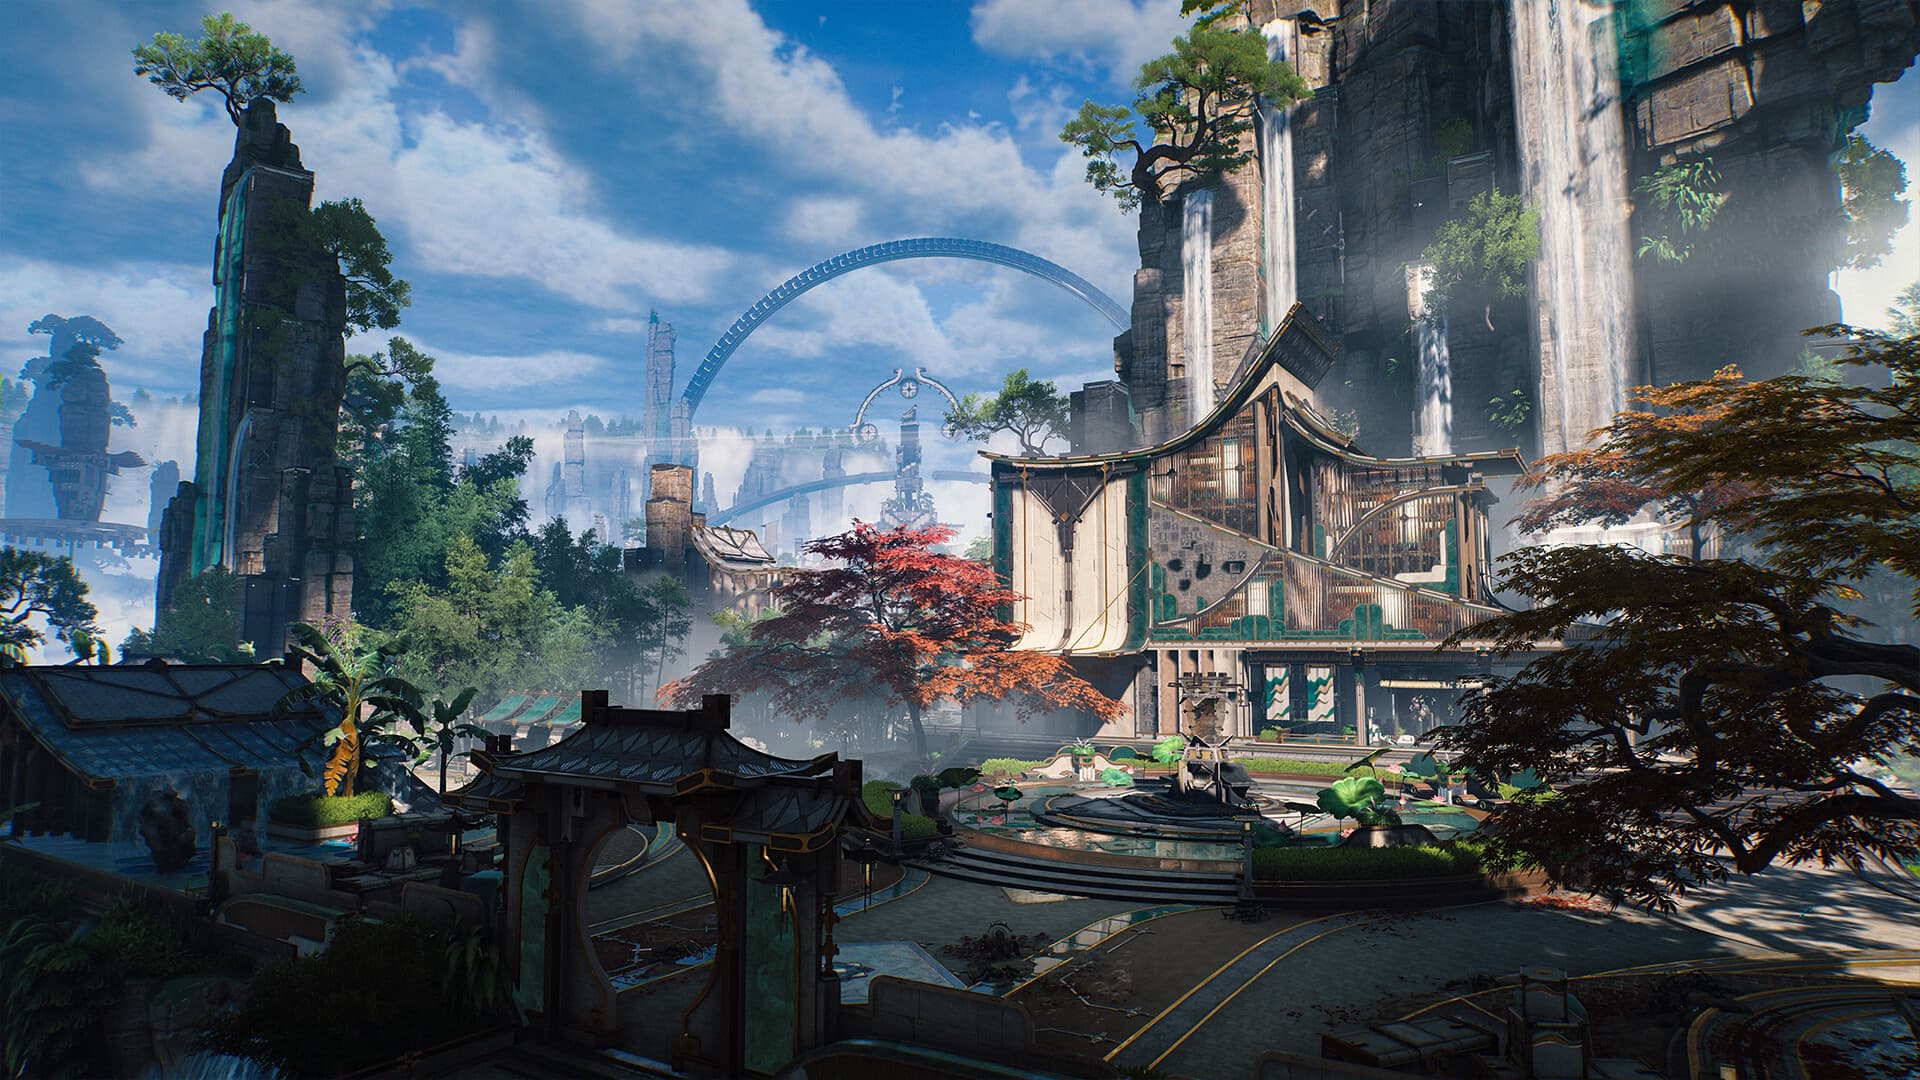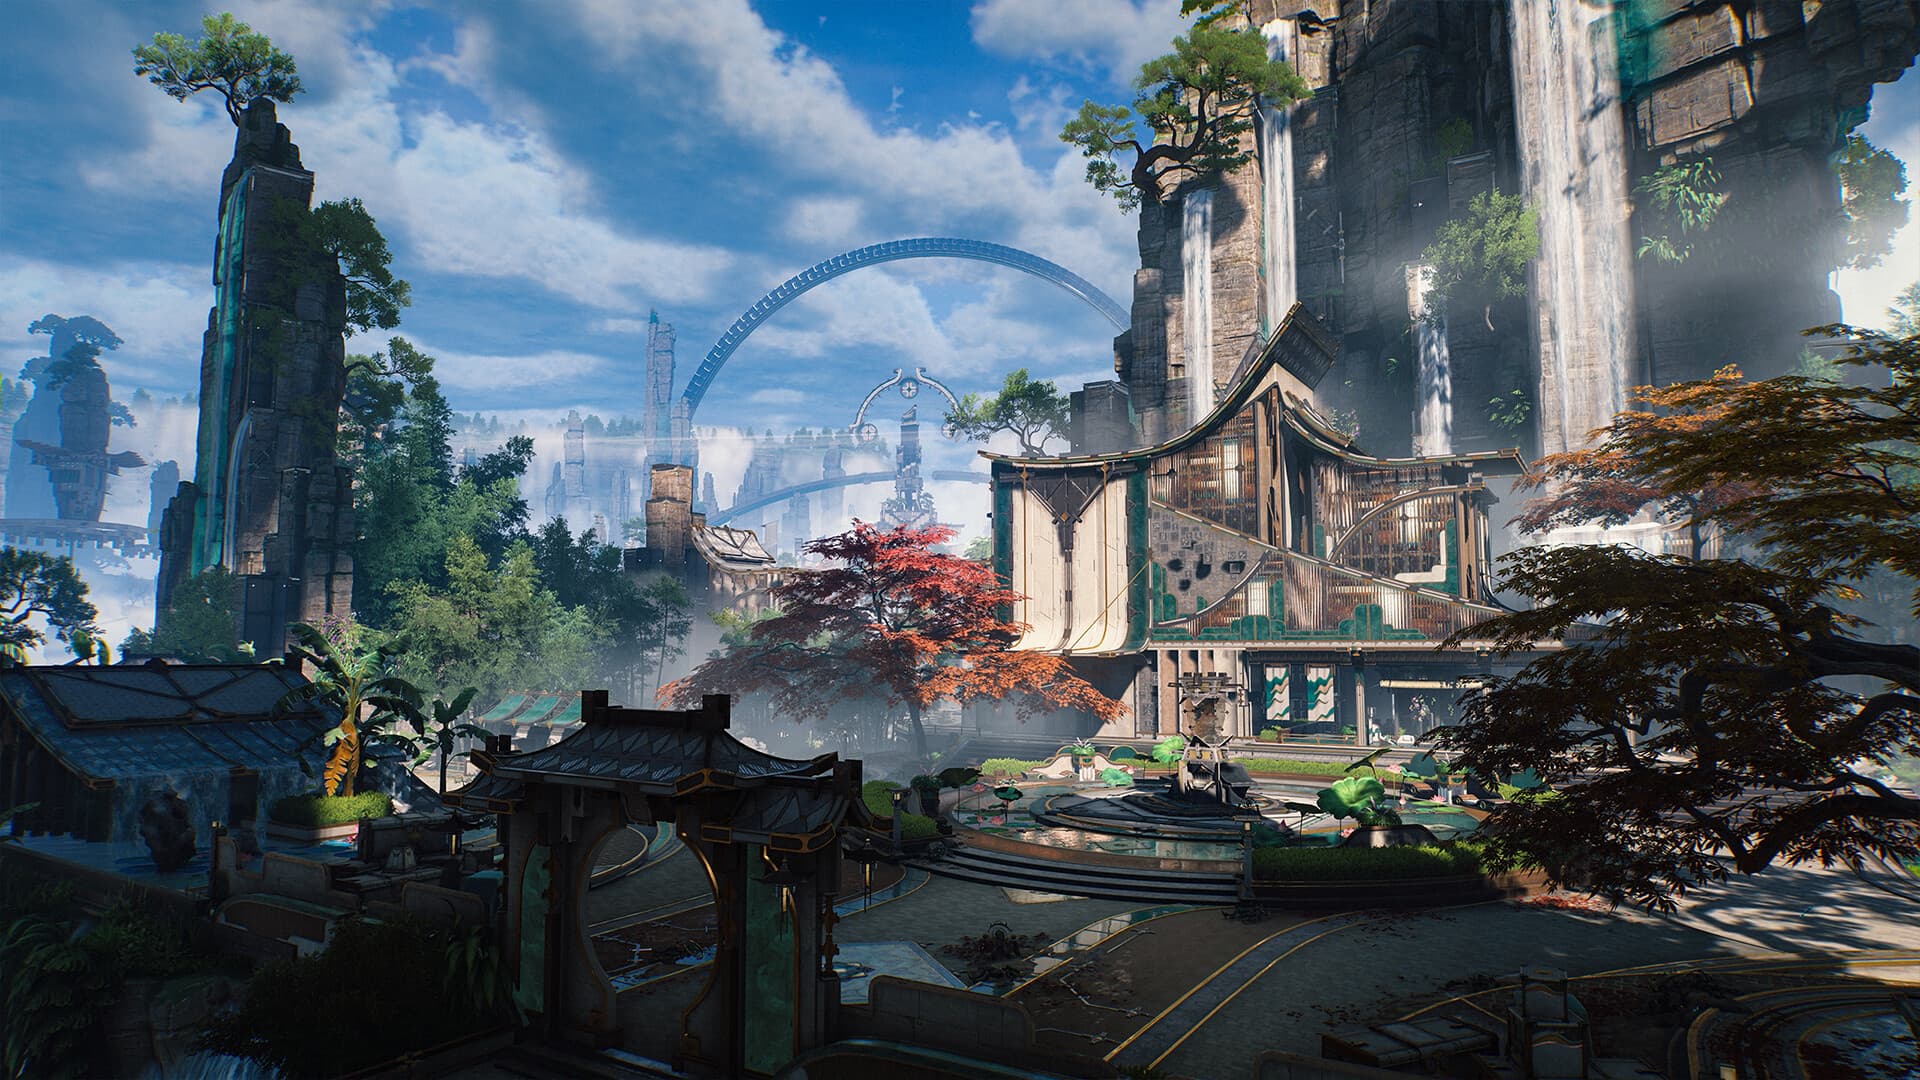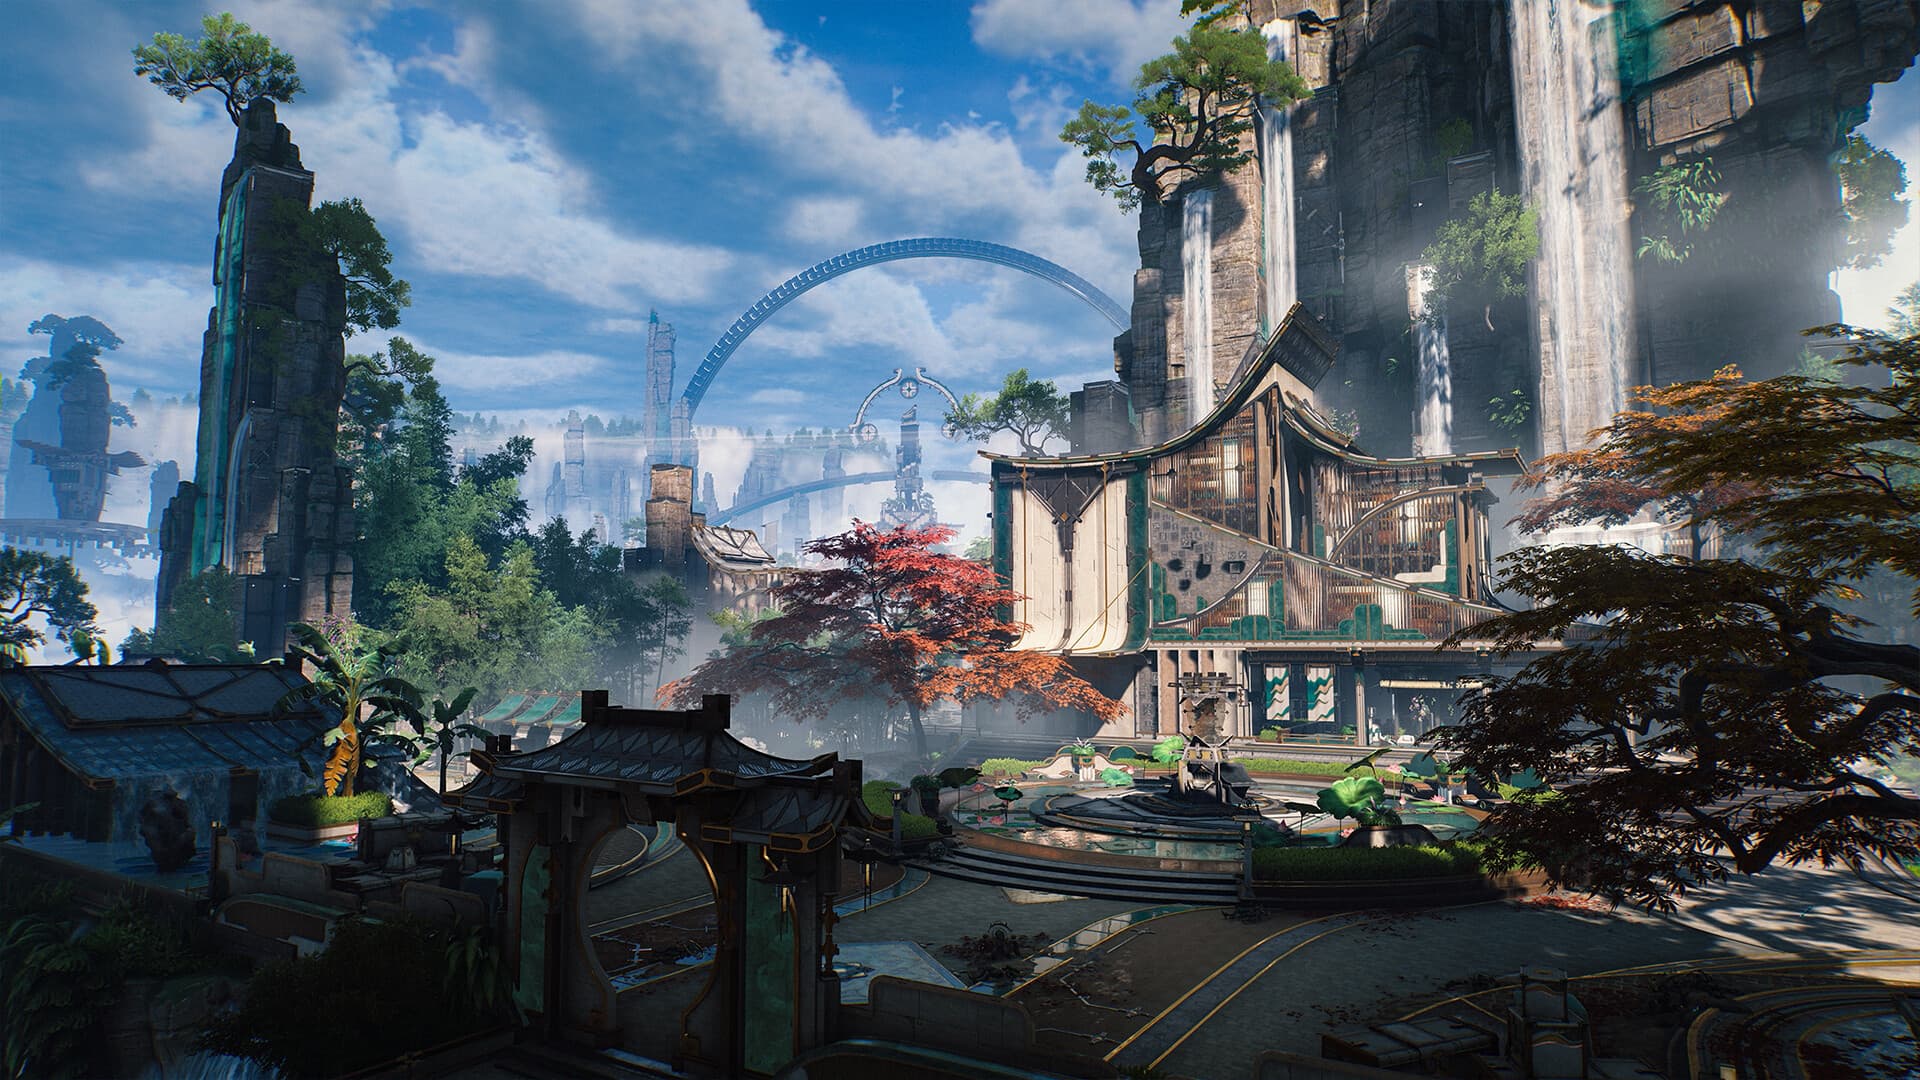
Most of Wuthering Waves rewards a good team. Holograms reward a good player. These are the game's solo boss duels, stripped of the open world and the safety net, where a well-built roster still loses if your hands do not keep up. They are the closest thing WuWa has to a fighting-game combo trial, and they hand out some of the most generous one-time Astrite in the game for beating them. If you have been skipping them because they look punishing, you have been leaving free pulls on the table.
What a Hologram actually is
A Hologram is a holographic, tuned-up recreation of one of the game's bosses that you fight as a standalone challenge with escalating difficulty tiers. There is no exploration, no puzzle, no filler. You walk in, the boss spawns, and it is a duel until one of you drops.
The key distinction from a normal overworld boss: Holograms scale far higher, hit far harder, and their patterns are tighter. A world boss is a speed bump. A high-tier Hologram is an exam. The upside is that the exam pays extremely well the first time you pass it.
The tiers, and where the money is
Holograms run across multiple difficulty levels for each boss, climbing from an approachable opener to a genuinely mean top tier. The reward structure is what makes them worth your time:
- First-clear rewards are the prize. Each difficulty tier you clear for the first time drops a one-time payout, and the headline item is Astrite, the premium currency you spend on the Astrite and pity economy. Clearing the full tier ladder on the available Holograms adds up to a real chunk of a pull count.
- Ascension and weapon materials show up alongside the currency, which makes Holograms double as a materials run for the characters and weapons you are leveling.
- Echoes and drops from the boss feed your Echo builds, so a clear is never wasted even after the first-time bonus is gone.
The practical takeaway: climb the tiers as high as you can, once. The repeatable rewards after that are fine, but the first clears are where the value concentrates. Treat each new difficulty as a currency milestone, not just a bragging right.
Why they feel impossible (and why they are not)
Players bounce off Holograms for one reason: they try to out-stat a fight that is designed to be out-played. At high tiers you cannot simply tank the boss and win a damage race. The boss has too much health and hits too hard for a build-only approach. What actually clears them is the core WuWa combat loop executed cleanly.
Dodge and counter are the whole fight. Wuthering Waves rewards a well-timed dodge with a counterattack window, and against a Hologram that window is your main damage source. Every big telegraphed swing is an invitation. Learn the boss's tells, dodge into the counter, and punish. If your dodge timing is shaky, the parry, dodge, and counter combat guide is the single most important read before you attempt a high tier.
Rotation still matters between punishes. The Concerto Energy and quick-swap rotation is how you turn each opening into maximum damage. Set up your Outro buff on the character who is about to swing, cash in the Concerto, and swap out before the boss recovers. A tuned rotation means every counter window does two or three times the damage of a random button mash.
Uptime beats greed. The most common cause of a failed Hologram run is dying to a hit you could have dodged because you were mid-combo and got greedy. Against a Hologram, a hit you avoid is worth more than a hit you land. Bank the safe damage, respect the scary attacks, and let the fight go long if it has to.
Building for a Hologram clear
You do not need a whale account to clear Holograms, but you do need a finished one on the character you bring:
- Bring your best-built single damage dealer, backed by a support whose Outro buff feeds it. This is not the place for a wide, unfocused team. Concentrate your investment. The best team comps show which pairings amplify a carry hardest.
- Match your Echo set to the carry and prioritize its main-stat and crit lines. A Hologram is a damage check inside a survival check, so your carry needs to be actually finished, not half-leveled. The Echo guide covers the sets worth farming.
- Level the weapon. A Hologram at a high tier will expose an under-leveled weapon fast. If you have been sitting on Sequences and mats, spend them, the Sequences and weapon investment guide covers where it pays off most.
A tier-by-tier approach
Rather than throwing yourself at the top difficulty, ladder up:
- Clear the lowest tier of each Hologram first to learn the boss patterns with a comfortable margin. Pattern knowledge transfers straight up the ladder.
- Push one tier at a time and collect every first-clear payout before moving on. This banks the Astrite even if you stall out higher.
- When a tier walls you, ask which is failing: the damage check or the survival check. If you are dying, drill dodge timing and slow down. If the boss survives your best window, your carry needs more investment, not more attempts.
- Come back after upgrades. A tier that was a wall last week often folds after a weapon level or a better Echo roll. Holograms are a great gauge of whether your investment is actually landing.
If you want a structured order for tackling all of this alongside the rest of the endgame, the Union Level progression roadmap and the Tower of Adversity guide slot Holograms into the wider climb.
The short version
Holograms are solo boss duels with escalating tiers, and their first-clear rewards are among the best free Astrite in Wuthering Waves. You beat them by playing the dodge-counter game cleanly rather than trying to out-stat them, with one fully-built carry, a support feeding it through the quick-swap rotation, and the patience to bank safe damage instead of getting greedy. Ladder up one tier at a time, collect every first-clear payout, and come back after upgrades for the ones that wall you.
Ready to fund the next pull? Convert those Hologram clears into a plan with the Astrite and pity guide, and if you are still assembling your first real carry, the beginners guide gets you there.