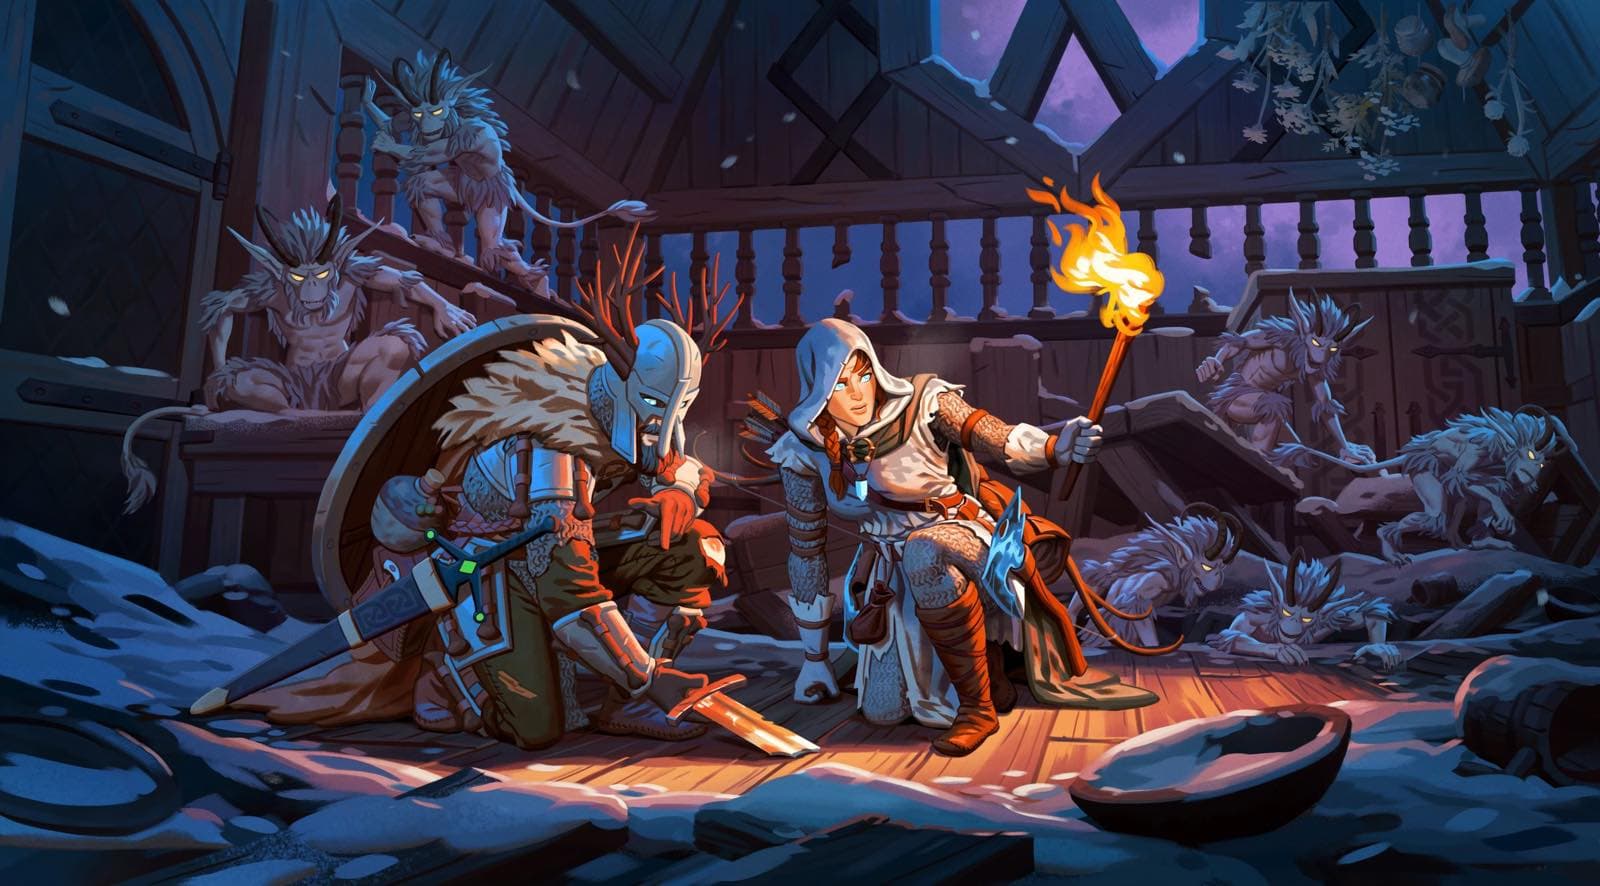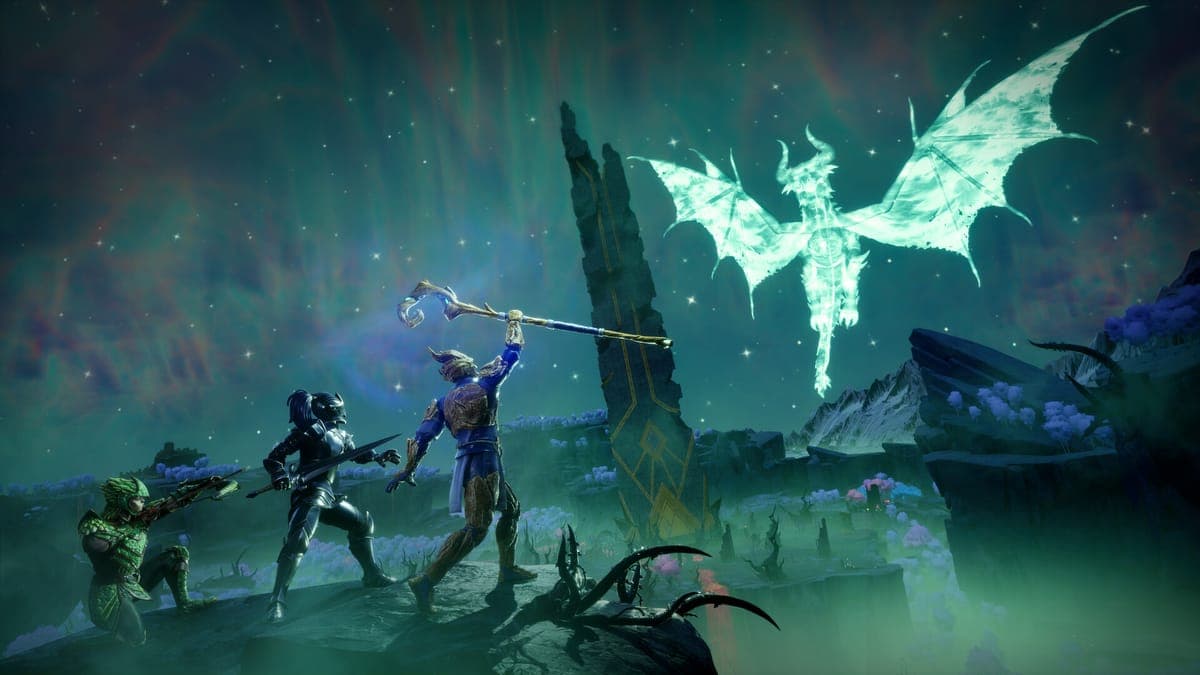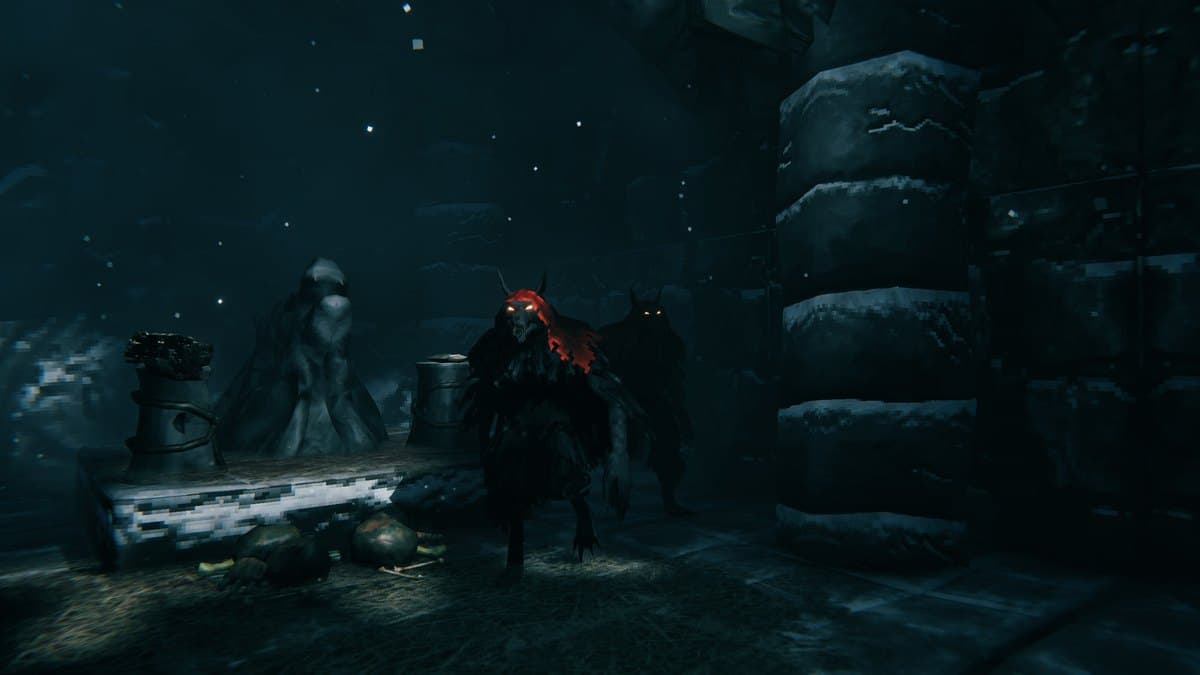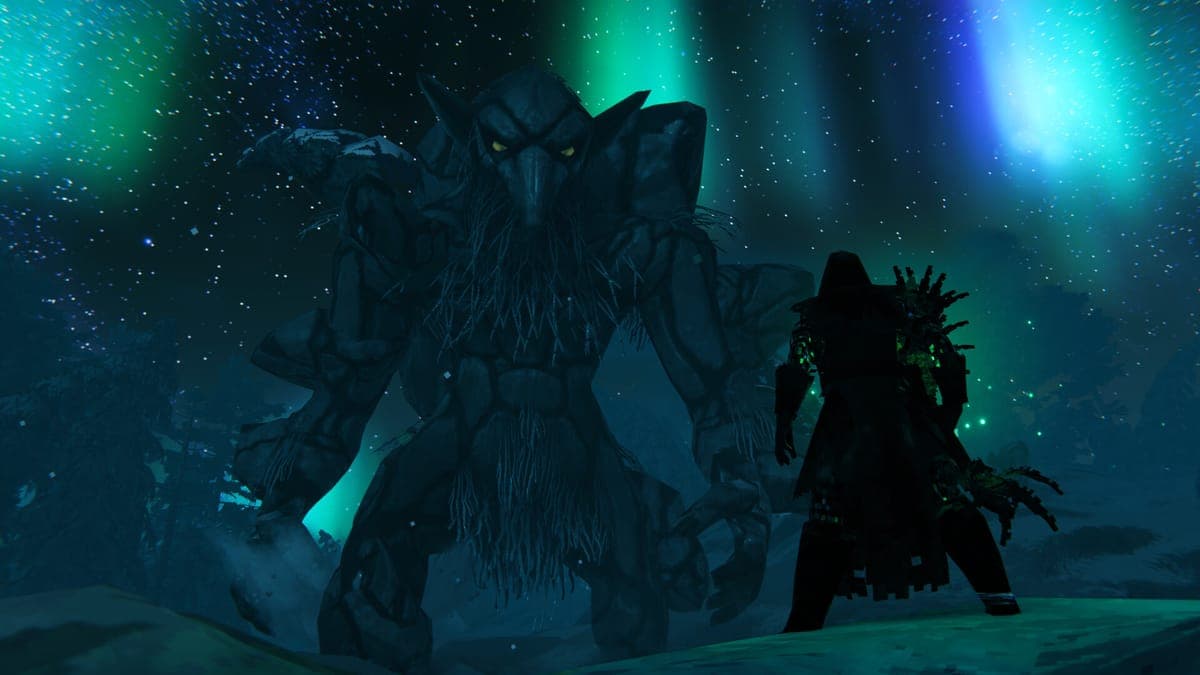
Bring blunt or slash and nothing else.
Kall Fimbulbringer resists pierce, fire, frost and lightning at half damage, ignores spirit entirely, and is immune to stagger in every phase. Every trick that carried you through the first seven bosses, the stagger-and-burst loop, the elemental arrow swap, the parry window, is either halved or switched off. What is left is 47,000 health, a long memory for your stamina bar, and one phase that kills itself if you let it.
The numbers, up front
| Phase | Health | What is happening |
|---|---|---|
| 1 | 10,000 | He fights you with the chains |
| 2 | 7,000 | Invulnerable in an ice block while seven aspects spawn |
| 3 | 30,000 | Same chains plus fire, frost, spike rain and tendrils |
47,000 total, and the split matters more than the sum. Phase 1 is a fifth of the fight. Phase 3 is nearly two thirds of it, and it is the phase where his attacks gain elements and the arena starts growing things that shoot you.
Damage: two types work, everything else is wasted
| Multiplier | Types |
|---|---|
| Full damage | Blunt, Slash, Poison |
| Half damage | Pierce, Fire, Frost, Lightning |
| Nothing at all | Spirit, Chop, Pickaxe |
A Protector build swinging blunt is the straightforward answer. Slash is equally valid. What does not work is the bow-and-elemental-arrow approach that trivialised Moder and Yagluth: pierce is halved and so is every element you can put on an arrow.
Poison reads as a loophole on that table and mostly is not one, because Valheim's poison sources do not scale to a 47,000 health pool. Treat it as a footnote, not a plan.
Getting him to show up
Three Malicious Blood, offered at the Strange Bowl in his room in The Prison, reached through the Aesir Passage. One Malicious Blood per Jotun invasion, so that is three invasions inside Mörkhalla before you can even start.
He appears 12 seconds after the offering, and he is repeatable: beat him and you can summon him again.
If you are not at that door yet, the Deep North progression guide has the whole chain, from killing Fader through Ember Charges and Gammeltrolls to the Intricate Key.
Phase 1: learn the chain ranges
10,000 health and four attacks. The thing that catches people is reach: the chains hit considerably further than his model suggests, and three of the four reach 12 metres.
| Attack | Damage | Cadence | Range |
|---|---|---|---|
| Chain Slam | 160 Blunt | every 3s | within 12m |
| Double Sweep | 150 Blunt | every 3s | 2 to 12m |
| Chain Whirl | 150 Blunt, 20 Frost | every 10s | within 8m |
| Chain Rush | 125 Blunt, 125 Pierce | every 10s | 1 to 12m |
The Slam has single and double variants that swap in at health thresholds, so the pattern you learn at full health is not the pattern at 60%.
Practical read: there is no safe mid-range. Either you are inside, trading on recovery frames, or you are past 12 metres and not contributing. Pick one and commit, because drifting between the two is how you eat a Rush.
Phase 2: stop hitting him
He encases himself in ice, goes immune to all damage, and stops attacking entirely. Seven aspects of the bosses you already killed spawn in order:
Eikthyr, then The Elder and Bonemass, then Moder and Yagluth, then The Queen and Fader.
Here is the part worth internalising. Each aspect explodes for 1,000 damage to Kall when it dies. Seven aspects, 1,000 each, against a 7,000 health phase. The arithmetic is exact: the aspects are the only thing that can end this phase, and killing all seven ends it precisely.
So phase 2 has no damage check at all. It is a survival check against a boss rush of everything Valheim has already taught you, and any stamina you spend swinging at the ice block is stamina you do not have for Fader's aspect at the end of it.
Note the order is a victory lap in reverse difficulty: a deer, then two, then two, then the two hardest. The back half is where phase 2 actually gets dangerous.
Phase 3: 30,000 health and a growing arena
The chains come back with fire and frost on them, and three new problems arrive on health thresholds.
| Attack | Damage | Cadence | Notes |
|---|---|---|---|
| Double Chain Slam | 120 Blunt, 50 Fire, 50 Frost | every 3s | 1 to 12m |
| Double Sweep | 150 Blunt | every 3s | 2 to 12m |
| Punch | 150 Blunt | every 8s | within 8m, area |
| Chain Whirl | 120 Blunt, 50 Fire, 50 Frost | every 20s | only above 75% health |
| Chain Flurry | 250 Blunt | every 3s | only below 50% health |
| Spike Rain | 100 Blunt + 22 hits of 100 Frost | every 25s | only below 35% health, within 20m |
| Tendrils | summon | every 45s | if a player is within 30m |
Read the thresholds as a difficulty curve with three steps. Above 75% the Whirl is in rotation and the Flurry is not. Below 50% the Chain Flurry arrives at 250 Blunt every three seconds, which is the single hardest-hitting thing in the fight. Below 35% Spike Rain lands on top of that, and 22 frost hits inside 20 metres is not something you out-heal.
The last third of phase 3 is therefore the last third of the whole fight by difficulty as well as by health. Save your mead for it.
Tendrils are the one mechanic with a clean answer. They have 80 health, do not move, vanish after 9 to 12 seconds on their own, and fire lightning every 5 seconds for 55 damage at up to 40 metres. They are weak to fire and resistant to frost, which is the one moment in the entire fight where a fire weapon is correct. Eighty health dies to anything, so this is a swap-and-swap-back, not a build decision.
What you walk away with
Sacrificial Blood and a Crown Jewel, one each.
The short version
- Blunt or slash. Leave the bow at home.
- Expect no stagger, ever. Your opening is his recovery frame, not his flinch.
- Phase 1 is 10,000 health and a lesson in how far 12 metres is.
- Phase 2, kill the seven aspects and ignore the boss. They do all 7,000 damage themselves.
- Phase 3 is two thirds of the fight. The Flurry at 50% and Spike Rain at 35% are what actually kill people.
- Carry one fire option for Tendrils and nothing else elemental.
For everything before this door, the Deep North guide covers Bloodgold, the three armour sets and the mould chain, and the Ashlands guide covers Fader, who is the gate on all of it.
Sources: health per phase, the resistance table, every attack's damage, cadence and health threshold, the seven-aspect order and the 1,000 damage explosions, Tendril stats, the summon requirement and the drops are from the Valheim Wiki's Kall Fimbulbringer page, read on October 10, 2026. Third-party guides published around 1.0 disagree with each other on the phase health split; where they do, the wiki's figures are used here.