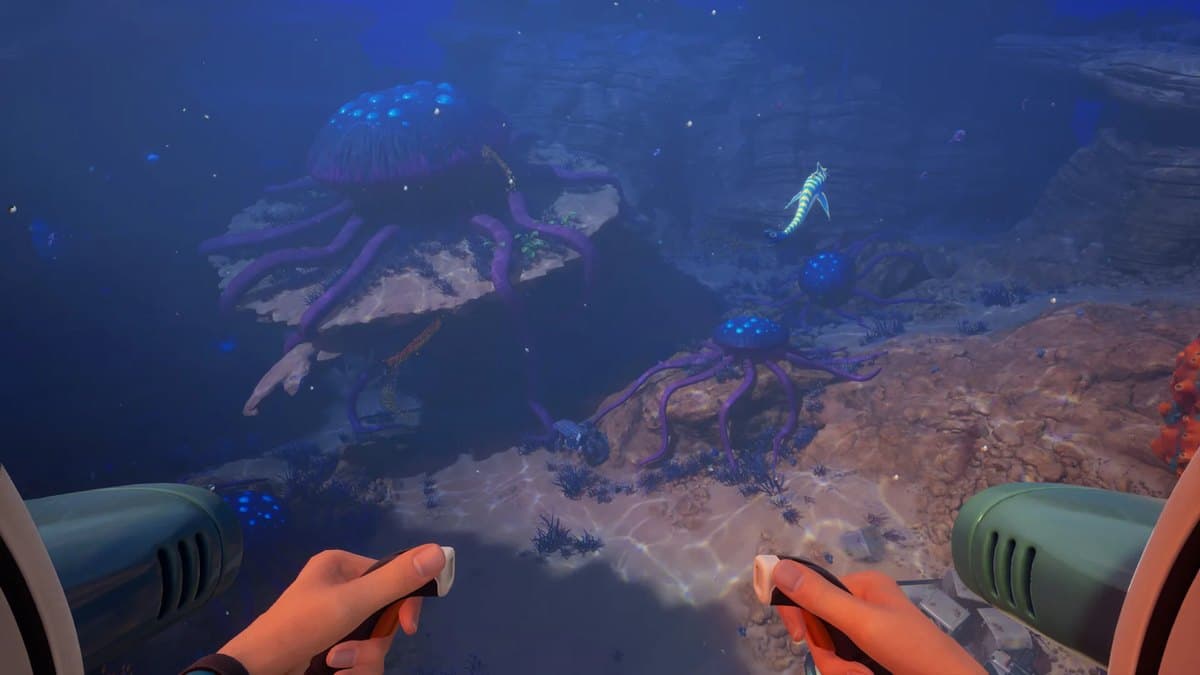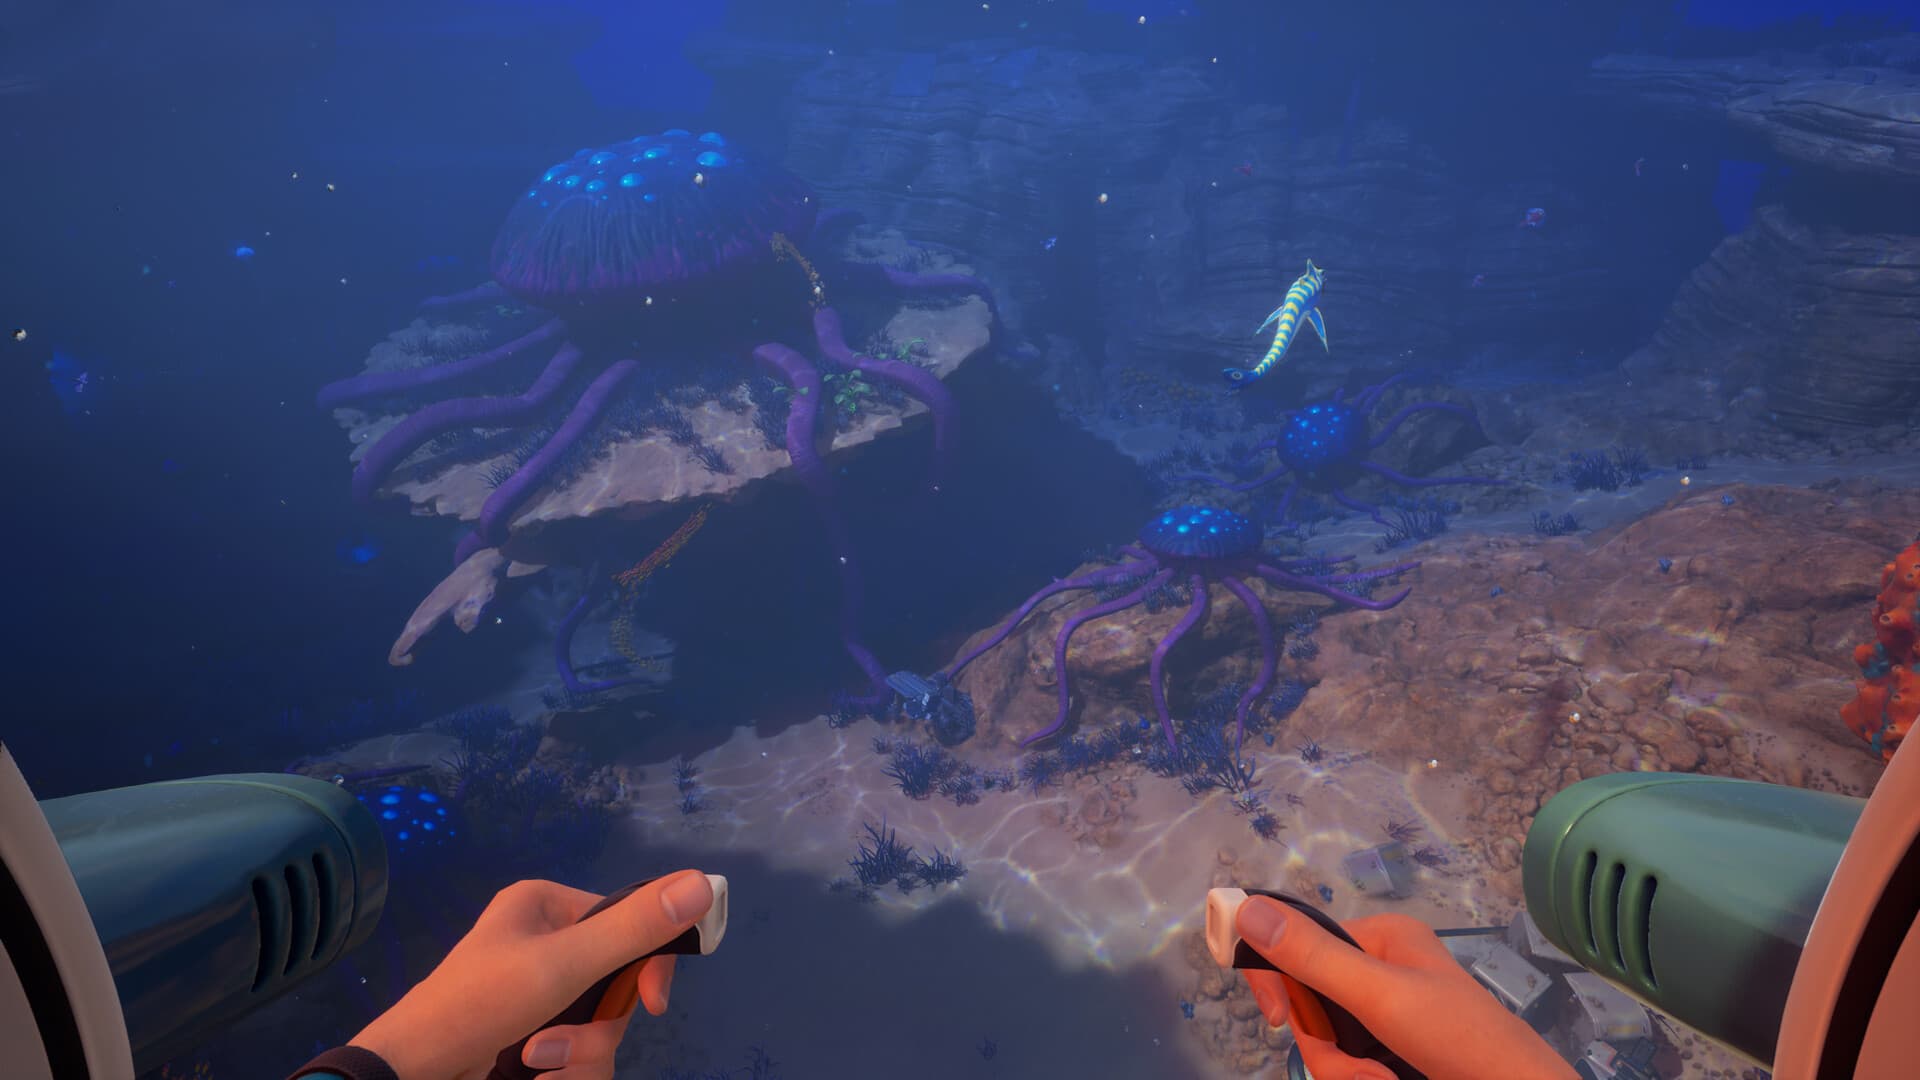
The first time the water goes dark below you in Subnautica 2, the instinct from the original game kicks in: watch your suit, don't get crushed. Wrong instinct. On Proteus the deep does not crush a swimmer at all. It drains your air twice as fast, hides a leviathan that instant-kills anything outside a hull, and dares you to keep going anyway. The pressure gauge you actually have to respect belongs to your vehicle, not your body.
This is a survival guide to the down-there, current as of the August 2026 co-op update. Because Subnautica 2 is in Early Access and rebalanced patch to patch, treat depth numbers as a live snapshot and confirm your own gear before a serious dive. One warning up front: a lot of "SN2 wiki" sites are AI content farms inventing leviathans and creature counts. Everything below is the verified build, not the invented one.
The map, top to bottom
Proteus is shallower than Subnautica veterans expect. The deepest normal biome you can actually develop bottoms out around 750 meters, and everything past the map edge is a death zone, not a frontier.
| Biome | Depth band | Why you go |
|---|---|---|
| The Shallows / Necrolei Hills | 0 to ~120m | Starter resources, first fragments |
| Sparse Plains | 0 to 250m | Collector Leviathan patrols here, tread carefully |
| Graveyard | 0 to ~266m | Tadpole fragments in the Pens |
| Karakorum Metal Farms | 0 to 500m | Depth Module datacard, Collector territory |
| Overgrown Ruins | 0 to 600m | Axum Observatory, Strike Armor datacard |
| Root Canyon | 364 to 750m | The deepest real biome, Cavitation Muffler datacard |
| The Void | map edge | Do not enter, the Shiver pack lives here |
Two things follow from that table. First, "endgame depth" right now means Root Canyon, not some lava zone at three kilometers; a dedicated thermal or lava biome is not confirmed in the current build. Second, the Void is a kill zone patrolled by leviathans, not a place you are meant to reach. If your compass says you are leaving the map, turn around.
The Tadpole and its crush-depth ladder
There is exactly one vehicle in the game right now: the Tadpole, a stripped-down Seamoth built at a Moonpool's Vehicle Fabricator. It is your submarine, your oxygen refill, and your safe room, so its depth rating is your real depth limit.
- Base crush depth: 250m. Past it you get a warning, then metal-buckling creaks, then continuous hull damage. The Repair Tool can out-heal a brief overshoot, not a sustained one.
- Depth Module Mk. 1 raises the safe limit to 450m (datacard at the Karakorum Power Plant, ~294m).
- Depth Module Mk. 2 is rated to 800m, but may not be obtainable in Survival in the current patch, so plan Root Canyon runs around the 450m module and careful overshoot rather than assuming 800m is available.
- A Tadpole docked in a Moonpool takes no depth damage at all, whatever depth the base sits at. That is the whole trick to a deep forward base: park inside, and the pressure stops mattering.
Pick your chassis for the job. The Scout Ray is faster for pathfinding and scouting a route down; the Haul chassis adds storage and a passenger seat for hauling loot or a teammate. Stack Engine Efficiency modules (each shaves 20% power draw) so a deep round trip does not leave you dead in the water at the bottom.
The three leviathans, and how to live through each
Proteus has three leviathans, none of them carried over from the first game. Know which is which before you meet one in the dark.
Collector Leviathan (aggressive). A roughly 110-meter cephalopod that patrols the Karakorum Metal Farms and a trench in the Sparse Plains. It instant-kills a player outside a vehicle and will grab and throw your Tadpole. You do not fight it. You survive it: pop a Distraction Flare to peel it off, run the Camouflage biomod, break line of sight under a table-rock overhang without lingering, and if it is truly on you, surface, because it tends to disengage above water. Plan any Karakorum run as a route that never sits still in open water.
Deepwing Brooder (passive). A migratory 15-to-30-meter drifter that will not touch you. Scan it, admire it, move on. Its only danger is the panic it causes when you mistake it for the Collector at range.
Shiver Leviathan (aggressive, and a trap). An ~85-meter female lives in the Void and does not attack. Her escort of smaller male Shivers does: they detach and chase intruders at speed. There is no surviving the pack and no reason to try, because the Void has nothing to develop. The correct counter is simply staying inside the map.
The real killer: oxygen, not pressure
Depth attacks your air, on a curve that punishes the deep hard:
- 0 to 99m: 1 oxygen per second.
- 100 to 199m: 2 per second.
- 200m and below: 3 per second.
That means a raw High Capacity tank (120 oxygen) buys you only about 40 seconds at 200m-plus before you are swimming back to the Tadpole. The fix is the Rebreather in the head slot, which flattens the drain back to 1 per second at any depth. Note the difference from the first game: SN1's Rebreather improved deep visibility, but in SN2 it cuts the depth penalty, which makes it close to mandatory below 100m. Below that, your loadout is simple: Rebreather up top, the biggest air tank you have, and fins for speed, since the Body and Hand equipment slots are still locked and there is no air bladder or dive suit yet.
Your refill points are the Tadpole and any powered seabase room with a hatch. There is no handheld propulsion tool in the current build, so a deep base is not a luxury, it is how you get oxygen at the bottom at all.
Powering a base at depth
Solar panels are useless past about 200 meters, so a deep forward base needs a different power spine:
- Bioreactor: burns organic matter, steady 10 per second (20 on overdrive). The reliable default.
- Thermal Plant: placed near a vent, geyser, or black smoker, up to +16 per second. Build your deep base around a thermal feature and this is your best option.
- Hydroelectric Turbine: taps water currents where they are strong.
Scout a thermal vent first, drop the base there, and your deep operations run on free heat instead of hauled fuel. Our base-building guide covers the room-by-room layout; this is just where to put it.
Taking a co-op team down
Subnautica 2's headline feature is four-player co-op, and the deep is where its rules bite hardest:
- Vehicles are per-player, not shared. A four-person deep run needs four Tadpoles, and every diver needs their own tanks, tools, and DNA adaptations. Do not set off with two subs and four people.
- The revive system (added in the August 2026 co-op update) turns a death into a downed state: a teammate swims out, shares oxygen, and revives you inside a timer. That single change makes leviathan territory survivable as a group in a way it never is solo.
- Split the roles. One Haul Tadpole for resources, one Scout Ray leading the route, the rest watching the flanks for the Collector. Proximity voice chat, also new in that update, is what makes the "it's behind you" call land in time.
Our co-op survival guide goes deeper on group logistics; for the deep specifically, the one-line version is: everyone brings their own sub, and nobody dives Karakorum without a revive buddy in range.
How it works in Subnautica 2
Respect the vehicle's crush depth, not your own body. Carry a Rebreather everywhere below 100 meters. Never fight the Collector and never enter the Void. Anchor the deep with a thermal-powered base and a Moonpool your Tadpole can hide in. Do that and Root Canyon is a destination instead of a grave. New to Proteus entirely? Start with the beginner's guide and the vehicles and depth breakdown, then come back for the deep once your Tadpole is built.