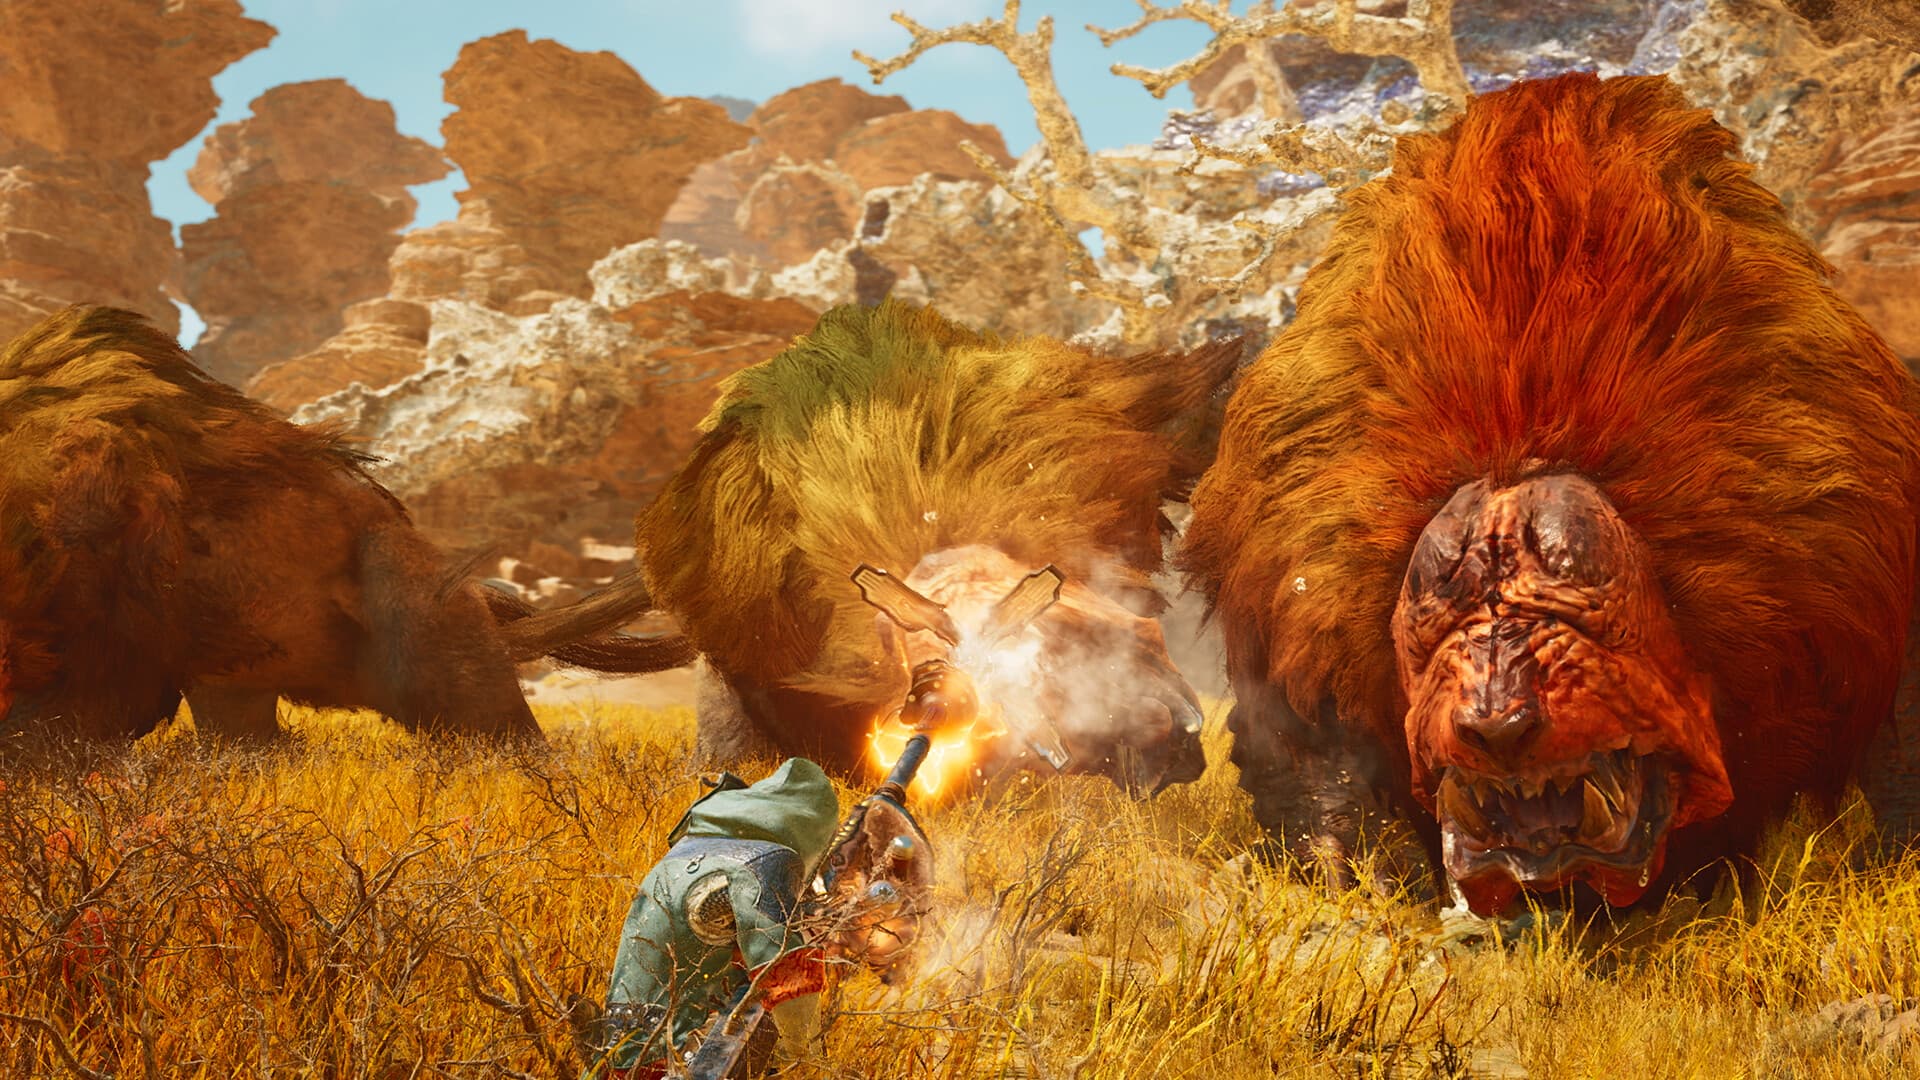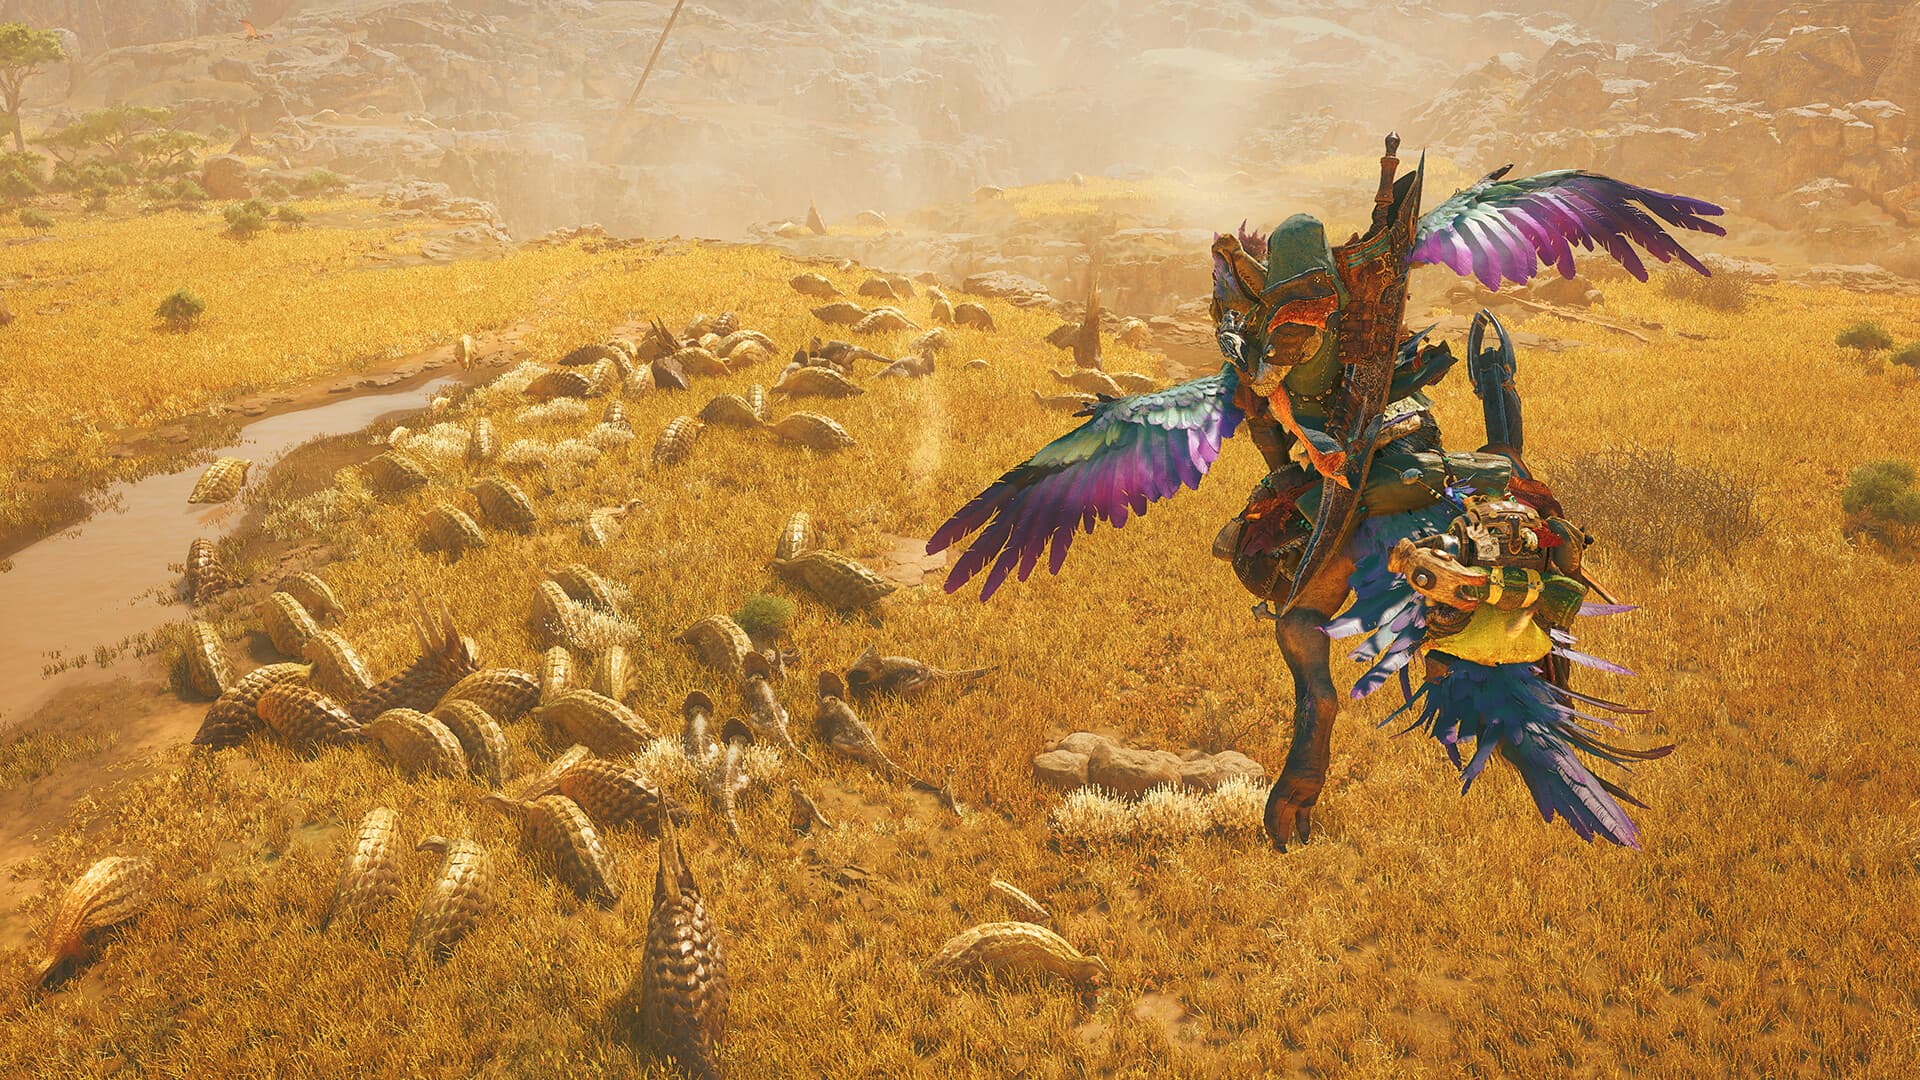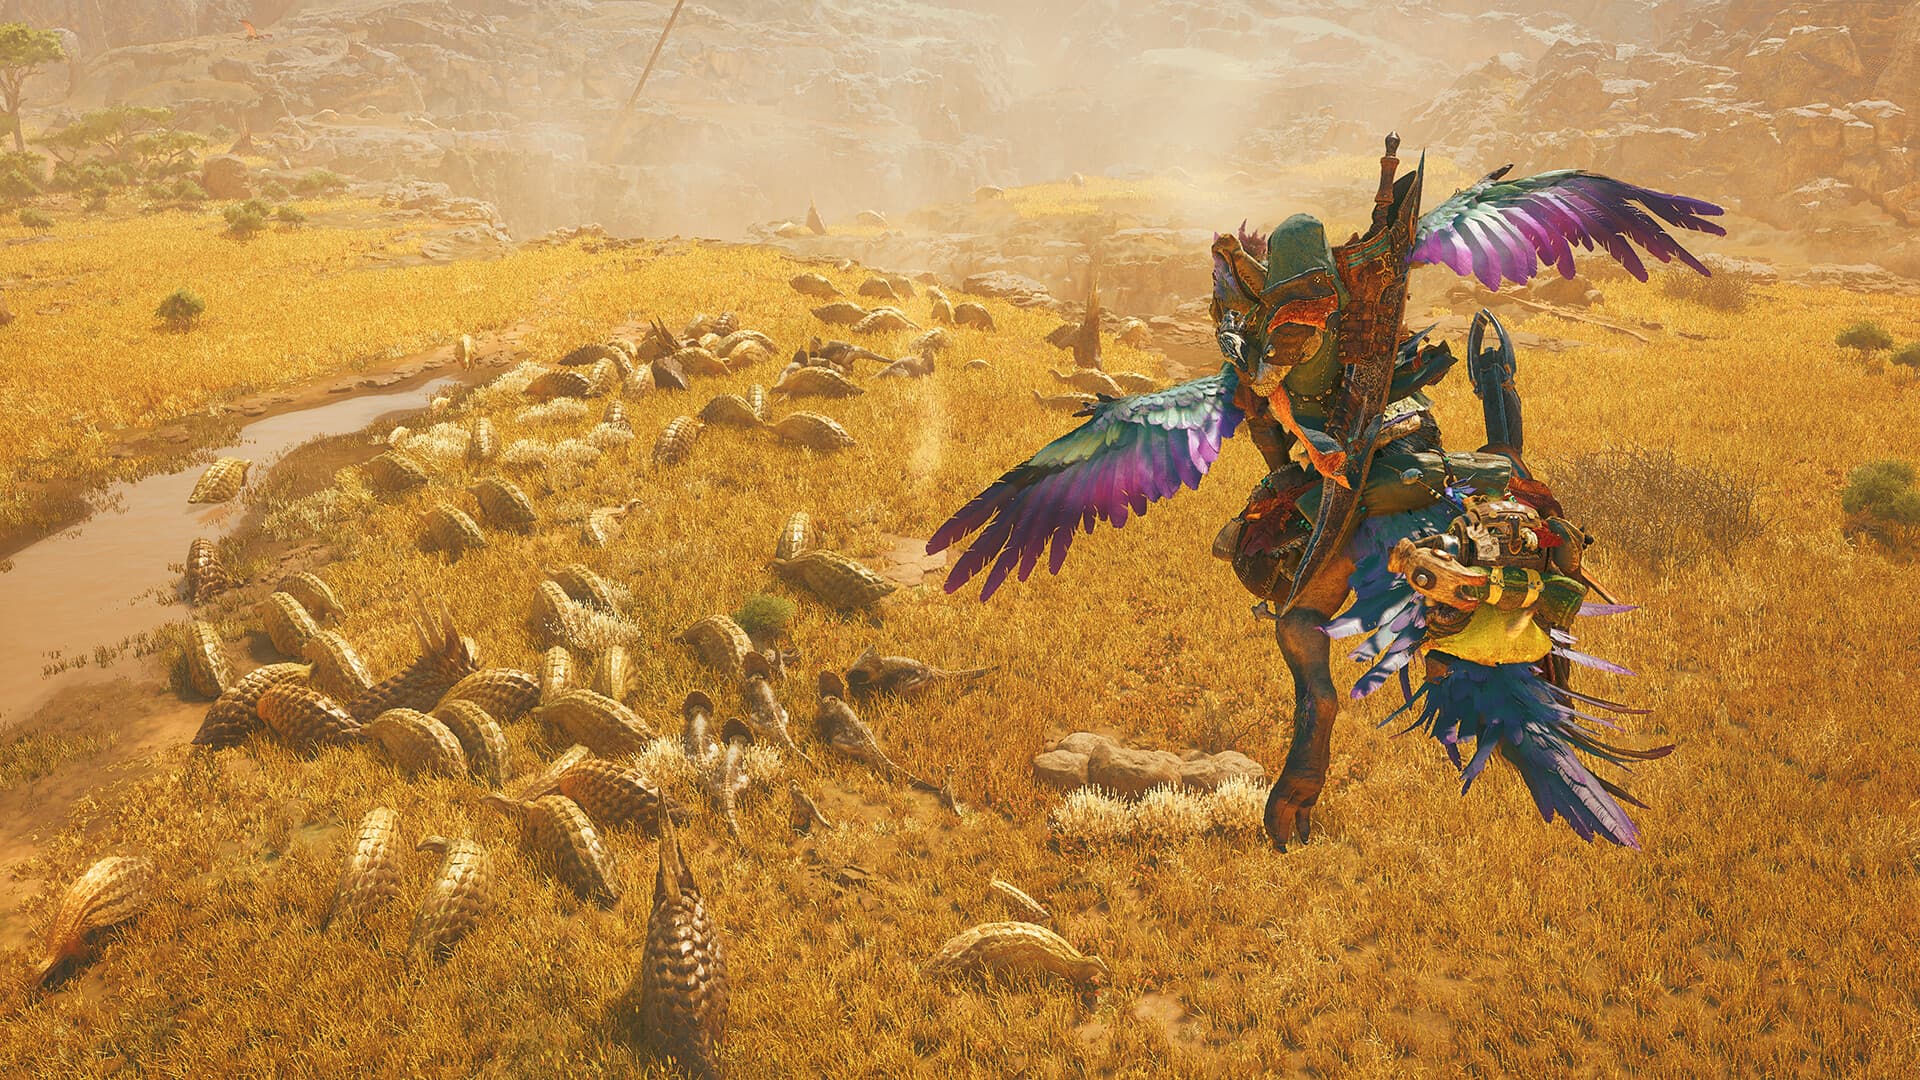
Bring the element a monster hates most, aim for the part that takes the most damage, and stack the ailment it resists least. Do all three and a fight that dragged for fifteen minutes ends in eight. That is the whole game of hunt prep in Monster Hunter Wilds, and once you understand what each of those three levers actually does, you stop guessing and start planning.
Wilds hides most of this in plain sight. The field guide shows you a monster's weaknesses the moment you have researched it, but the stars and icons only mean something if you know how the underlying systems connect. Here is how they work, and how to turn them into shorter hunts.
The three levers that decide how fast a monster dies
Damage in Wilds is not one number. It is three separate systems that all feed the same health bar:
- Raw and elemental damage. Your weapon deals physical (raw) damage plus, if it is an elemental weapon, one element: Fire, Water, Thunder, Ice, or Dragon. A monster resists or is vulnerable to each element independently of its physical toughness.
- Hitzone values. Every body part has its own multipliers for cut, blunt, ammo, and each element. The head is usually soft, the tail is often cuttable, and armored backs or shells can shrug off almost everything. The same swing does wildly different damage depending on where it lands.
- Status ailments. Poison, Paralysis, Sleep, Blast, Stun, and the elemental blights build up on a hidden meter. When the meter fills, the effect triggers, then the threshold rises for the next application. These stack on top of your damage and do not care about the monster's physical armor.
Win on all three and you are effectively fighting a much weaker monster. Ignore them and you are hitting a wall for no reason.
Reading the weakness stars
Research a monster to Level 3 or so and its field guide entry fills in. The element rows show one to three stars: three stars is a major weakness, one star is a token vulnerability, and a blank or a resistance icon means do not bother bringing that element. A dash or shield means the monster is outright immune, and hitting an immune element is worse than bringing pure raw, because you are trading away nothing for nothing.
Two rules save you most of the trouble:
- Bring the highest-starred element you own a decent weapon for. A three-star weakness on a mediocre weapon often loses to a two-star weakness on a well-built one, because raw and sharpness still do the heavy lifting. Chase the star, but not off a cliff.
- When in doubt, aim for the head. Across the roster, the head is the most common soft spot and the part that triggers Stun. Even without perfect hitzone data, head-hunting is rarely wrong.
A starter weakness table
These are reliable primary weaknesses for early High Rank staples. Treat them as a starting point and confirm the exact stars in your own field guide, since hitzone values differ part to part and updates can shift the margins.
| Monster | Primary element | Notes |
|---|---|---|
| Rey Dau | Ice | Water works as a backup; the head takes big damage |
| Uth Duna | Ice / Fire | Immune to Water, so never bring it |
| Gore Magala | Thunder | A Demi Elder; watch for its frenzy virus buildup |
| Lala Barina | Fire | The bloom on its back is the part to break |
| Doshaguma | Thunder | A hard-hitting brute; Stun on the head lands often |
The pattern to internalize is not the table itself, it is the habit: check the guide before you gear up, then match the weapon you can actually build to the star that is actually there.
Status ailments, ranked by when to use them
Ailments are the most under-used lever for newer hunters. They do not scale with the monster's physical defense, which makes them a great equalizer against armored monsters that laugh off your raw.
- Paralysis is the strongest utility ailment in the game. A paralyzed monster stands still for several seconds, giving you a free burst window on its weak point. In multiplayer it is worth building around.
- Sleep front-loads damage: put the monster to sleep, then land one big charged hit for a bonus multiplier. Best paired with heavy single-hit weapons and traps.
- Blast is the best all-purpose damage ailment. It builds steadily and deals a flat burst on trigger, with no immunities as punishing as the elemental blights.
- Poison is a slow, reliable damage-over-time that is strong against monsters you expect to fight for a long time. Weak against short hunts.
- Stun (KO) only builds from blunt hits to the head, which is why hammer and hunting horn users get so many knockdowns. Any weapon can contribute if you keep aiming high.
You do not need every ailment on every hunt. Pick one that fits the monster and the length of the fight, and let your element and hitzone targeting do the rest.
Wounds and Focus Mode: the Wilds twist
The newest layer is wounds. Concentrate damage on a body part and it develops a glowing wound. In Focus Mode you can target that wound and unleash a Focus Strike, which deals a large chunk of damage, often topples the monster, and can sever it into a part break. Wounds also appear naturally when a monster clashes with another in the Locale.
The practical loop looks like this: match your element, pound a weak part until it wounds, pop the wound with a Focus Strike for a knockdown, then unload on the exposed weak point while it is down. Rinse and repeat. Wounds turn correct targeting into free openings, which is why hitzone knowledge matters even more in Wilds than in past titles.
Putting a hunt plan together
Before a hunt, run the checklist:
- Research the monster and read its element stars. Pick your element, or go raw if it resists everything.
- Choose one ailment that suits the fight length and your weapon.
- Decide the target part. Usually the head for Stun and general softness, plus any cuttable tail or breakable weak point for rewards.
- Bring the traps and support items your ailment plan needs (a Paralysis or Sleep setup wants Shock and Pitfall Traps ready).
During the hunt, favor Focus Mode uptime, chase wounds on your target part, and reapply your ailment as the meter resets.
If you are still settling on a main weapon to build all of this around, start with our Monster Hunter Wilds weapon types guide, then tune the details with the armor skills and decorations guide. And if you want more to hunt once Wilds is in your bones, we ranked the best games like Monster Hunter.
Master the three levers and the field guide stops being decoration. It becomes the plan.