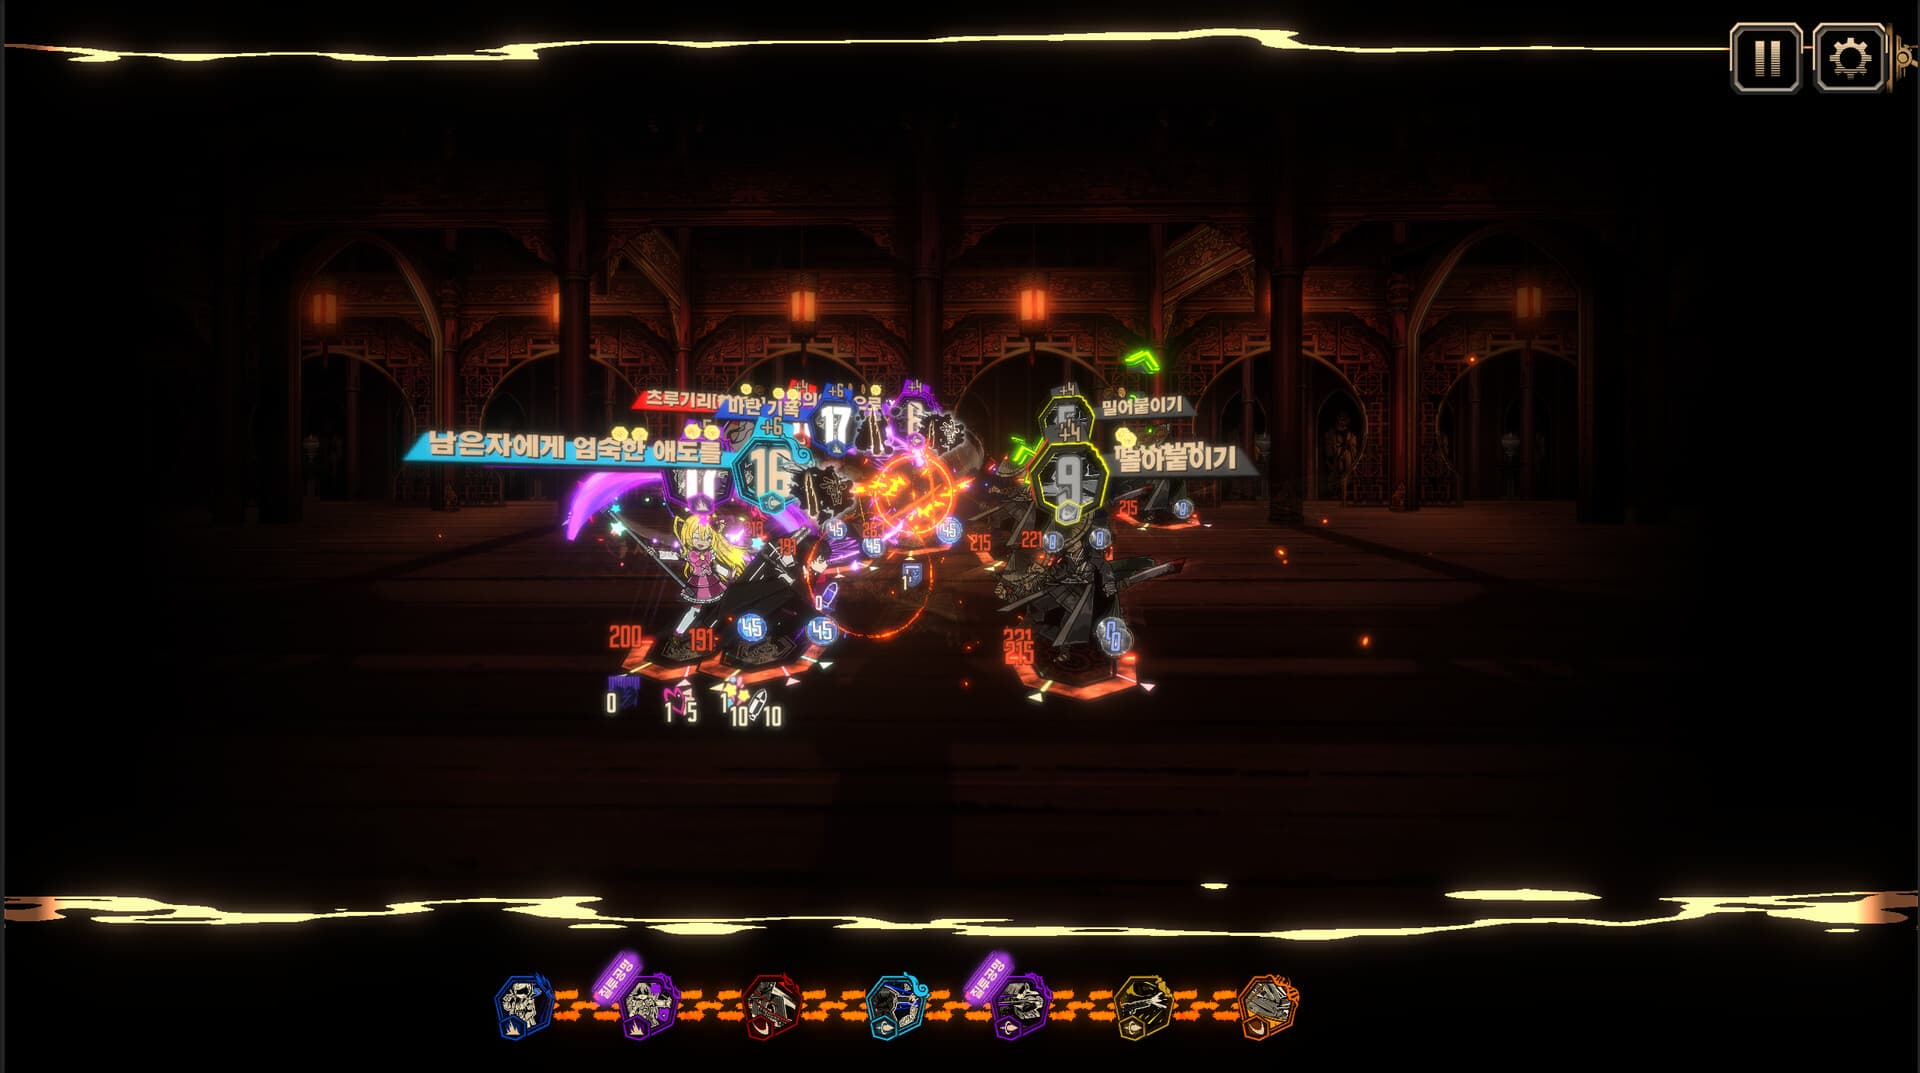
The eighth one finally shipped
Mirror of Sisyphe went live on October 15, 2026. It replaced Mirror of Names and Spiders, which had been the live dungeon since February 19, and that is the headline, because the seventh had been up for 238 days: the longest any Mirror Dungeon has ever run. Season 8 "STÚDĬUM PUNCTUM" advertised a new Mirror Dungeon at its September 17 launch and did not ship one, so for four weeks the only hard date attached to it was the day the old one was scheduled to stop. That day turned out to be the handover.
Here is every Mirror Dungeon with how long it was actually live, which is the part no other tracker bothers to total up:
| Mirror Dungeon | Live from | Until | Days live |
|---|---|---|---|
| Mirror of Sisyphe (current) | October 15, 2026 | live | 3 and counting |
| Mirror of Names and Spiders | February 19, 2026 | October 15, 2026 | 238 |
| Mirror of Immortality | July 3, 2025 | February 19, 2026 | 231 |
| Mirror of the Dreaming | November 28, 2024 | July 3, 2025 | 217 |
| Mirror of the Wuthering | May 2, 2024 | November 27, 2024 | 209 |
| Mirror of Mirrors | June 29, 2023 | December 13, 2023 | 167 |
| Mirror of the Lake | December 14, 2023 | May 1, 2024 | 139 |
| Mirror of the Beginning | Game launch | December 13, 2023 | n/a |
Read that column before you assume the ninth is close. The gap has widened every time since the Lake, and 238 days is eight months. Nothing is announced about a successor, so plan on living in Sisyphe for a long while.
Getting in, and what Hard mode costs you
Normal difficulty unlocks after Canto II. Hard wants Canto IX cleared, which is a real gate: if you have not finished Meursault's predecessor you are on Normal whether you like it or not.
A standard run is five floors. Clear all five on Hard with Parallel Superposition Mode switched on and the run extends to ten, which the game calls Infinity Mirror. Floors 10 through 14 run on a separate, harder pool the wiki labels Extreme Mirror, so the deep end is not just more of the same floors with bigger numbers.
Hard changes five things, and the trade is a tighter power ceiling for a much richer gift economy:
- Identity levels cap at 65. Your overlevelled roster does not carry you; the deck does.
- Each Theme Pack hands you 4 E.G.O Gifts after its boss and you keep two, alongside Mounting Trials. Hard requires two Mounting Trials per floor rather than one.
- Encounters pay more Cost, and you can see 2 more nodes ahead, which is the single biggest quality-of-life change for planning a floor.
- Super Shops can replace an ordinary Shop, with the odds driven by how much Cost you spent at the previous floor's Shop. A Super Shop offers 3 extra E.G.O Gift selections, can replace skills for 2 Sinners, lets you fuse up to 5 Gifts at once, and improves the fusion result. Spending at a Shop is now an investment in the next floor's Shop, which is not obvious and changes how you budget Cost.
- Some Theme Packs and Gifts are Hard-exclusive, so the ceiling of a Normal deck is genuinely lower.
What a week of runs actually pays
Rewards are driven by weekly bonus charges, and the difference between using them and not is the whole reason to care about Hard:
| Run | Lunacy | Limbus Pass XP | Manager EXP |
|---|---|---|---|
| Normal, first three claims of the week | 250 | 45 | 100 |
| Normal, every run after that | 0 | 30 | 100 |
| Hard, full clear, with three bonus charges | up to 750 | up to 225 | up to 360 |
| Hard, full clear, no bonus charges left | same as Normal | same as Normal | same as Normal |
Two things fall out of that table. A Hard full clear on a bonus charge pays triple the Lunacy of a Normal one, which is where the week's value sits, and a Hard run with no charges left pays exactly what Normal pays, so once the charges are gone the difficulty is a choice about fun rather than income. Quitting early is also metered rather than binary: a partial Hard run pays a percentage of the full-clear reward based on floors cleared, and five floors is 100 percent.
The mode itself is still uncapped. The charges gate the Lunacy, not the runs, so Sisyphe remains the best long-term source of Modules and Thread in the game.
Where Starlight comes from, and where it goes
This page previously said a run pays 60 Starlight across its five floors. That was wrong, and it is worth correcting precisely because the number is real but the direction was backwards. Every run starts with a fixed 60 Starlight, plus Loadout Rest Bonuses, as a budget to spend inside the run. A Rental Team starts with 120 extra on top.
The earning side is separate:
- Mounting Adversities are optional, start at Floor 10, and cap at 60 Adversity Score. Each point of score held at run end pays 15 Starlight, so a maxed Adversity run returns 900 Starlight. That is the real income stream, and it only exists past floor 10, which means Infinity Mirror is where Starlight farming lives.
- Leftover in-run Starlight can be converted to Cost or claimed at the end of the run.
On the spending side, Starter Buffs are each enhanceable twice, and buying every one at maximum enhancement costs 930 Starlight. The base costs total 310, and an enhancement costs the same as the base, which is where the triple comes from. That is the actual finish line for meta-progression, and it is roughly one maxed Adversity run plus change. Searching for a specific Theme Pack costs 20 Starlight the first time in a run and 10 more each later use, with a 50 percent surcharge on a Pack you have not entered before.
One detail that changes how you spend inside a run: Starlight you do not spend on Starter Buffs converts to starting Cost at 1 Starlight to 5 Cost, added on top of the base 200 starting Cost. Unspent Starlight is not wasted, it is Cost, which makes the choice between a 40-Starlight buff and 200 extra Cost a real one rather than a formality.
Every Starter Buff in Sisyphe, and what it costs
These are the buffs as the Mirror of Sisyphe page lists them, with base cost. Multiply by three for the fully enhanced price, and note that the names from the seventh dungeon do not carry over, so a guide still telling you to buy "New Discovery" first is describing a menu that is no longer there.
| Starter Buff | Base cost | What it does |
|---|---|---|
| Star of the Beginning | 10 | +150 starting Cost, +1 Theme Pack pick, +1 shop Gift pick, one free normal shop refresh |
| Cumulating Starcloud | 10 | +10% Cost balance on advancing a floor (cap 100), +50% Gift sale price once per shop |
| Interstellar Travel | 20 | +1 Theme Pack pick, +2 Pack refreshes, new Packs give +3 Identity Levels (max 9) |
| Star-shower | 20 | +400 starting Cost, +1 starting Gift choice |
| Binary Star-shop | 30 | +1 shop Gift pick, +20% encounter reward Cost, better high-Tier odds in shops |
| Moon Star-shop | 30 | One free shop keyword refresh, one random Tier I Gift on entering Floor 1 |
| Favor of the Nebulae | 40 | All Identities +3 Levels on entry, +1 per cleared floor (max 5) |
| Starlight Guidance | 40 | +2 Max Speed, plus Clash Power, Damage Up and Protection each turn |
| Chance Comet | 50 | A fuse-or-sale Gift on entering shops, a Tier III Gift on Floor 3, an extra Gift when fusing |
| Perfected Possibility | 60 | +1 Theme Pack pick, +1 starting Gift choice, a chosen Tier III Gift and a Dark Vestige on entry |
Buy order, if you are starting Sisyphe from zero: Star of the Beginning and Cumulating Starcloud first, because 20 Starlight between them buys +150 Cost, two extra picks and a refresh, which is the cheapest swing on the board. Chance Comet is the one to save for, since an extra Gift on every fusion is the only buff that compounds with how much you fuse. Starlight Guidance is the pick if runs are dying rather than fizzling.
One gap: the page's prose says there are 12 Starter Buffs while its table renders the 10 above. The two unaccounted-for rows are marked NEEDS_REVIEW here rather than guessed at.
What is new in the deck
Mounting Trials, Starter Buffs and most Theme Packs carry over from Names and Spiders unchanged, so your muscle memory transfers. What is new: six Choice Events, all tied to Canto X, four revamped Gifts (Universal Skeleton, Universal Instinct, Blue Starshard, Searing Brass), and five new Gift sets, Out-of-style Rouge Clothing, Readvent of Gluttony (Soda Pop, Maison du Noir Slacks), Creed of Preservation (Le Noir Mary Janes, Straight Pin of the King of Needleworks), An Anarchy of Colors (Cartilage, Blanket) and Storefront Campout (Blossom Scissors). Creed of Preservation is the one to watch if you pulled the season's Le Noir Identities, since Preservation is the resource Ryōshū and Don Quixote both run on.
Mirror Projection and Achievements are both listed as unimplemented, so the mode is shipped but not finished.
All dates, floor counts, reward values and Starlight costs above come from the Limbus Company Wiki's Mirror of Sisyphe and Mirror Dungeon pages, read on October 18, 2026. The fusion odds further down this page were measured during Names and Spiders and the wiki does not restate them for Sisyphe, so treat those percentages as carried over and unconfirmed for the eighth dungeon rather than freshly verified. The Starter Buff table, the 1 Starlight to 5 Cost conversion, the 200 base starting Cost and the Super Shop five-Gift fusion were added on October 25, 2026 from the same two wiki pages.
The one idea the whole mode rewards
The Mirror Dungeon is Limbus Company's uncapped grinding mode, and the whole thing rewards one idea: commit to a single Keyword early, then stack and fuse E.G.O Gifts that support it until your team snowballs out of control. Each run drops you into a randomly generated dungeon of floors and encounters, hands you E.G.O Gifts as rewards, and lets you fuse those Gifts into stronger ones. The meta-progression currency, Starlight, unlocks better Gifts and better odds between runs. Do it well and a run goes from "barely surviving" on floor one to "deleting bosses" by the end. Do it randomly and you will feel like the mode is punishing you. This guide is about doing it well.
Because Mirror Dungeon has no weekly cap, it is the single best long-term source of Modules, Thread, and other upgrade materials in the game. Learning it properly pays off more than almost anything else you can grind.
How a Run Works
Every Mirror Dungeon run follows the same rhythm:
- Bring 12 Sinners, field 7. The dungeon takes all 12, with a maximum of 7 onfield at once and the remaining 5 deployable as Backups. This is the detail most guides get wrong by describing a standard six-Sinner squad: you are not picking five, you are picking an order. Sinners revive and heal when you advance a floor, so your backups are a real resource rather than a bench.
- Choose Theme Packs per floor. Each floor offers a themed set of E.G.O Gifts. Your choice shapes what rewards you can build toward.
- Clear encounters to earn E.G.O Gifts, Cost (the in-run currency), and progress.
- Fuse Gifts to convert small Gifts into the powerful ones your Keyword wants.
- Beat the floor boss, move up, and repeat until the final boss.
The mode is a roguelike. You are not trying to win with the team you brought. You are trying to build a winning team out of the Gifts the run gives you.
Pick a Keyword and Commit
The single biggest mistake new players make is grabbing whatever Gift looks shiny. Instead, decide your win condition in the first floor or two and then chase it relentlessly.
| Keyword archetype | What it wants | Feels like |
|---|---|---|
| Bleed | Gifts that stack and detonate Bleed | Enemies rot from damage-over-time |
| Rupture | Gifts that build and trigger Rupture stacks | Punishing chip that ramps hard |
| Tremor | Gifts that convert Tremor into burst damage | Explosive, timing-based payoffs |
| Poise / Charge / Sinking | Buildup Keywords with their own support Gifts | Snowball engines that get scary late |
The reason to commit is fusion odds (more on this below): a focused deck lets you reliably fuse into the exact high-tier Gifts that supercharge your Keyword. A scattered deck fuses into a pile of mediocre generic Gifts. Your team composition should support the Keyword too, so a Bleed run wants Bleed-oriented Identities and E.G.O across the Sinners you expect to field, and ideally across the backups you will rotate in after a floor.
E.G.O Gift Fusion: Turning Junk Into Power
Fusion is the heart of Mirror Dungeon optimization. You feed multiple E.G.O Gifts into a fusion and get a stronger Gift out. Two rules govern the result.
Tier and fusion points
Every Gift has a Tier, from I through V, plus special EX Gifts. Each Tier is worth a set number of fusion points as an ingredient. When you fuse, the points of everything you put in are summed, and that total determines the Tier of the Gift you get out. In practice: feed enough low Gifts in and you climb tiers, which is how you turn early-floor clutter into a genuine power spike.
Keyword odds
Fusion also lets you aim at a Keyword, and the more Gifts you fuse, the more reliably you hit it:
- 2-Gift fusion: roughly a 60 percent chance to produce your chosen Keyword.
- 3-Gift fusion: roughly a 90 percent chance.
- Wishmaking (spend 5 Starlight during a fusion): boosts those to about 90 percent, 99 percent, and 99.99 percent respectively.
The takeaway: 3-Gift fusions are your bread and butter because 90 percent is reliable enough to build a plan around. Save Wishmaking Starlight for the fusions that truly matter, like locking in a build-defining Gift you cannot afford to miss.
Super Shops fuse five
Sisyphe adds Super Shops, which replace a regular Shop with a chance tied to how much Cost you spent at the previous floor's Shop, and they let you fuse up to 5 E.G.O Gifts at once, including a number of unique Recipes. They also carry a Fusion Point Modifier that raises the odds of higher-Tier Gifts coming out of a fusion. If a Super Shop appears, that is the fusion to save your best fodder for, and it is a reason to actually spend Cost at the shop on the floor before.
Recipe Fusions
Some combinations are Recipe Fusions: predetermined recipes that always produce a specific, powerful result. The Tier IV Recipe Fusion Gifts are substantially stronger than a random Tier IV Gift, so learning a few key recipes for your favorite Keyword is one of the highest-value things you can memorize. When you have the ingredients for a strong recipe, prioritize it over random fusing.
The principle behind the Starlight order
The named buffs and their costs are in the table further up; what follows is why that order holds. Early Starlight should widen and strengthen your options, which is why the two 10-cost buffs come first: extra picks and extra Cost change every floor of every run. Later Starlight should make hitting your plan more consistent, which is Chance Comet's extra fusion Gift and the shop buffs that bias toward high Tiers. Theme Pack searching is paid in-run rather than unlocked, at 20 Starlight the first time and 10 more each time after, so it is a lever you pull when a floor's packs fight your Keyword, not something to buy.
A Clean Run, Step by Step
Put it together and a strong run looks like this:
- Floor 1 to 2: identify your Keyword based on the strong Gifts you are offered and the team you brought. Start collecting supporting Gifts and cheap fusion fodder.
- Mid floors: fuse aggressively with 3-Gift fusions to climb tiers and lock in your Keyword. Grab any Recipe Fusion ingredients you recognize.
- Theme Pack management: use Theme Pack Observation if a floor's packs do not support your build, but do not over-spend Starlight mid-run.
- Late floors: you should be snowballing. Use Wishmaking on the one or two fusions that define your build, and keep whoever is onfield on-Keyword.
- Final boss: a well-built deck melts it. If a run went sideways, that is fine. Mirror Dungeon is uncapped, so you just run it again with the Starlight you banked.
Common Mistakes
- Grabbing off-Keyword Gifts because they look strong in isolation. A focused deck beats a pile of good-but-unrelated Gifts.
- Hoarding Starlight forever. It only helps when spent, and anything left after you pick Starter Buffs becomes starting Cost at 1 to 5 rather than banking for next time.
- Fusing 2 Gifts when you could fuse 3. The jump from 60 to 90 percent Keyword odds is enormous over a run.
- Bringing a mismatched team. Your Sinners and their E.G.O should support the Keyword you intend to build, not fight it.
- Treating the 5 Backups as spare parts. All 12 come with you and advancing a floor revives and heals everyone, so a Backup held for a bad matchup is free value you already paid for.
Building a roster worth grinding with
Mirror Dungeon is where roster investment pays off, so make sure the roster is worth investing in. Start with our Limbus Company beginner's guide if you are still learning the combat, and check the Limbus Company tier list for which Identities and E.G.O are worth building toward. Canto X, The Gaze Bearing is complete as of October 2, so the Season Pass E.G.O behind it are unlocked, and the current banner schedule tells you which Extraction closes first.
Questions this page gets asked
When did Mirror Dungeon 8 come out? Mirror of Sisyphe went live on October 15, 2026, the same day Mirror of Names and Spiders ended after 238 days.
Is there a cap on Mirror Dungeon runs? Not on the runs. You can grind Sisyphe as long as you like, which is why it is the best long-term source of Modules and Thread. What is capped is the Lunacy: three weekly bonus charges, and runs past them pay Pass XP and Manager EXP only.
How many Gifts should I fuse at once? Three whenever possible. 3-Gift fusions hit your chosen Keyword about 90 percent of the time, versus 60 percent for two.
What is Wishmaking? Spending 5 Starlight during a fusion to dramatically raise the odds of getting your chosen Keyword. Save it for build-defining fusions.
Which Starlight upgrade is best first? New Discovery, to widen the Gift pool, followed by Fruits of Labor to raise higher-tier Gift spawn rates.